Offset: Coffee & Tea Table
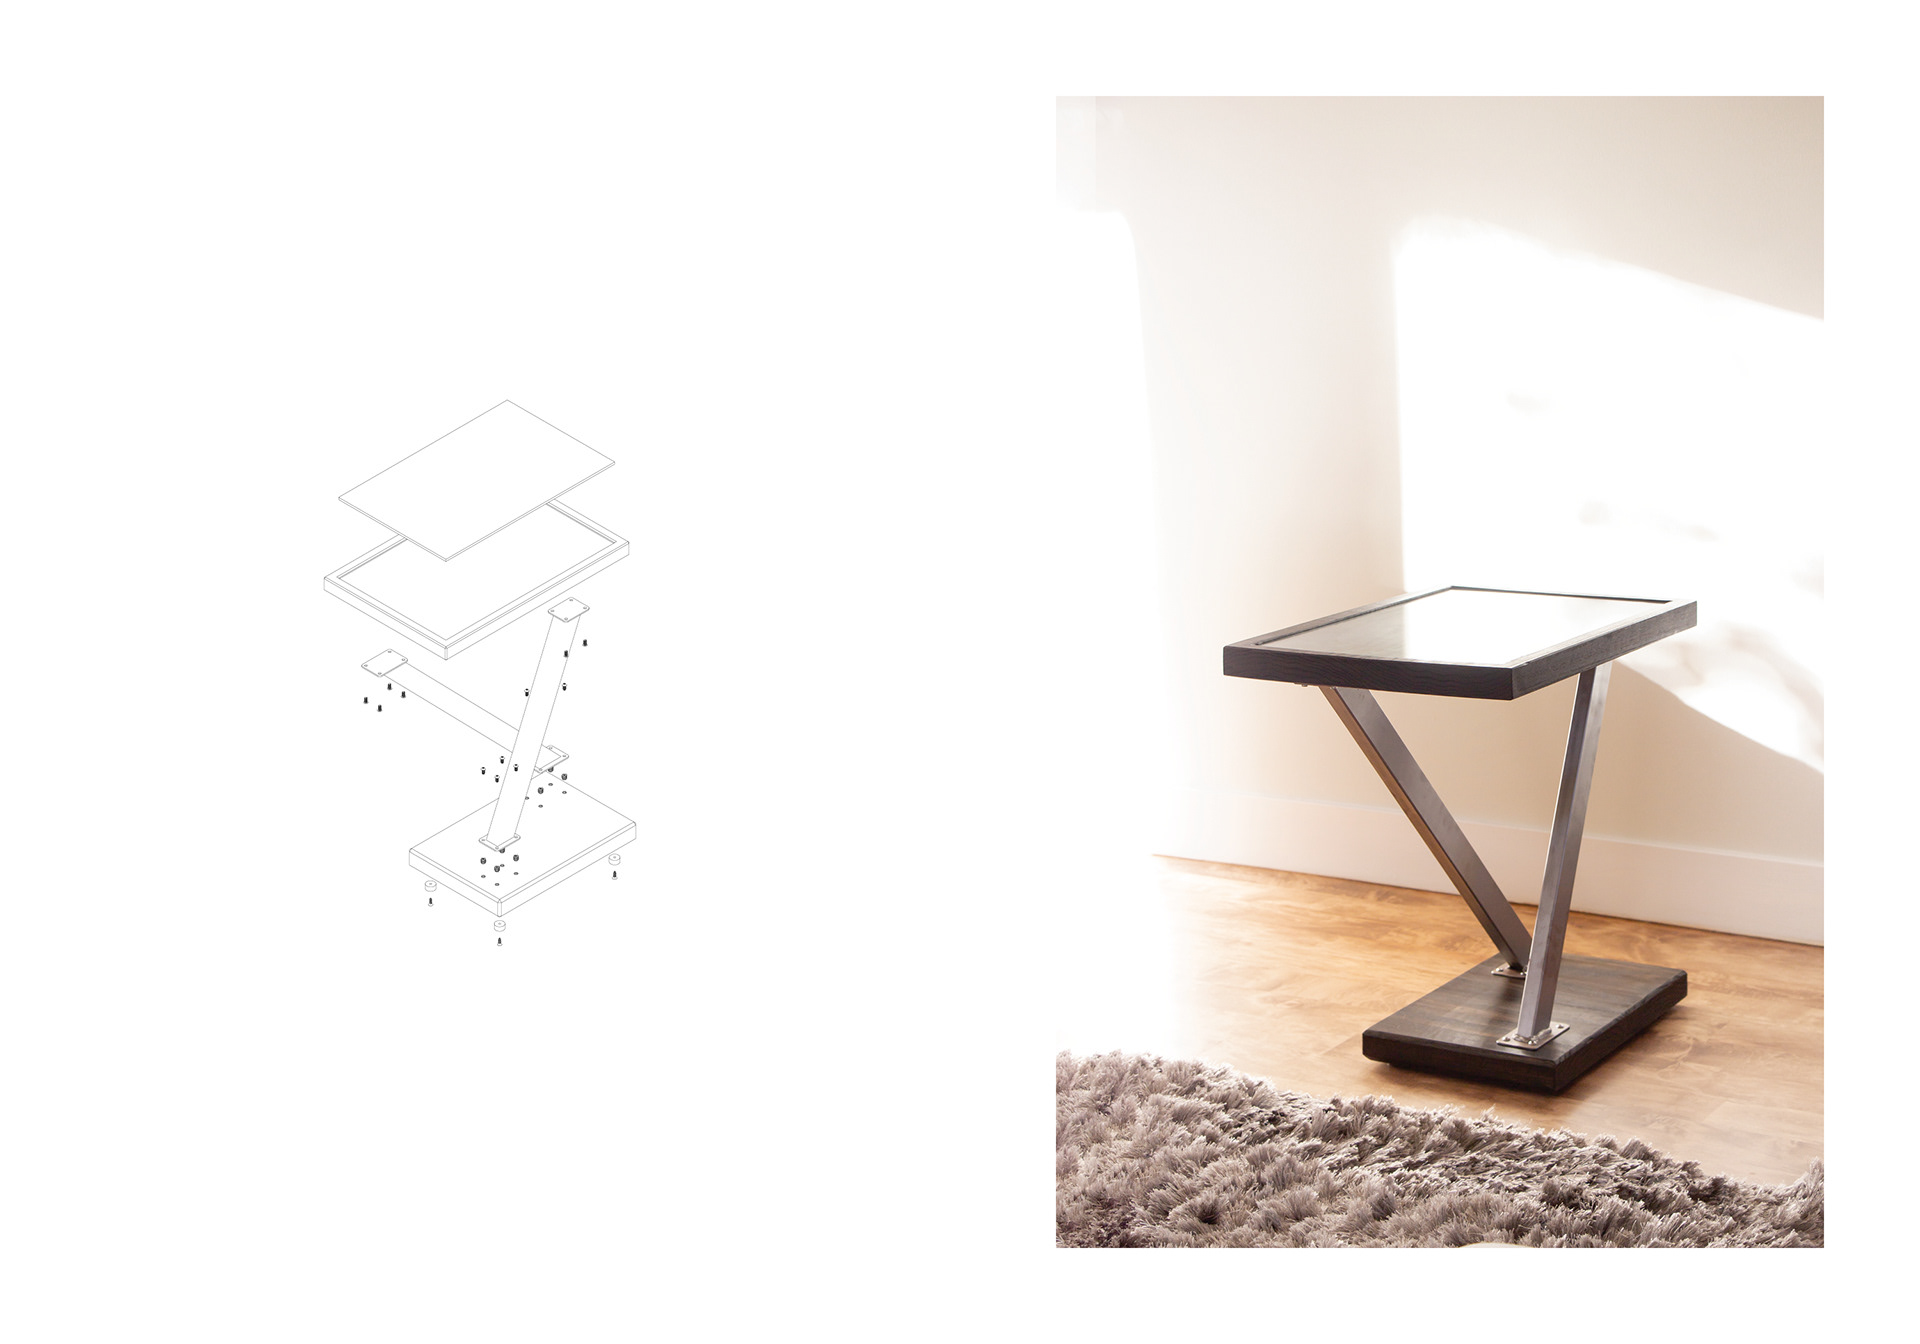
Offset is a living room table that commands attention with a gravity-defying design. But while the design itself is striking, the stained wood, sandblasted steel, and glass give it an elegant presence.
Build process
From start to finish, this project took 18 days to complete. While definitely overscoped, it was an exciting opportunity to push my skillset in woodworking and metalworking.
Welding was a particular skill I wanted to challenge myself on and improve in this project. Because I'm blind in my left eye, I have no depth perception. It became immediately clear that welding was almost impossible for me to do well compared to my peers.
But I'm not one to take no for an answer. Especially when my design kicks ass.
Woodworking
The woodworking posed a major challenge: creating a wide table out of narrow lumber. While a regular glue-up is relatively simple, the planing, jointing, and routing required to make this design from two pieces was quite complex.
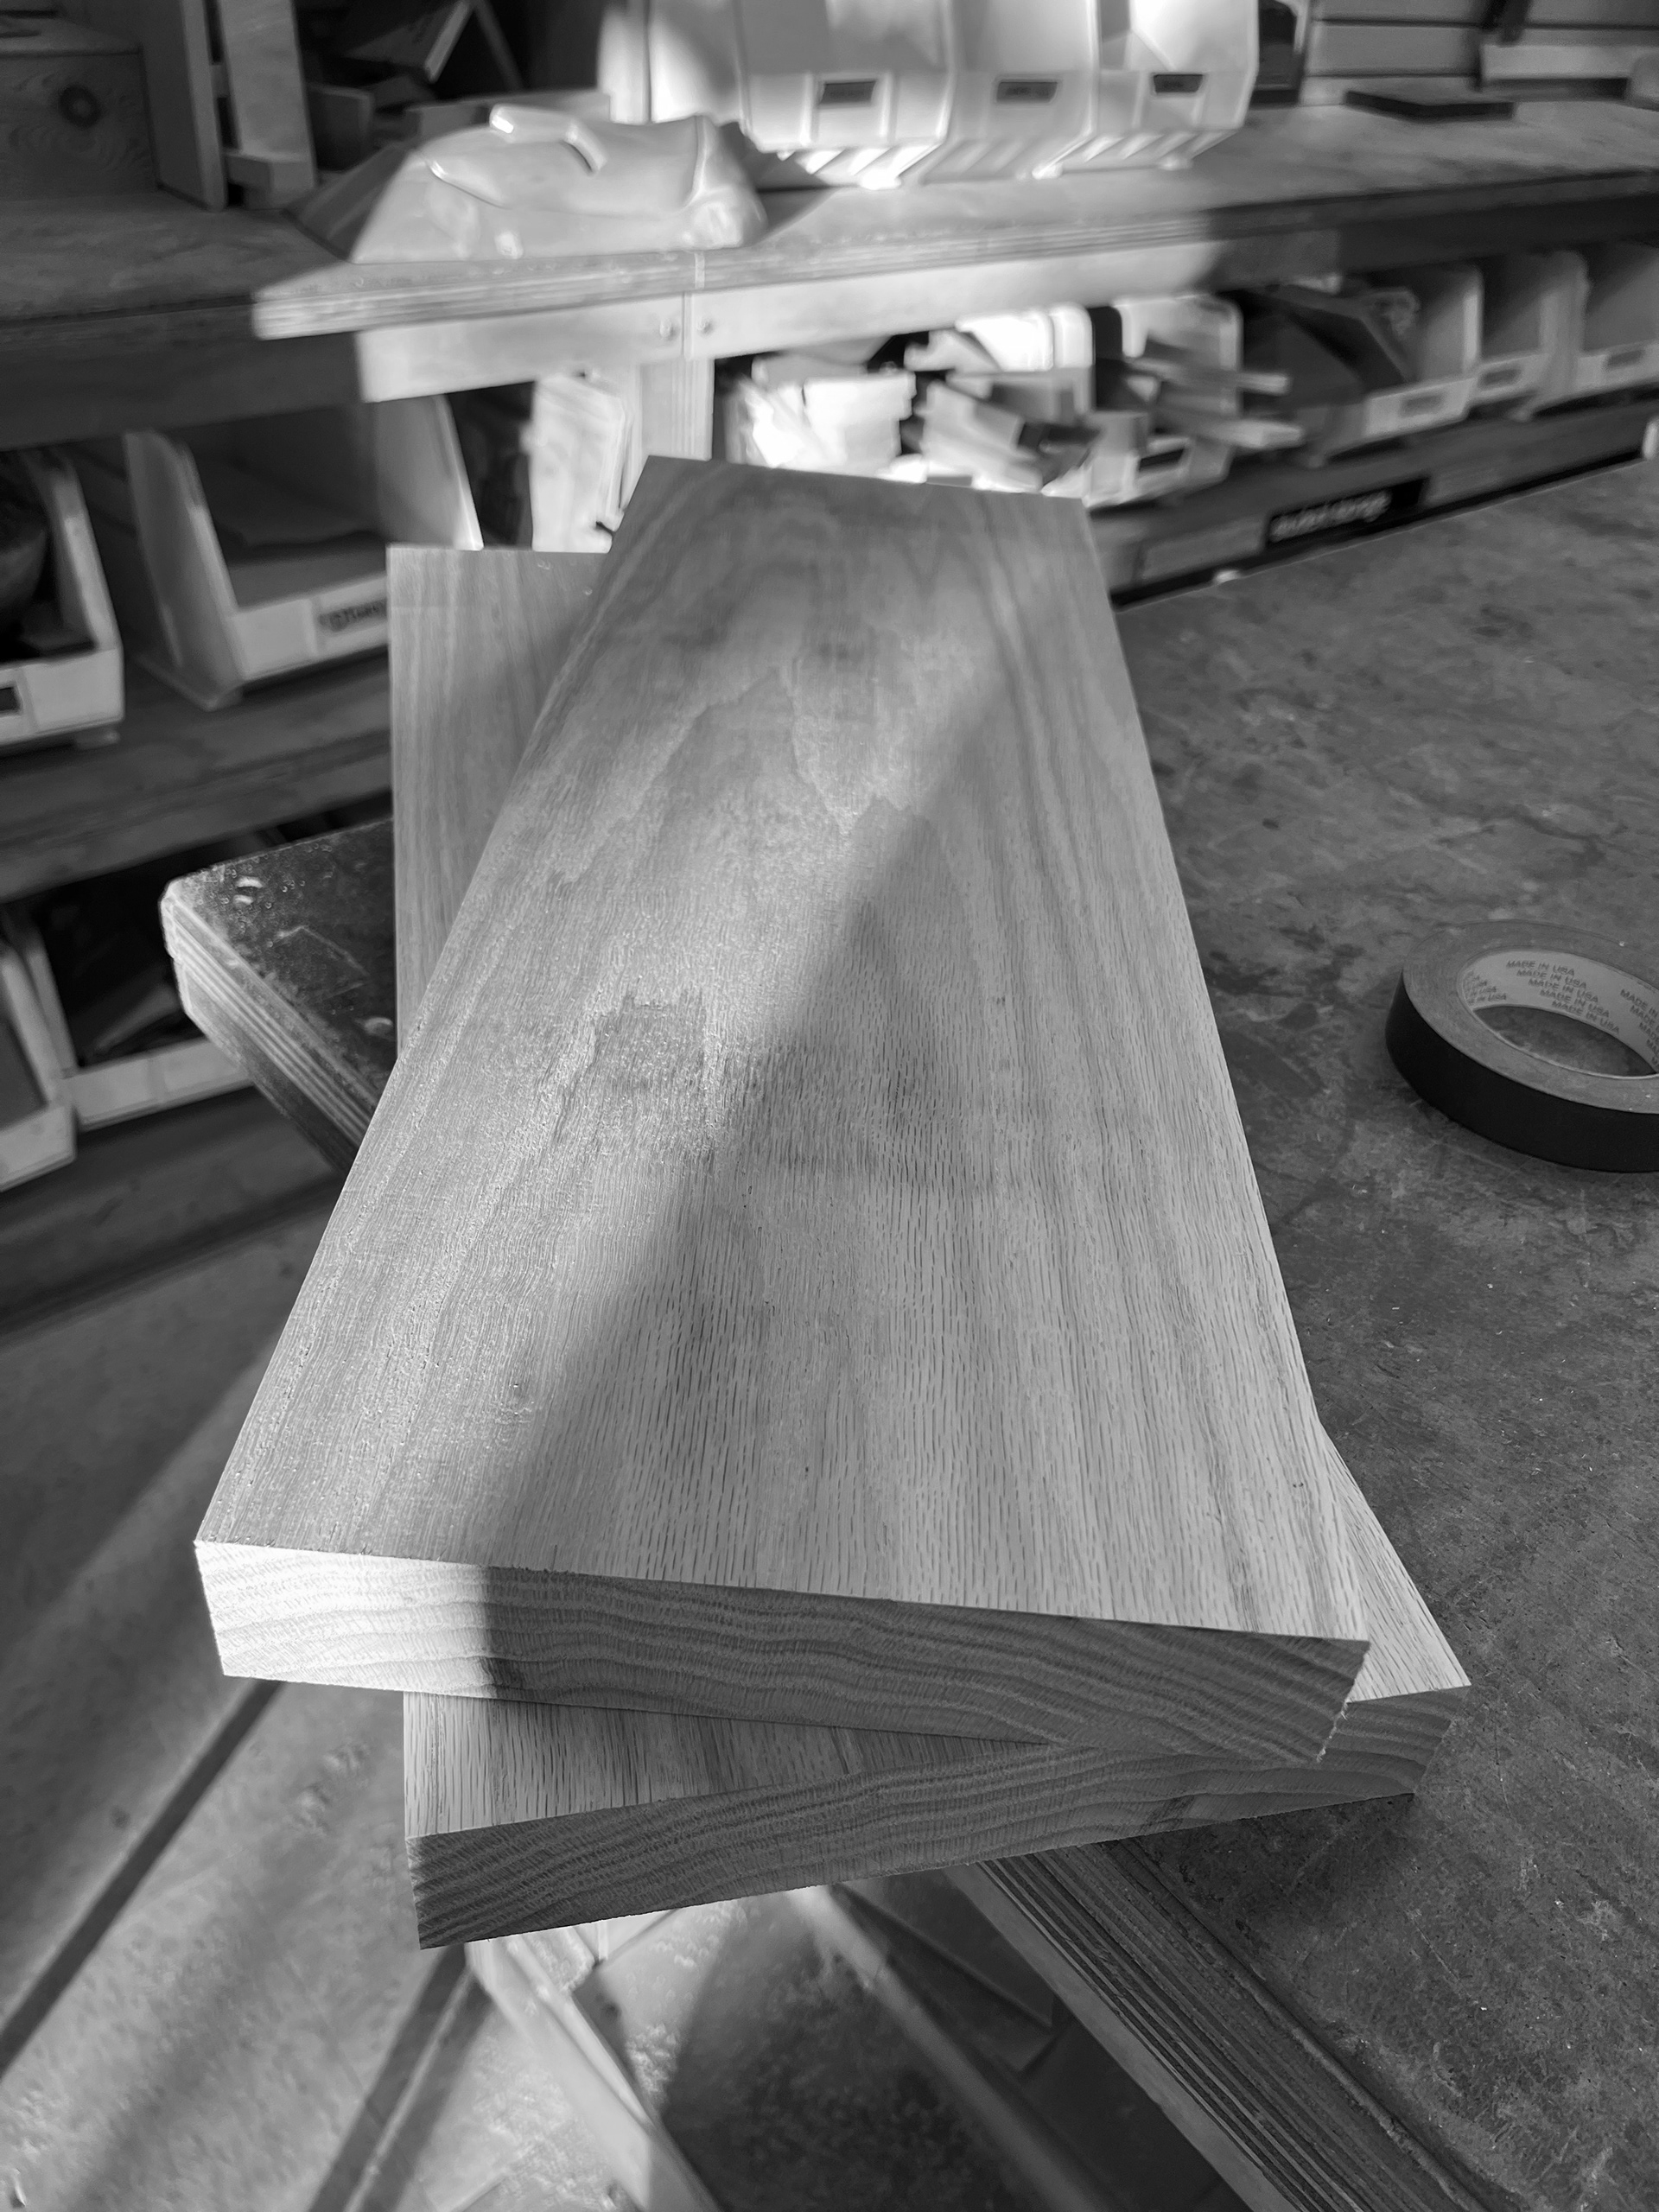
I started with a gorgeous piece of red oak, which I cut to size.
I started by glueing up the base of the table. The base was the simplest part of the design, not requiring any complex woodworking.
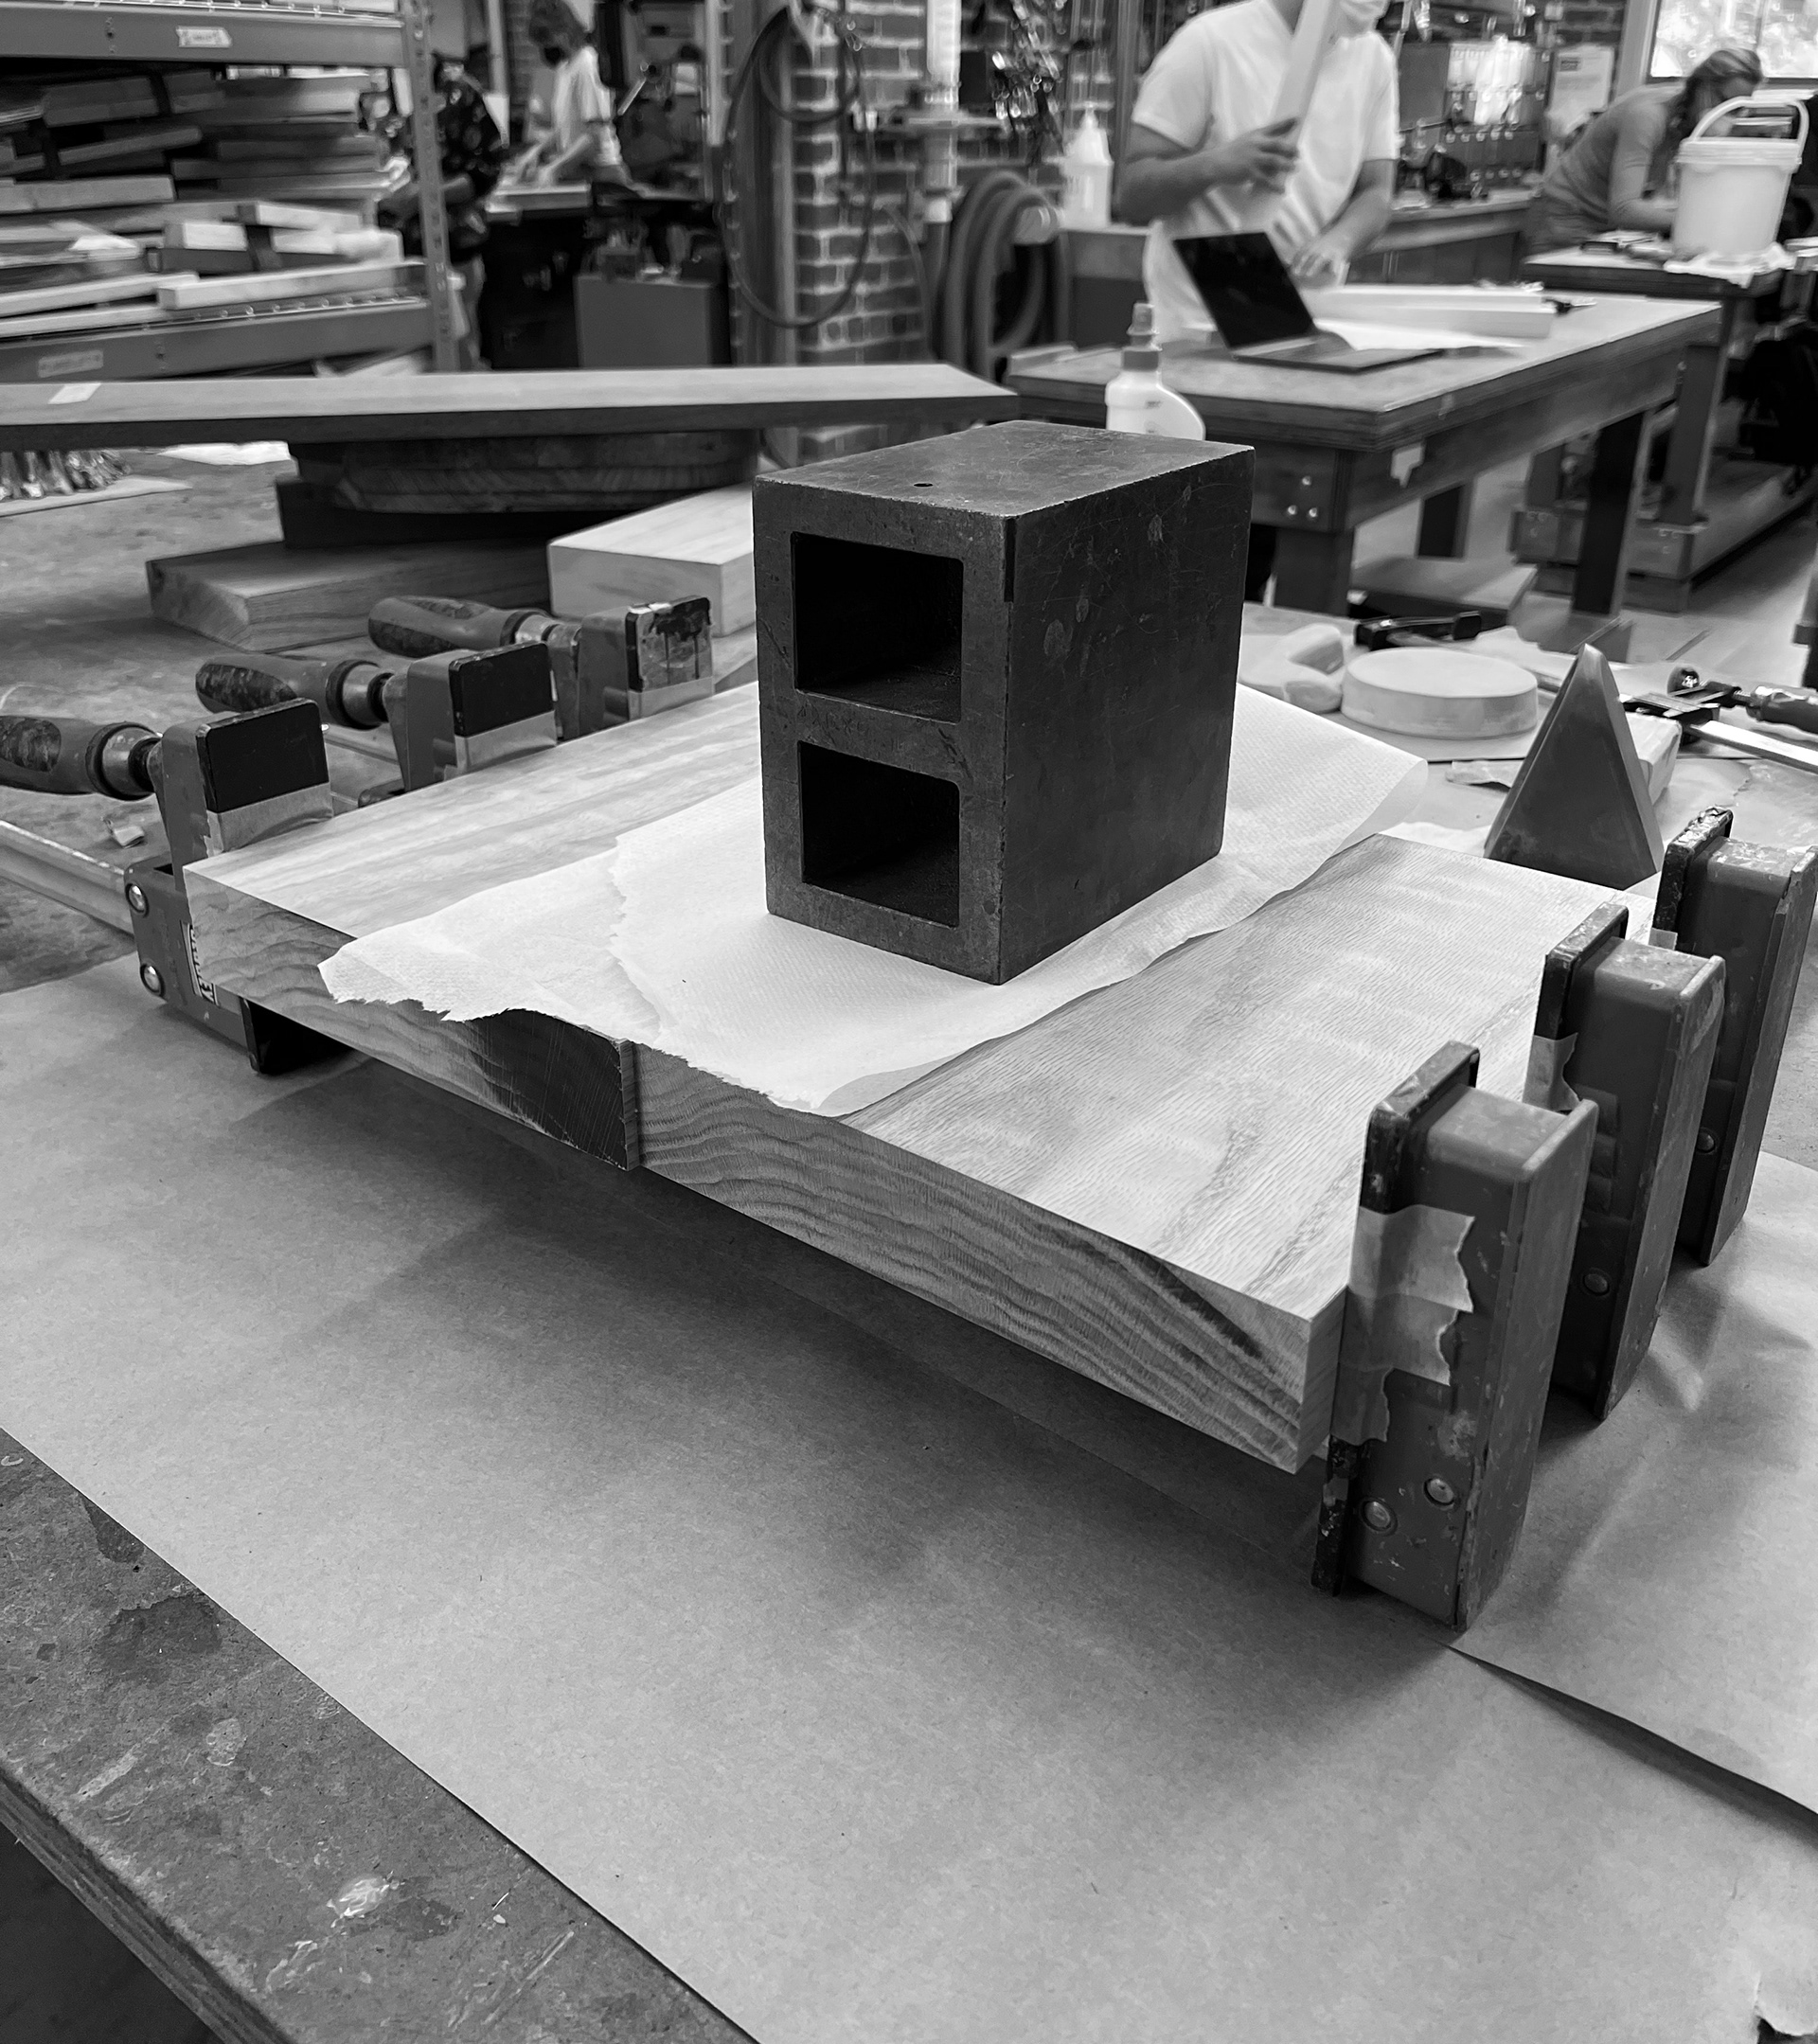
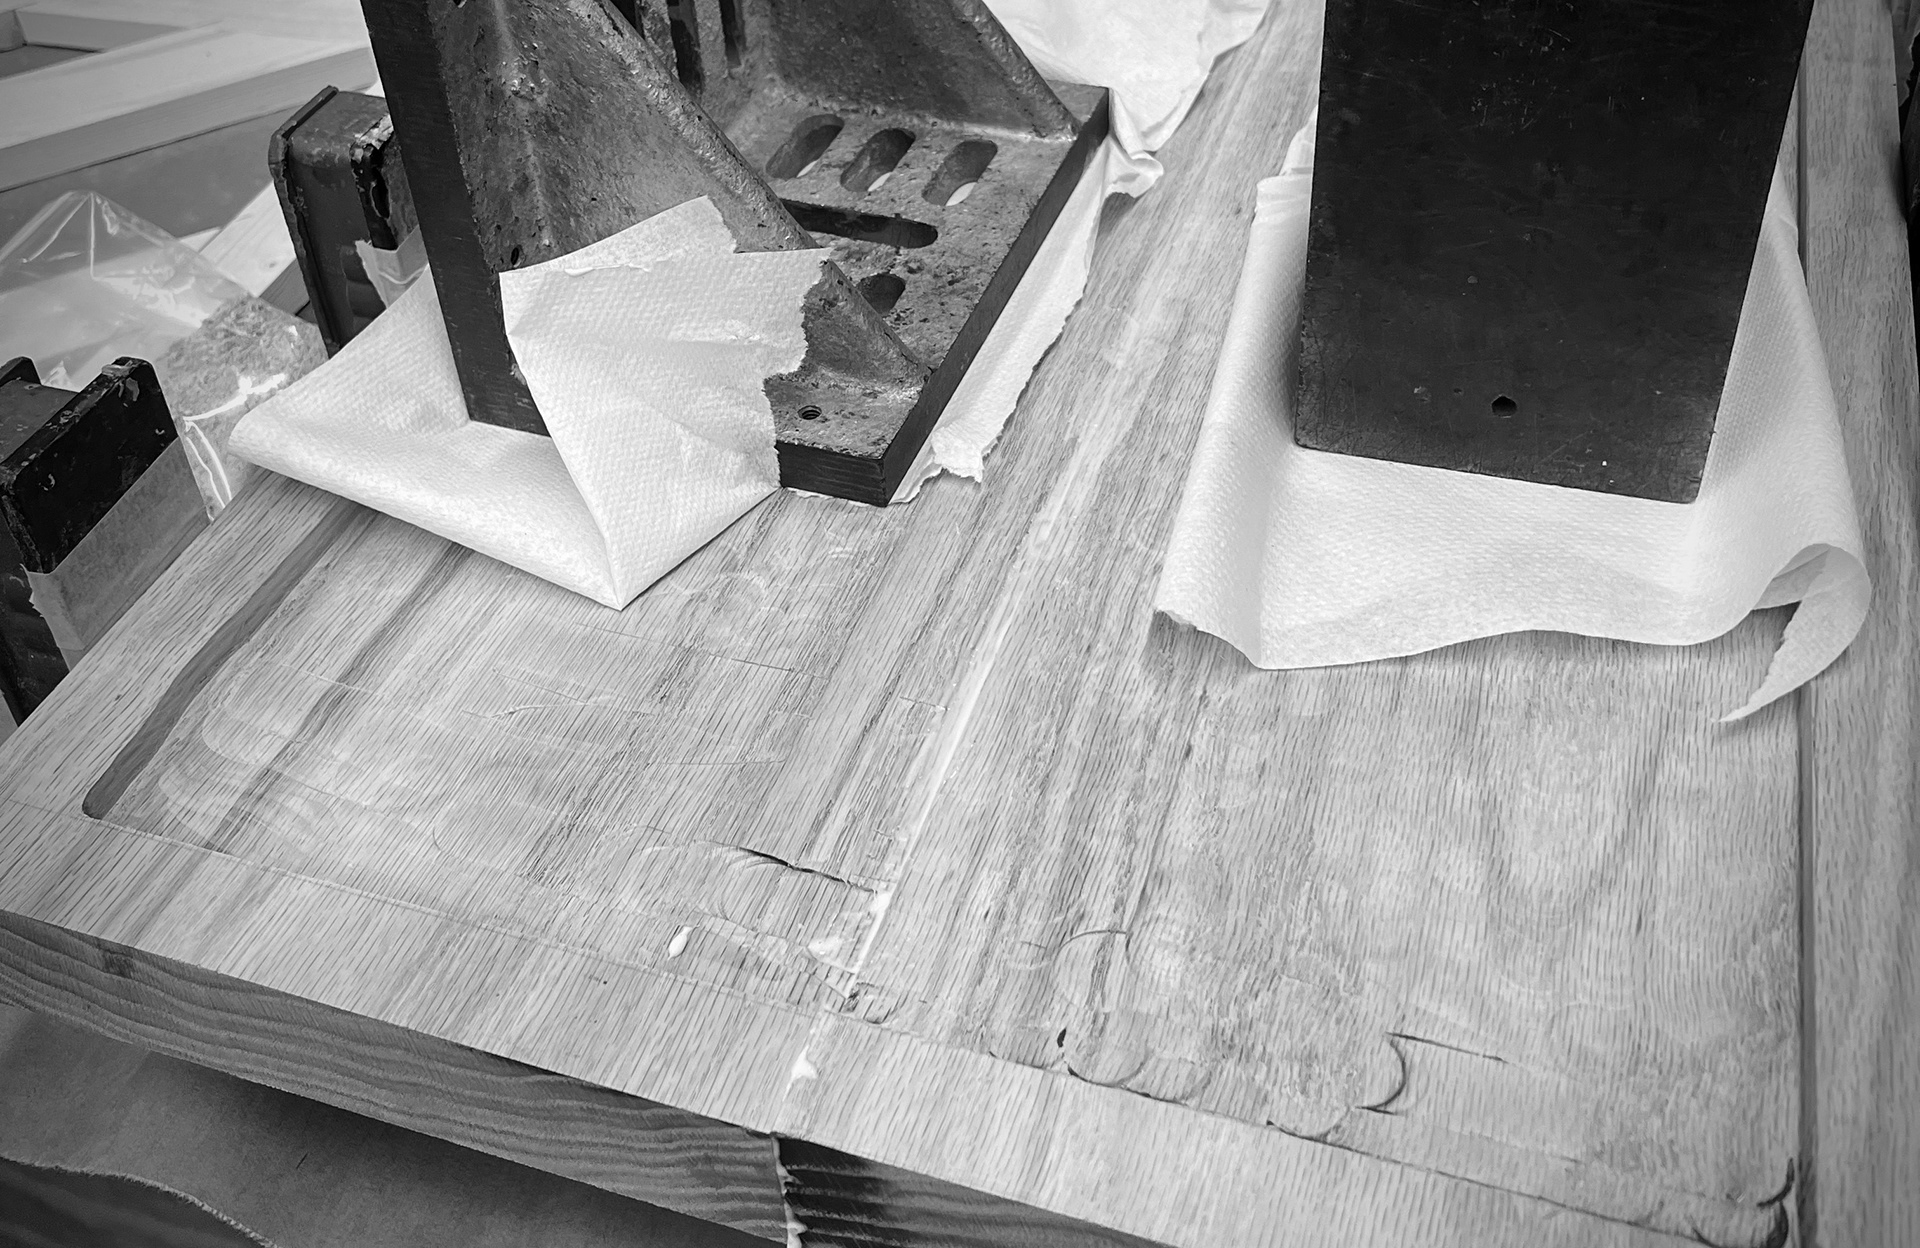
I planed the tabletop pieces down to 1 1/8" thick and jointed the sides to ensure a proper glue-up. I then routed out the inset.
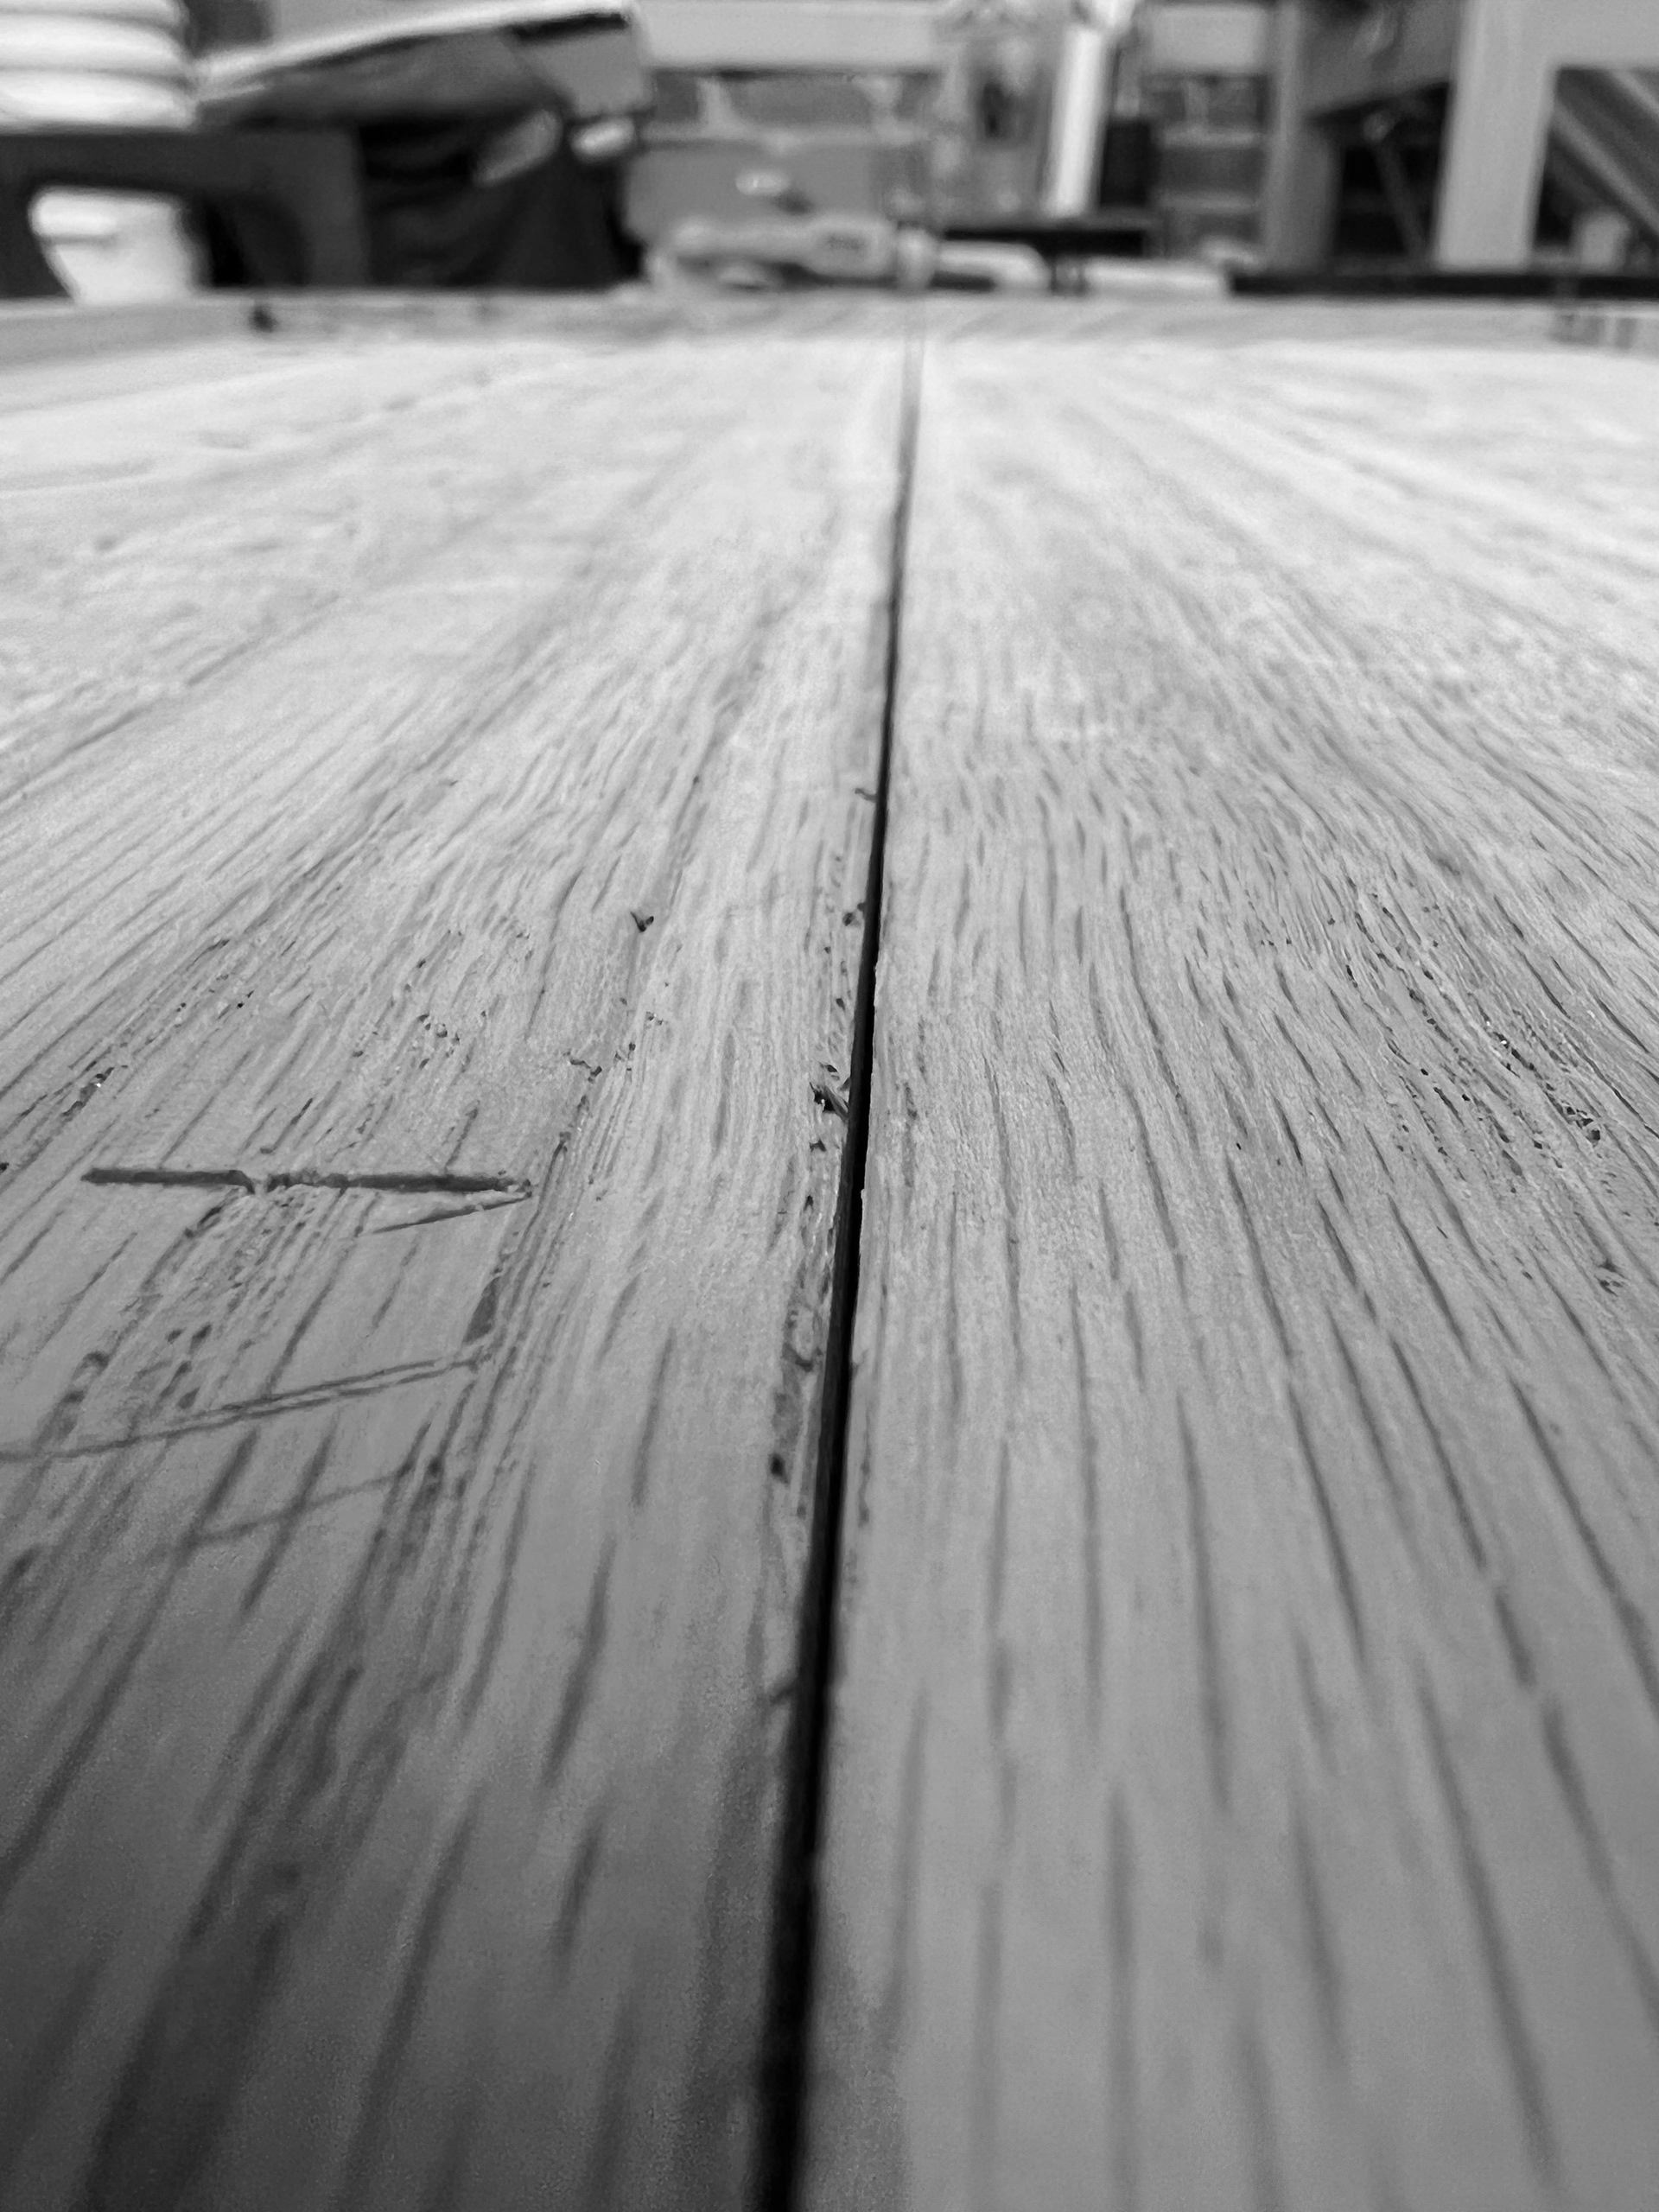
Pre-glue up, I was worried about this center seam, so I planned to make some filler using sawdust and glue.
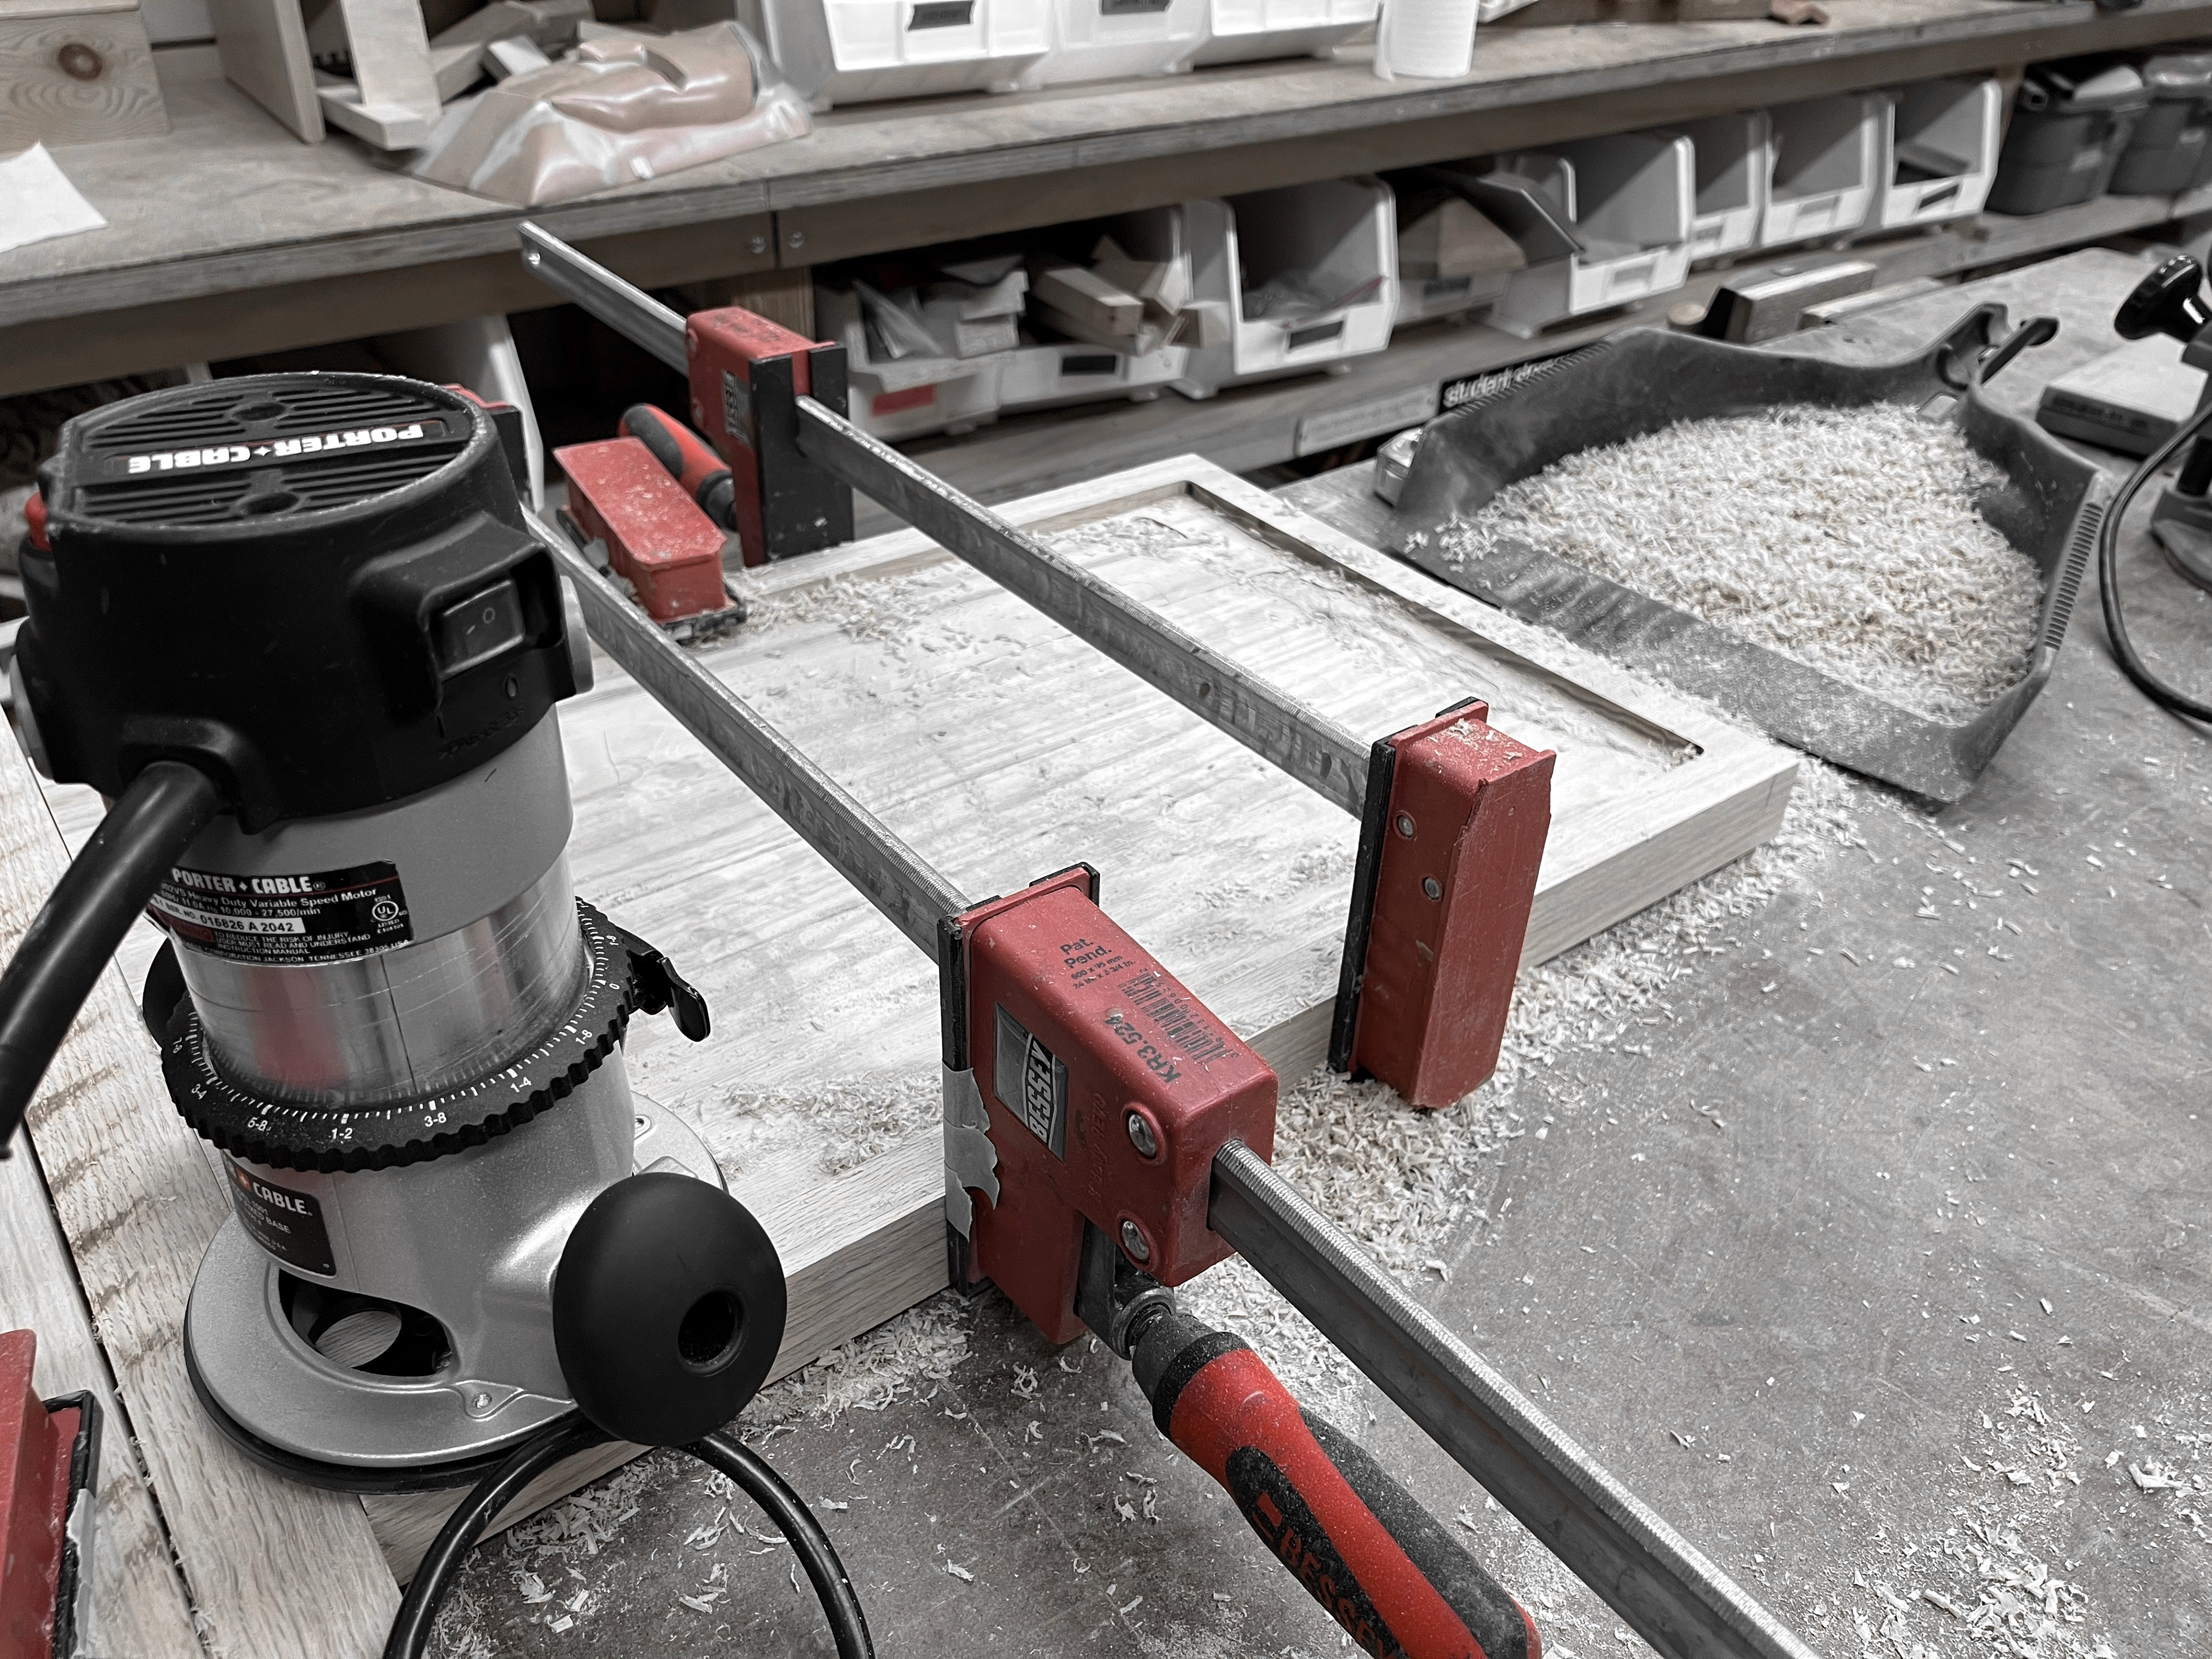
After aligning and clamping the pieces, I did some final routing to ensure that the edges lined up on both sides.
Here's the glue up with the filler in the center to make sure the gap gets filled.
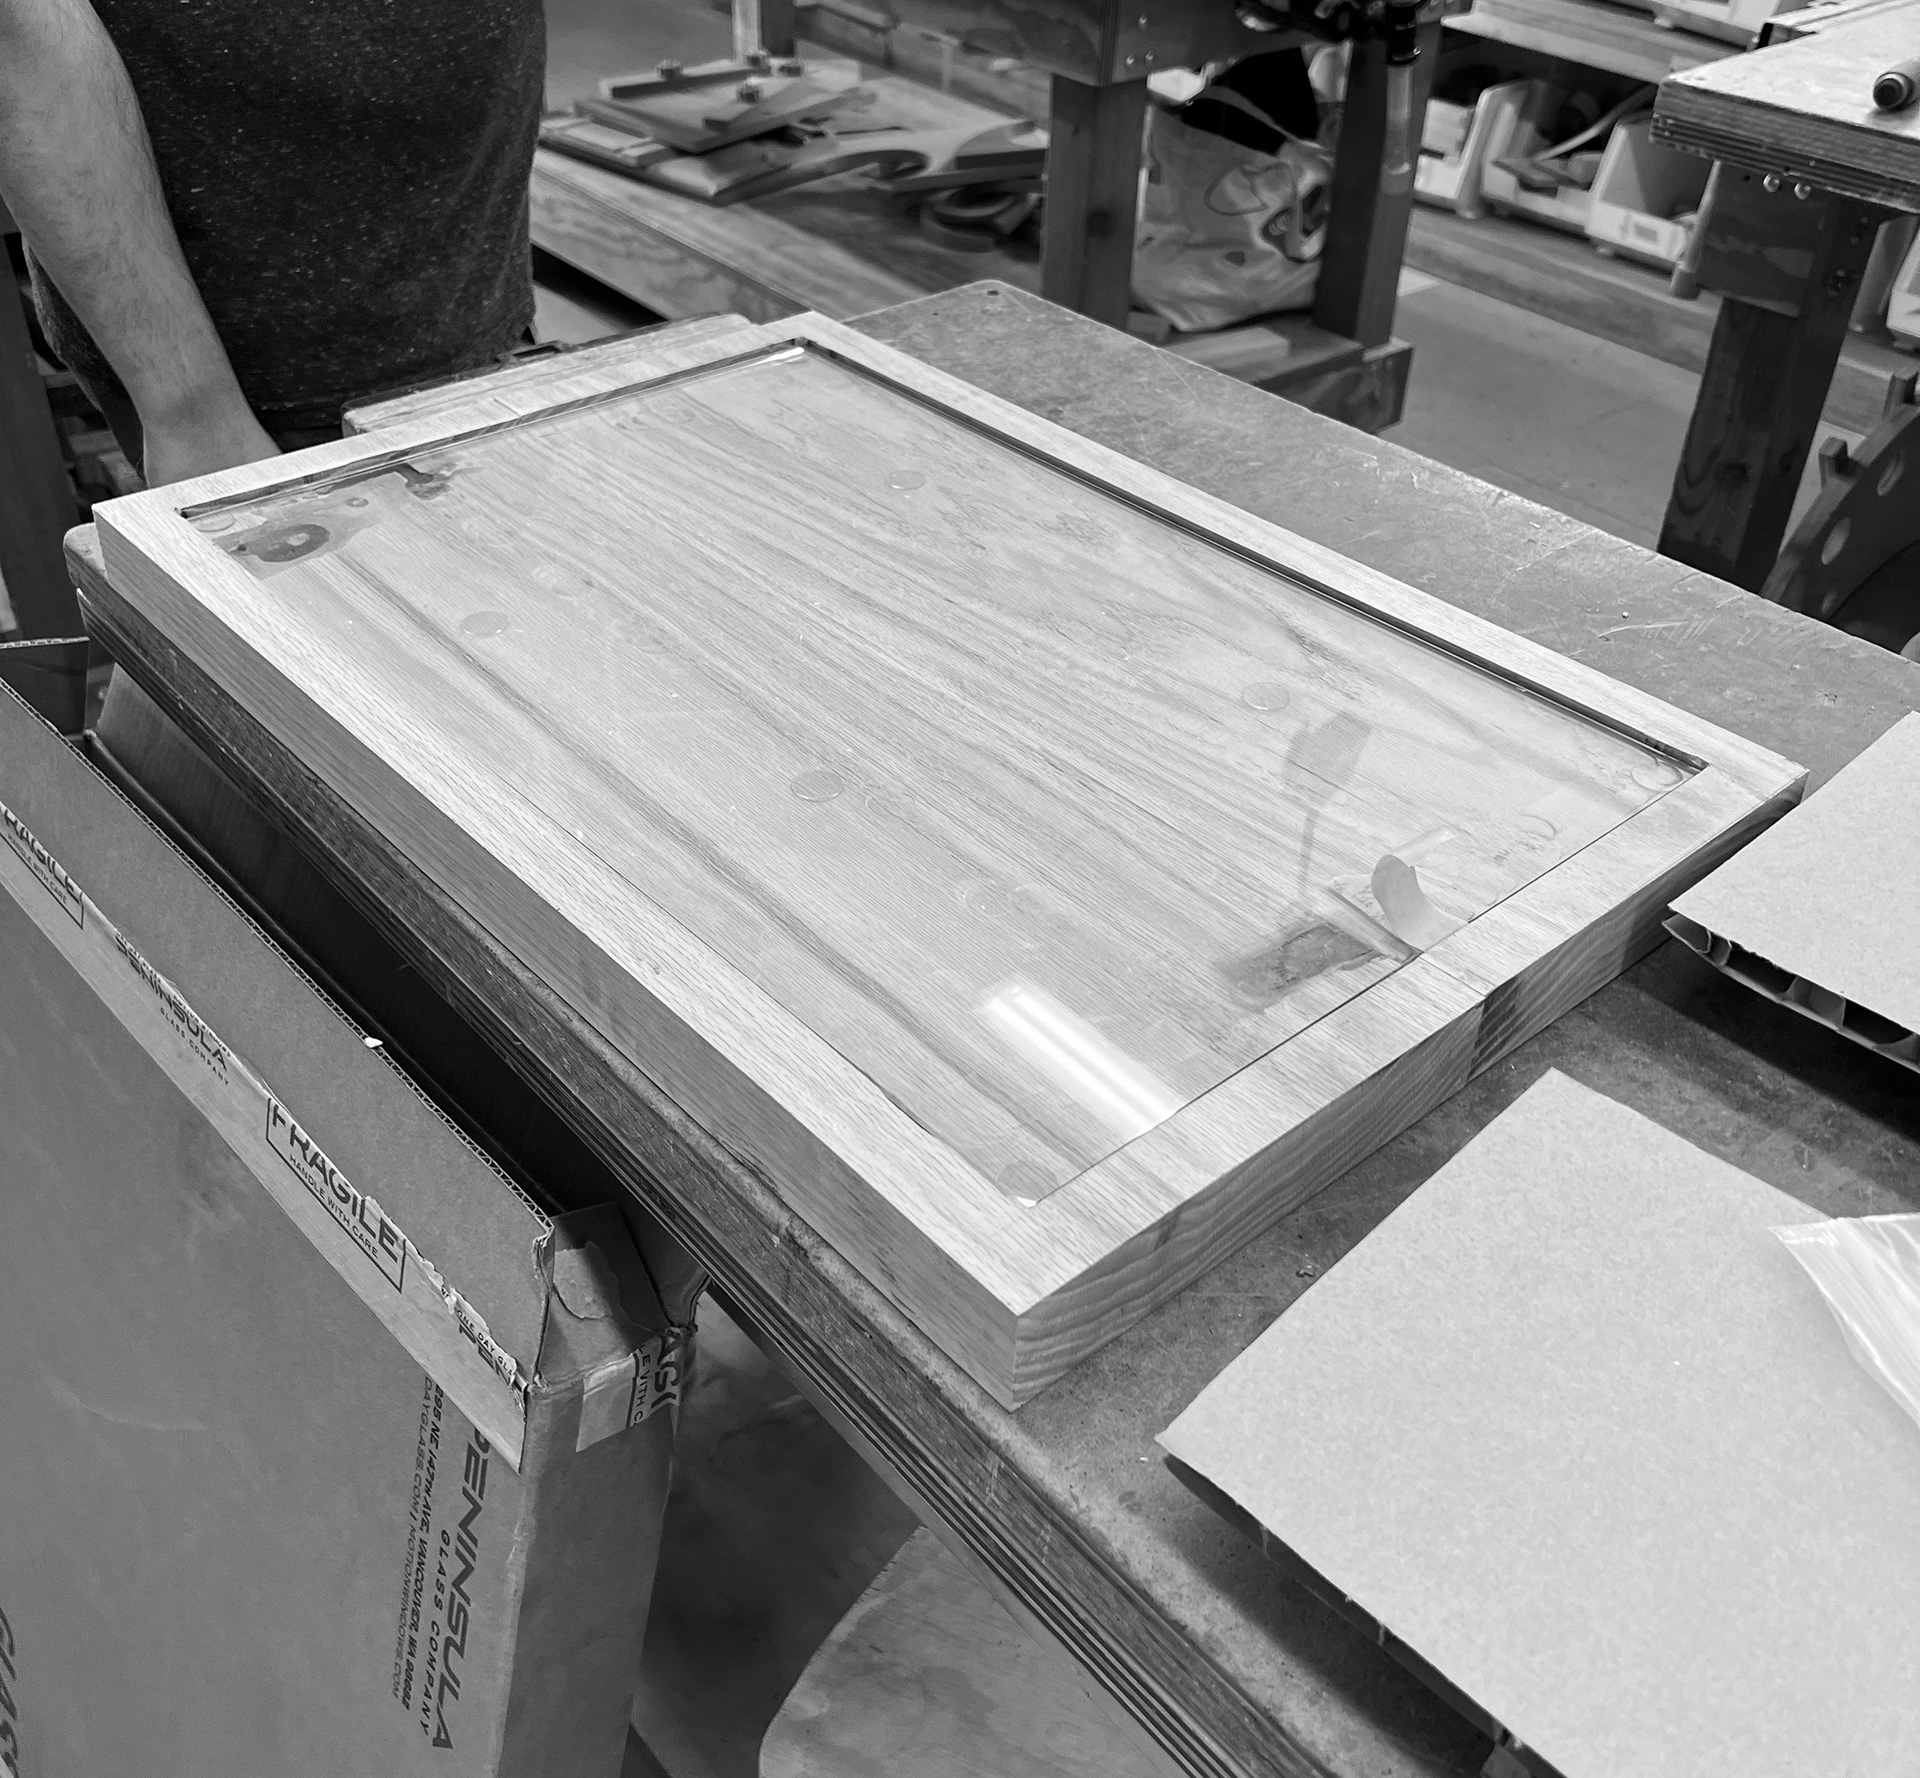
And... the moment of truth! The sheet of glass I had purchased fit perfectly into the inset, and it already looked amazing.
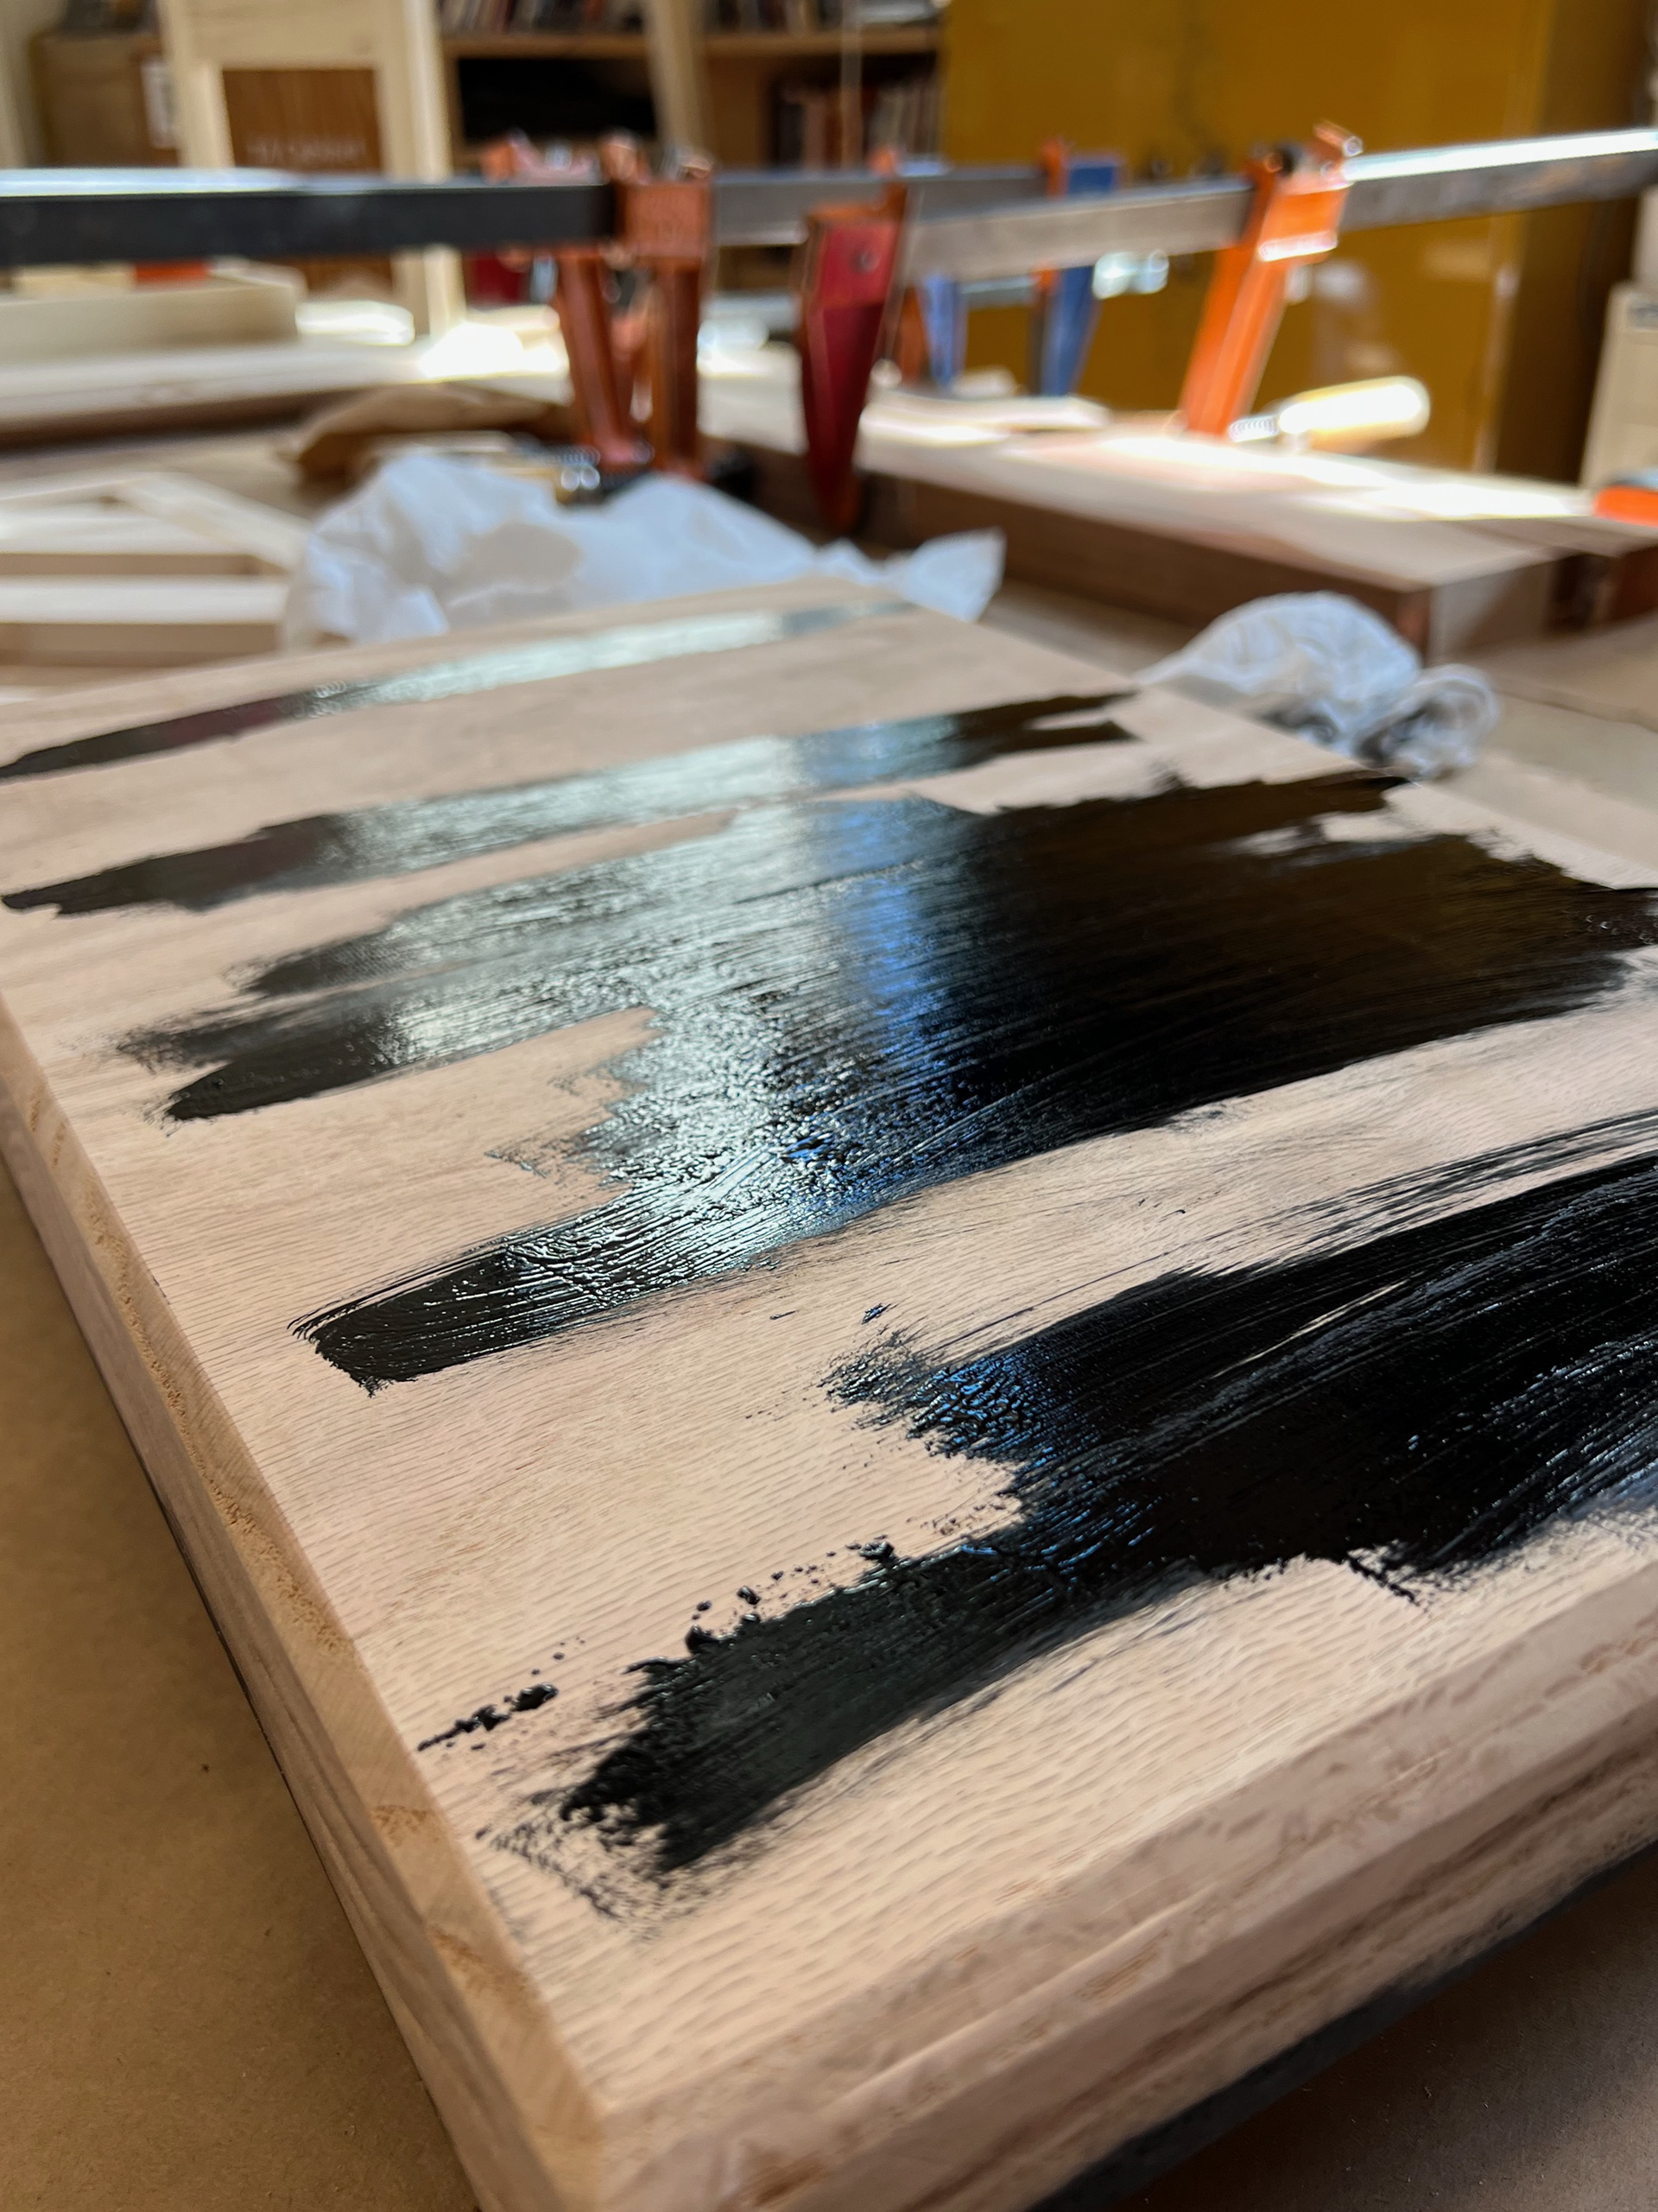
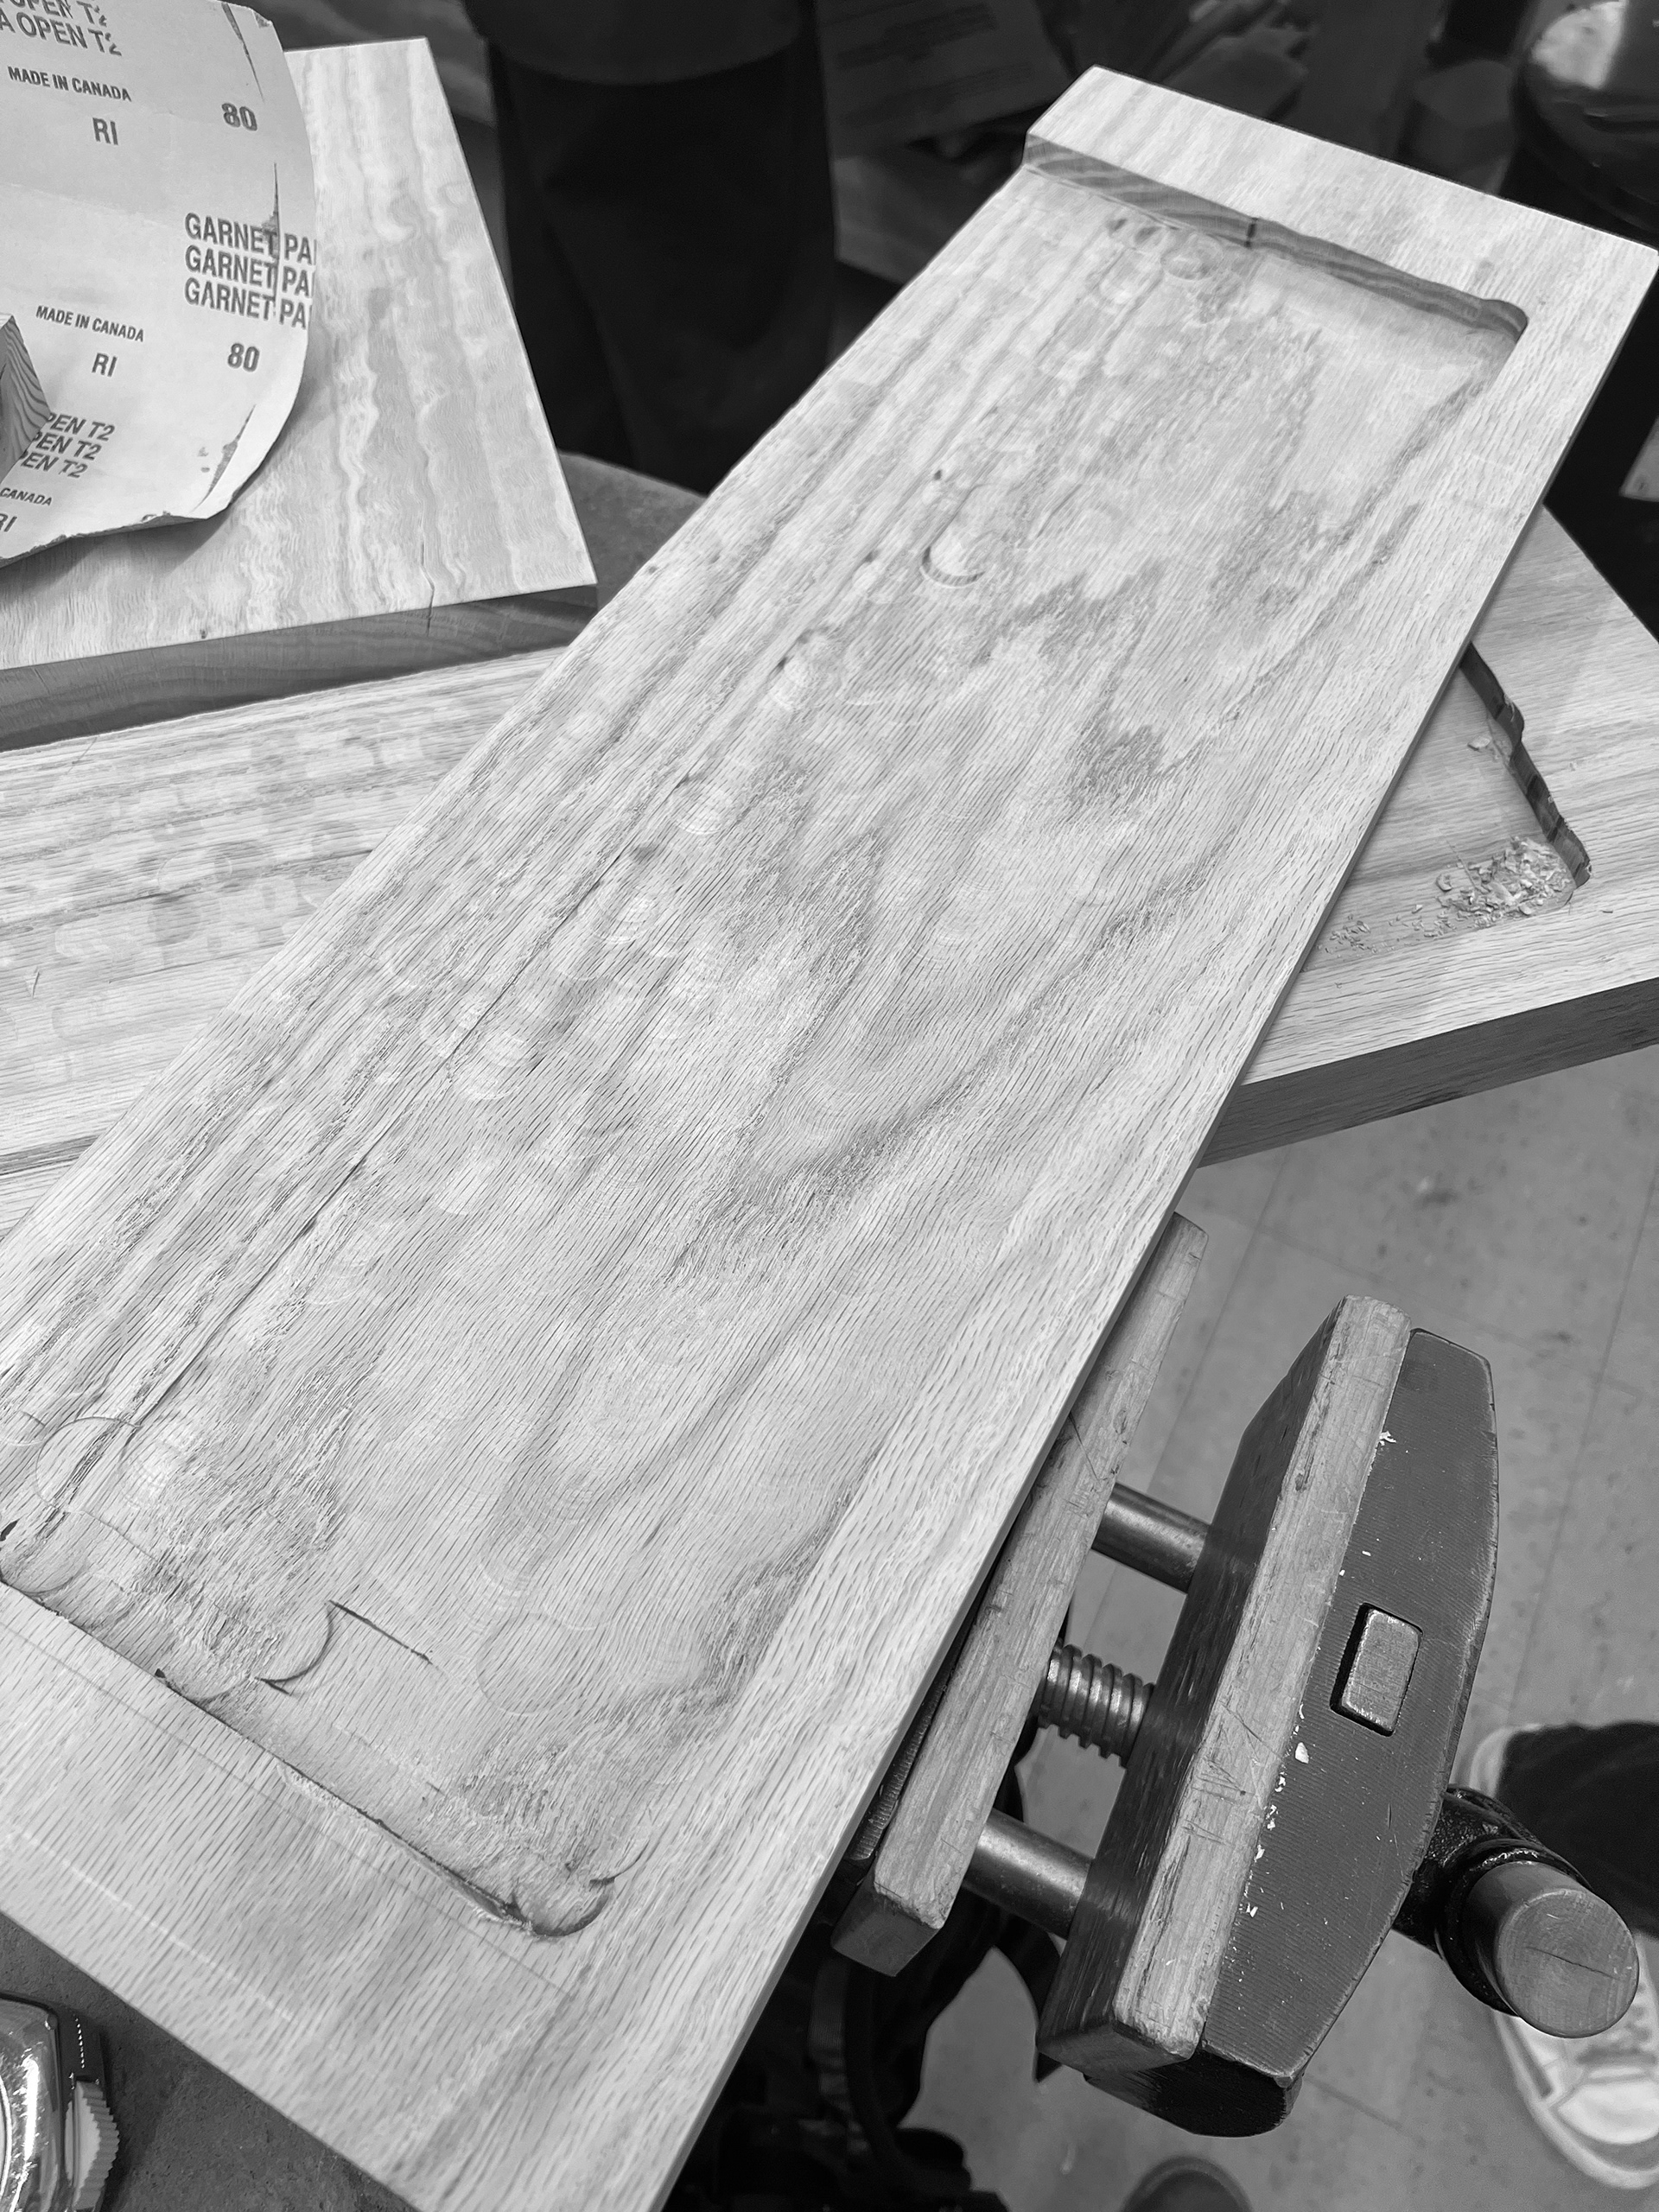
And finally, light at the end of the table: I sanded down both pieces before staining them. I'll be honest, seeing it go on had me terrified...
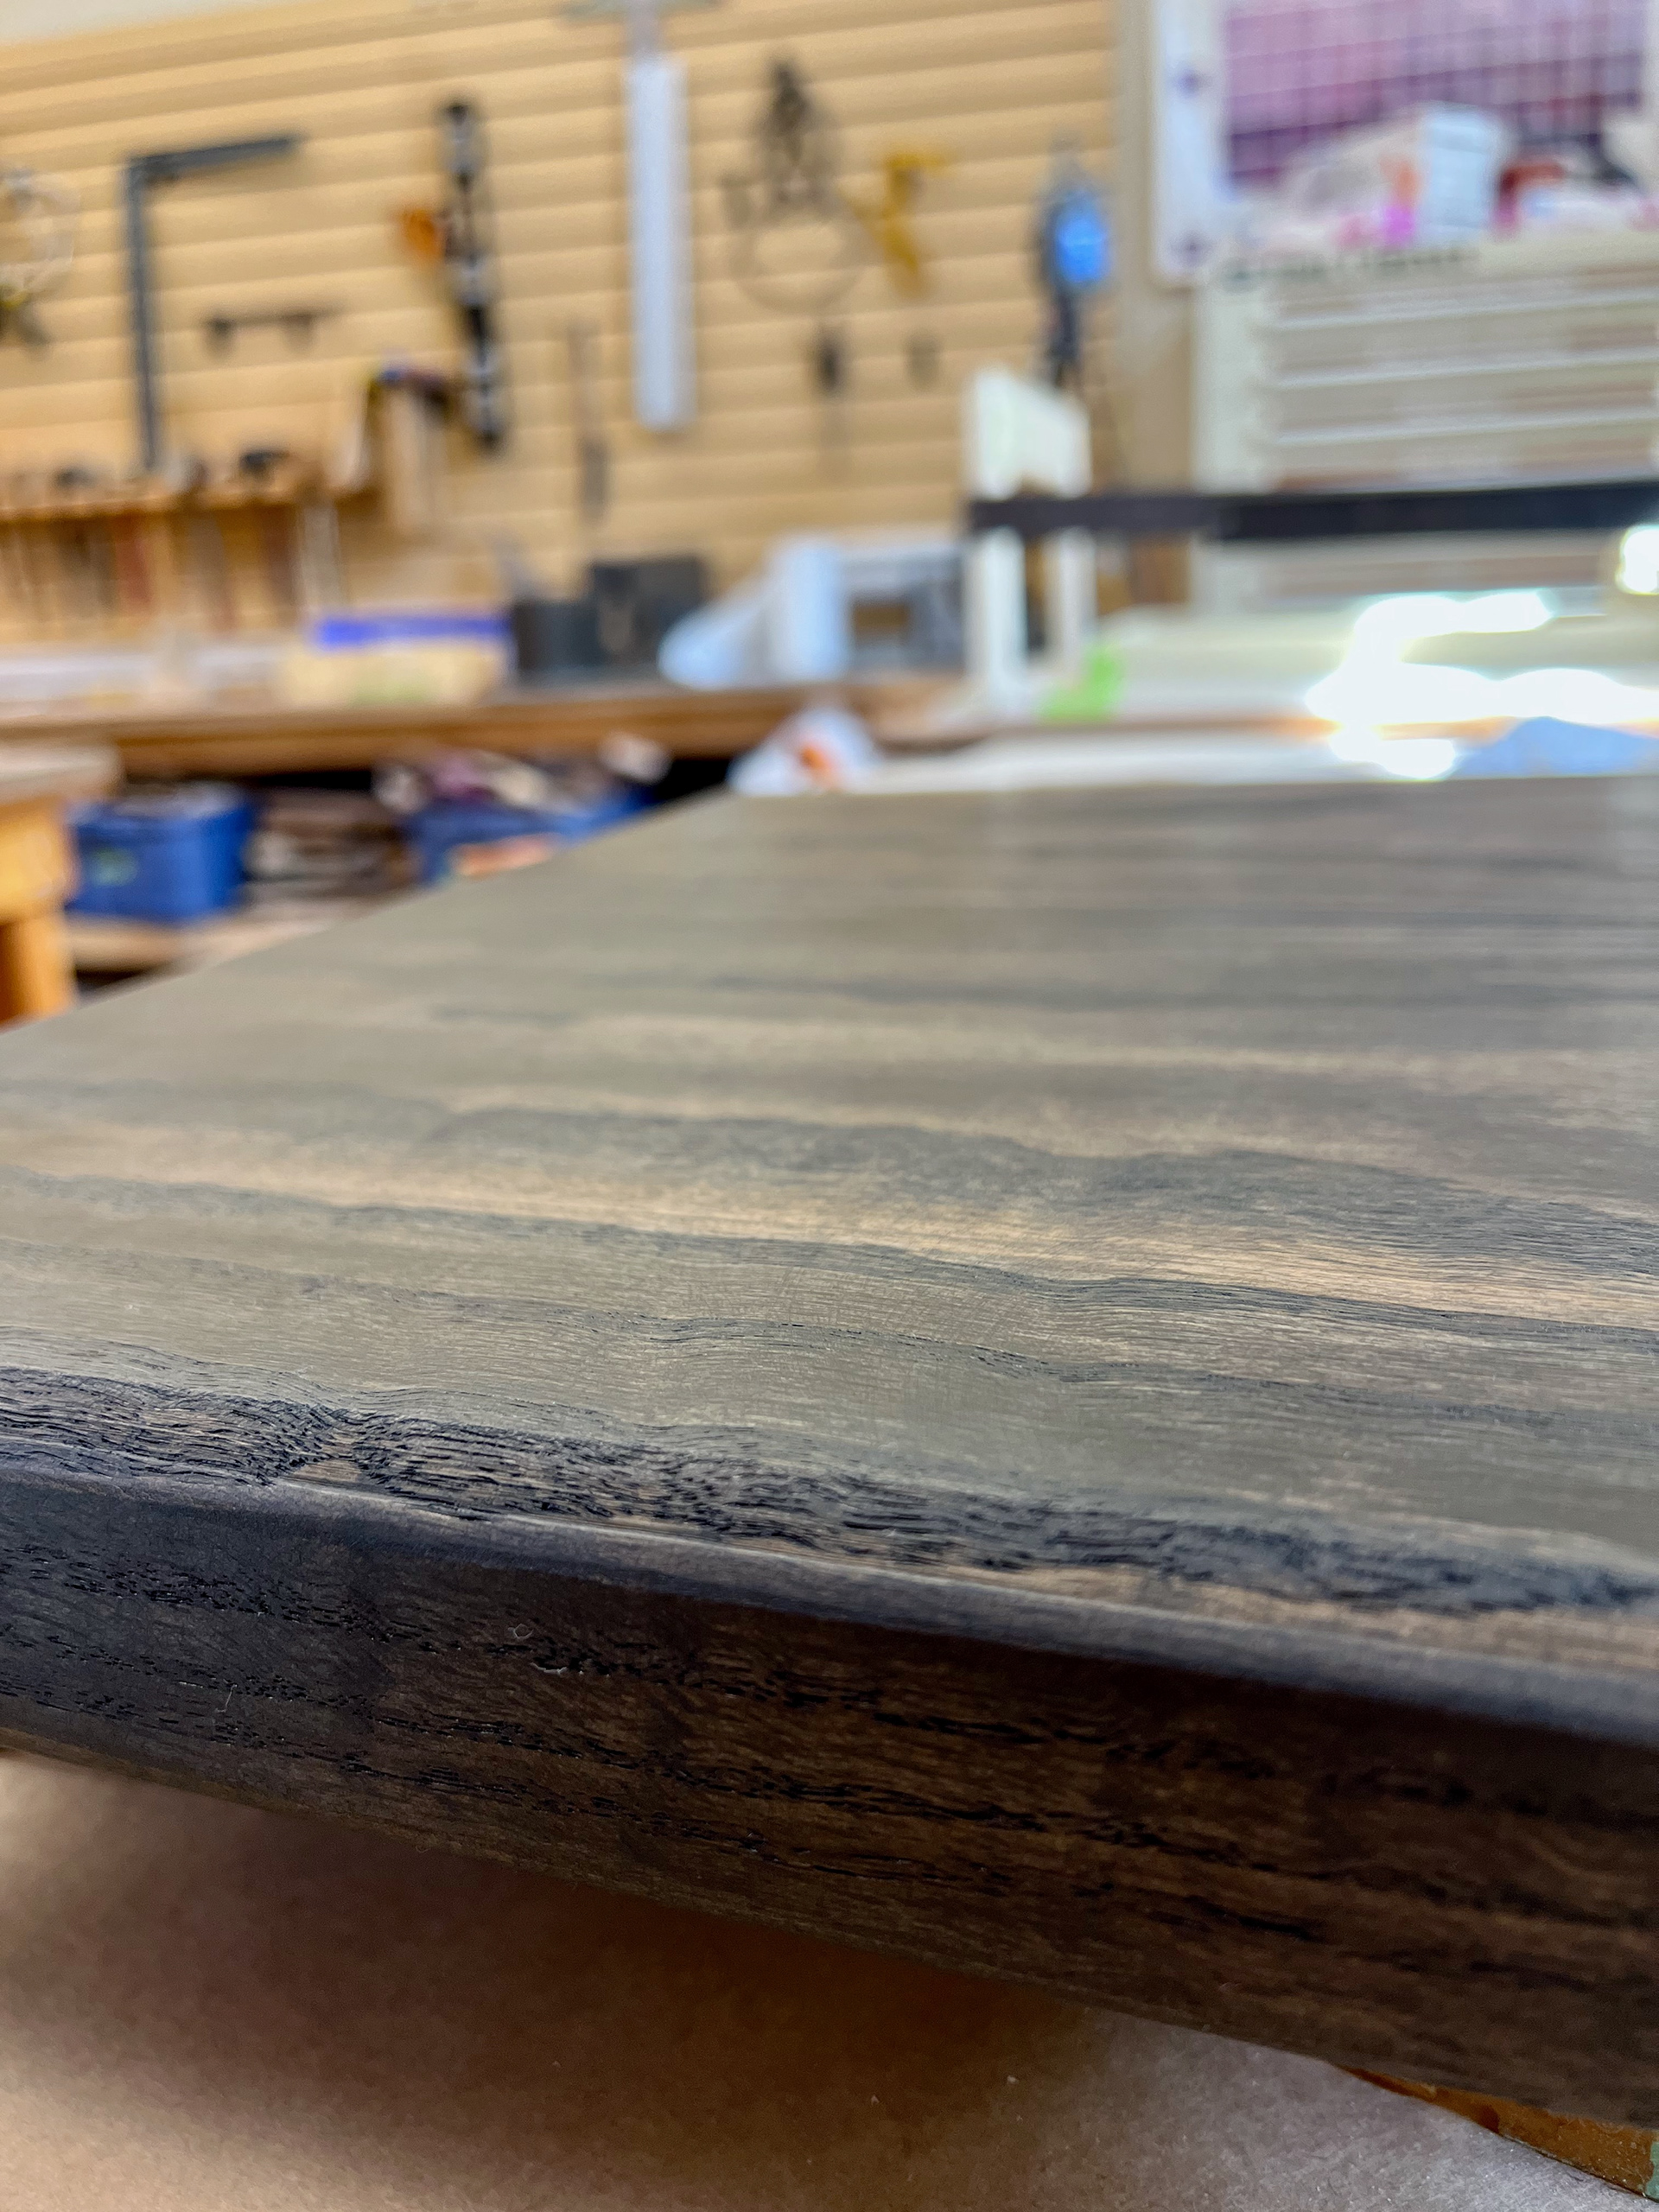
...but it ended up looking terrific. I finished both pieces using a satin topcoat.
Metalworking
The general metalworking process went quite smoothly for me; it's quite methodical. The welding, on the other hand, was a journey of many hours and frustrations.
But through lots of practice and shifting to welding better suited for the project, I was able to get it done.
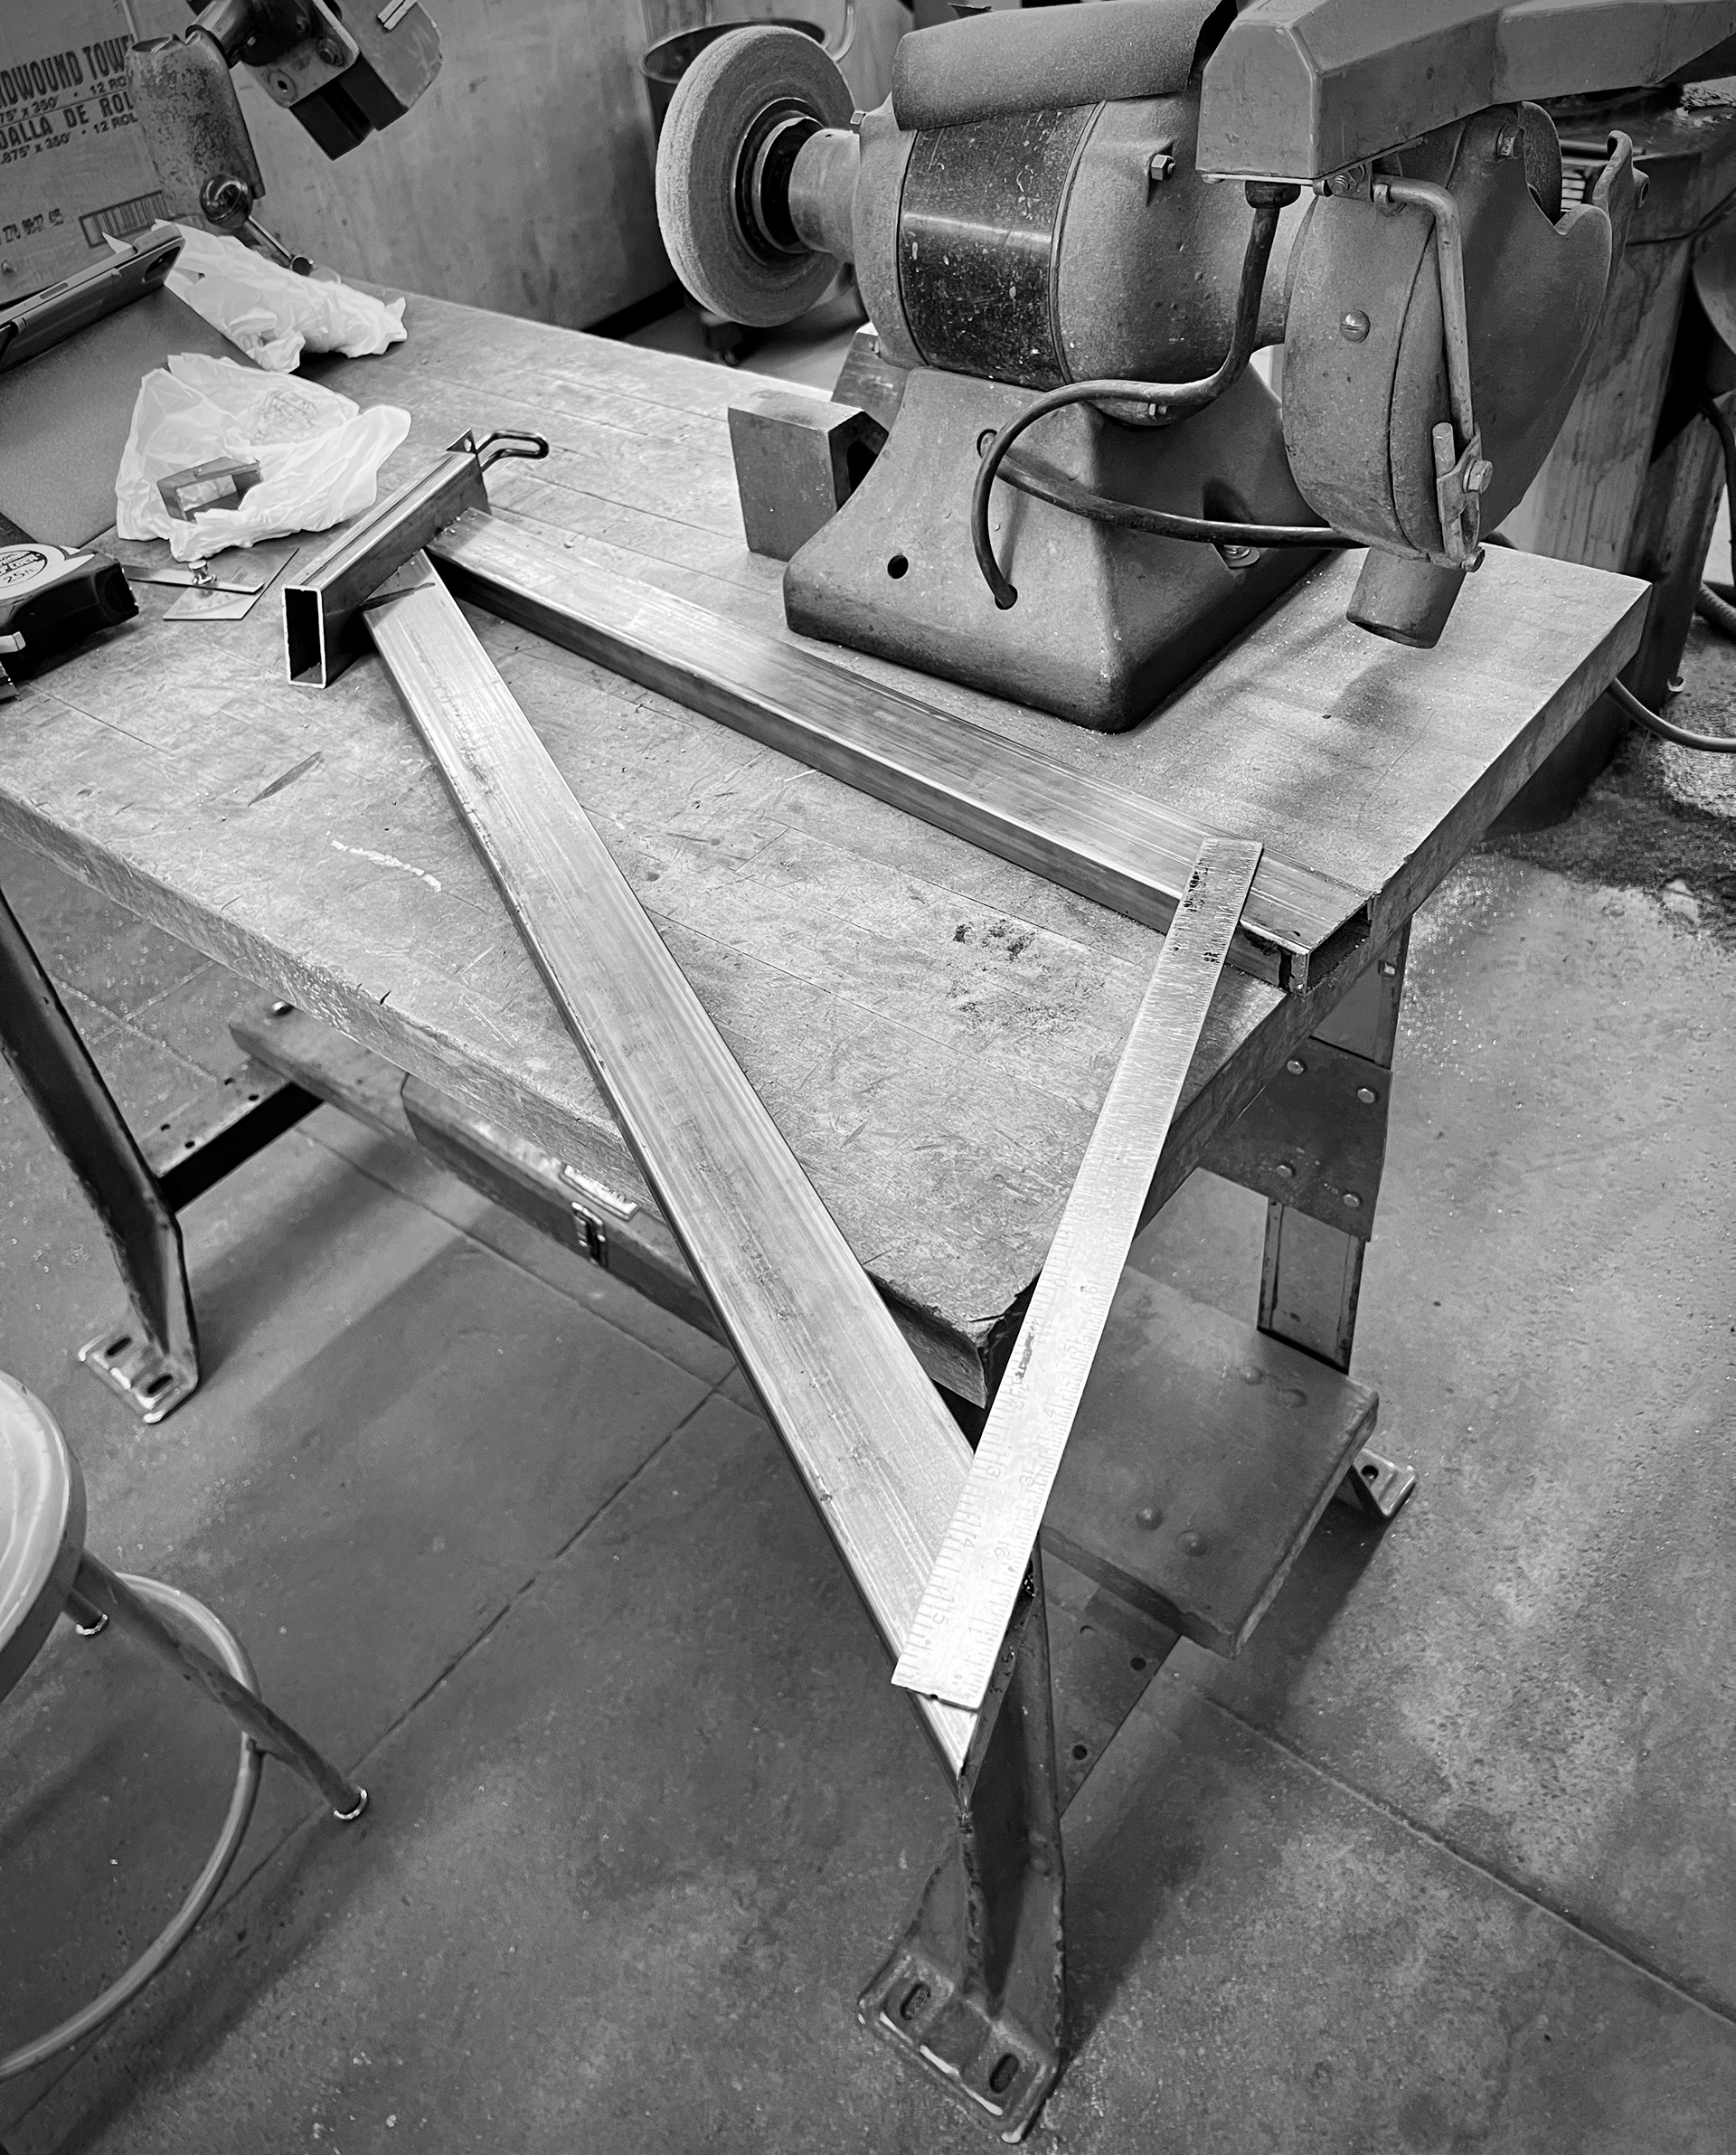
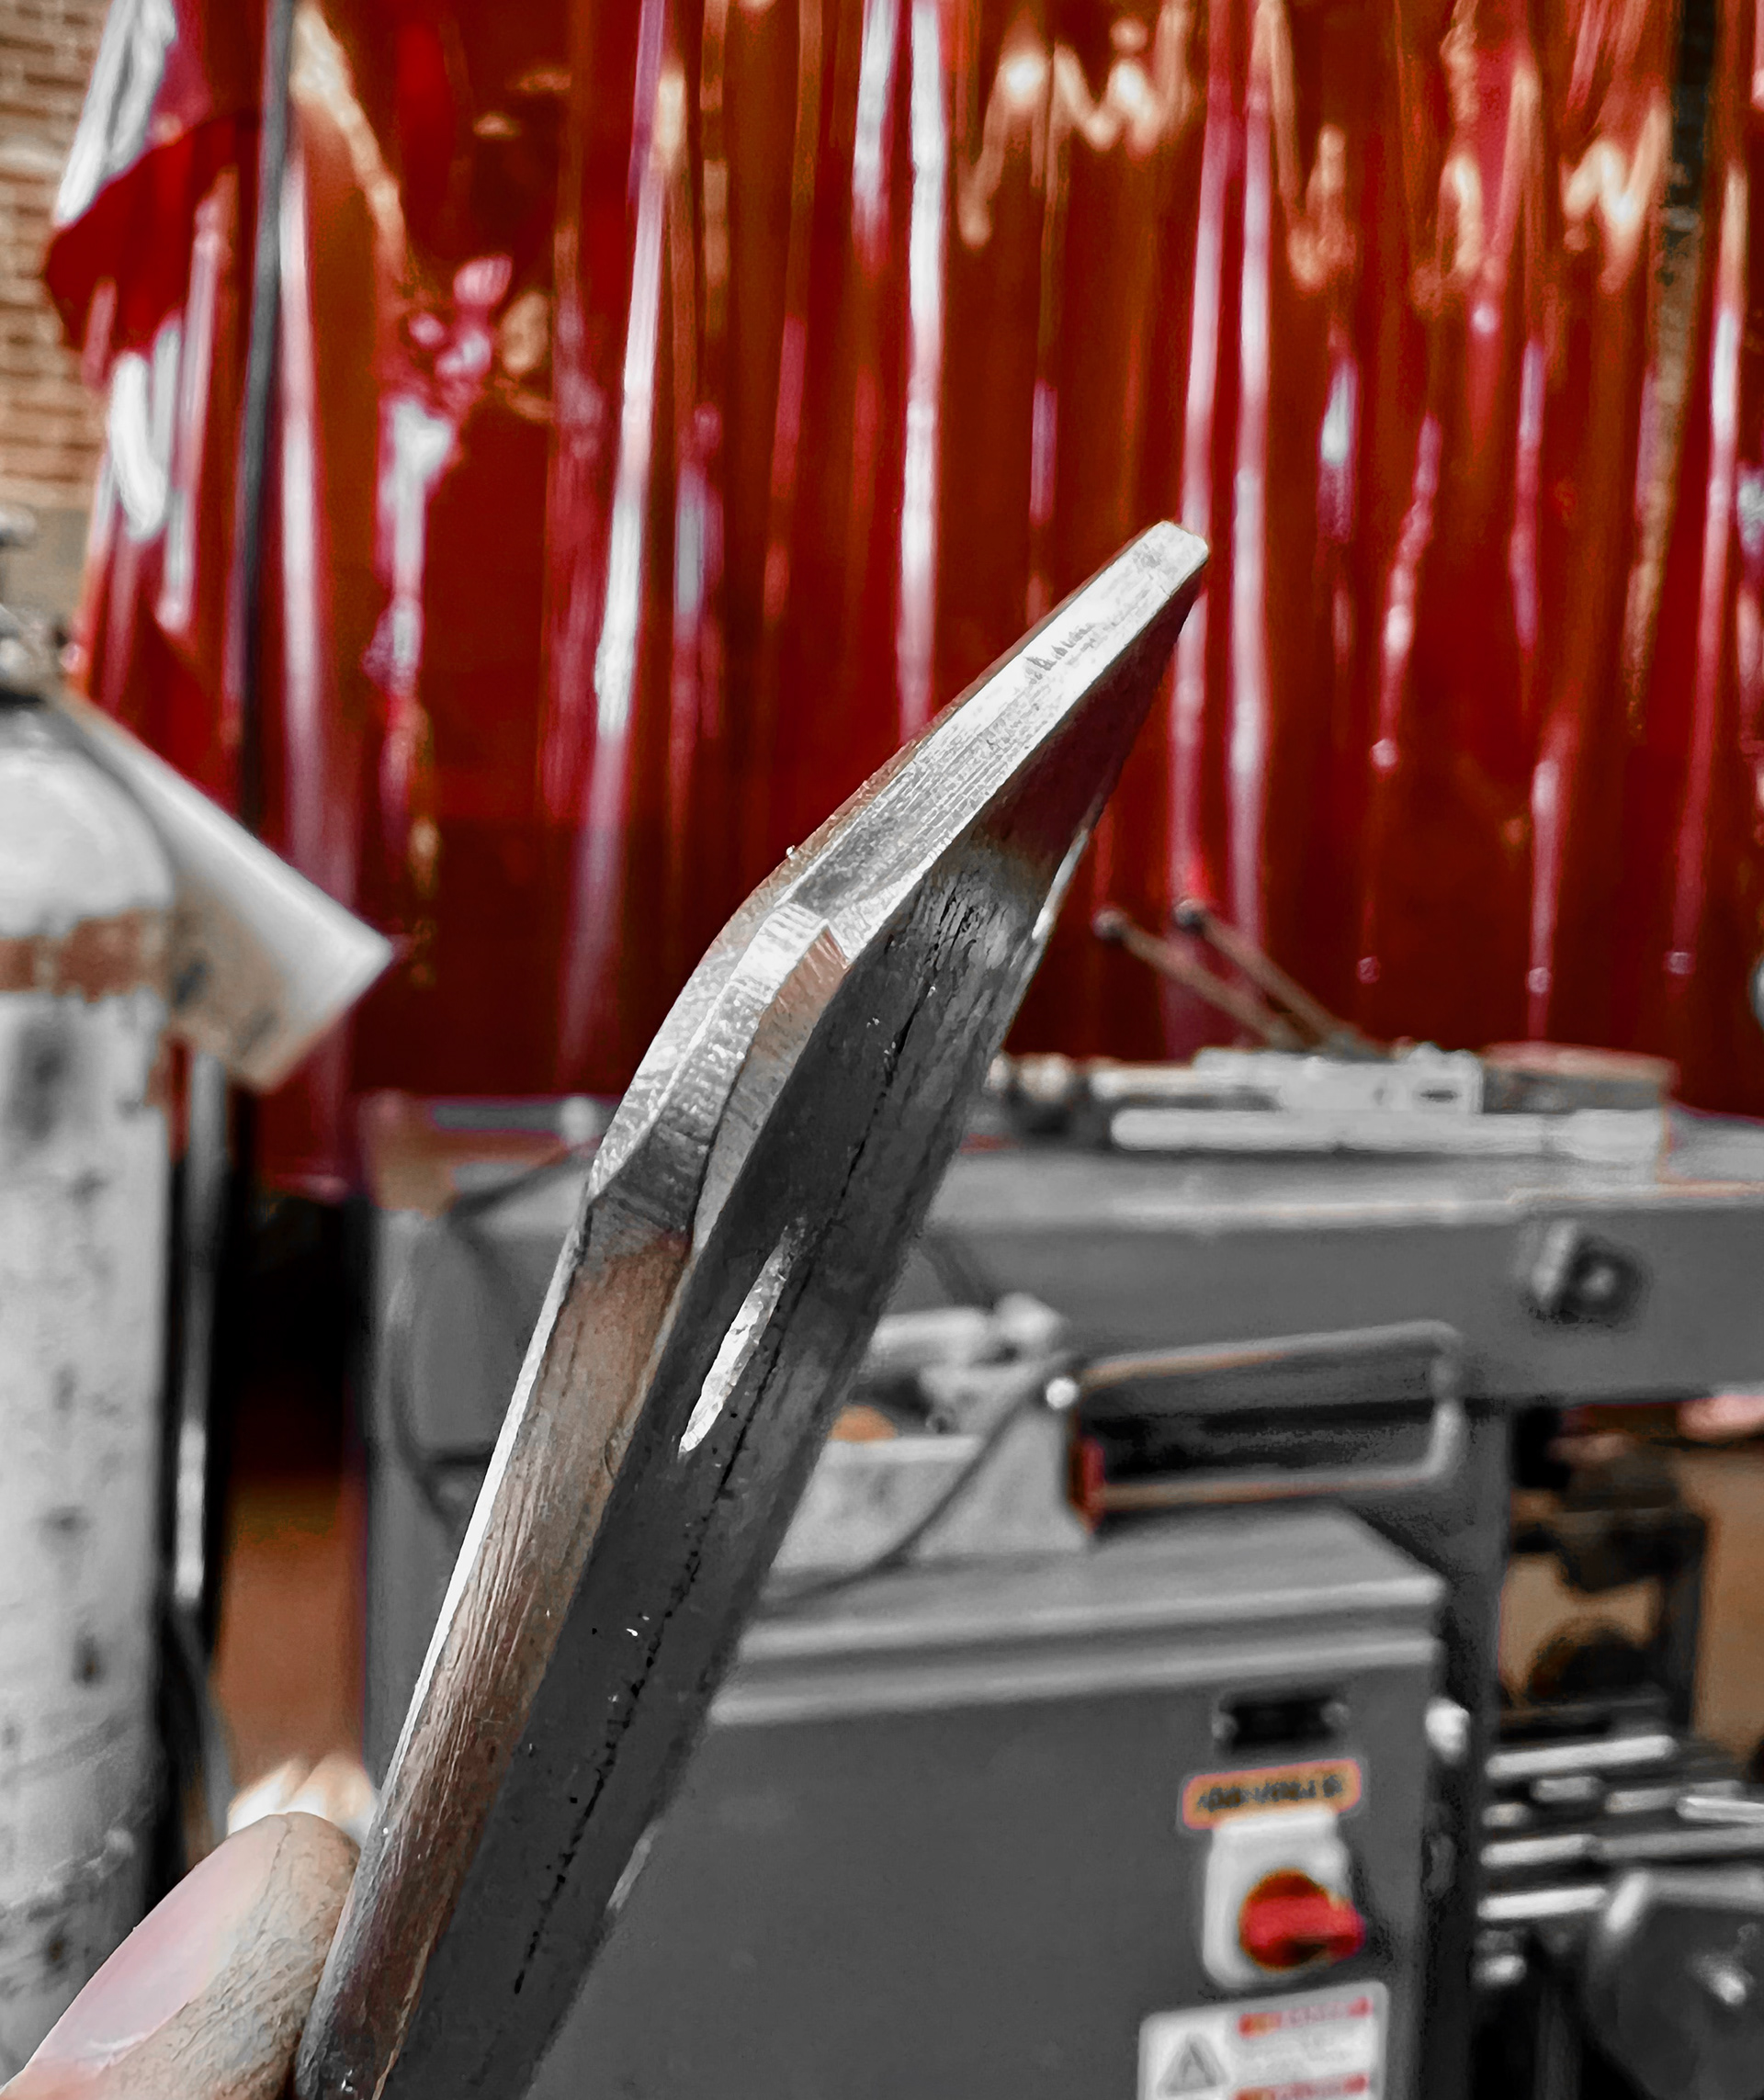
I first cut my steel rectangular tubing to the right dimensions and—importantly—angles. I took a bit of trig to get there, but I got it almost perfect.
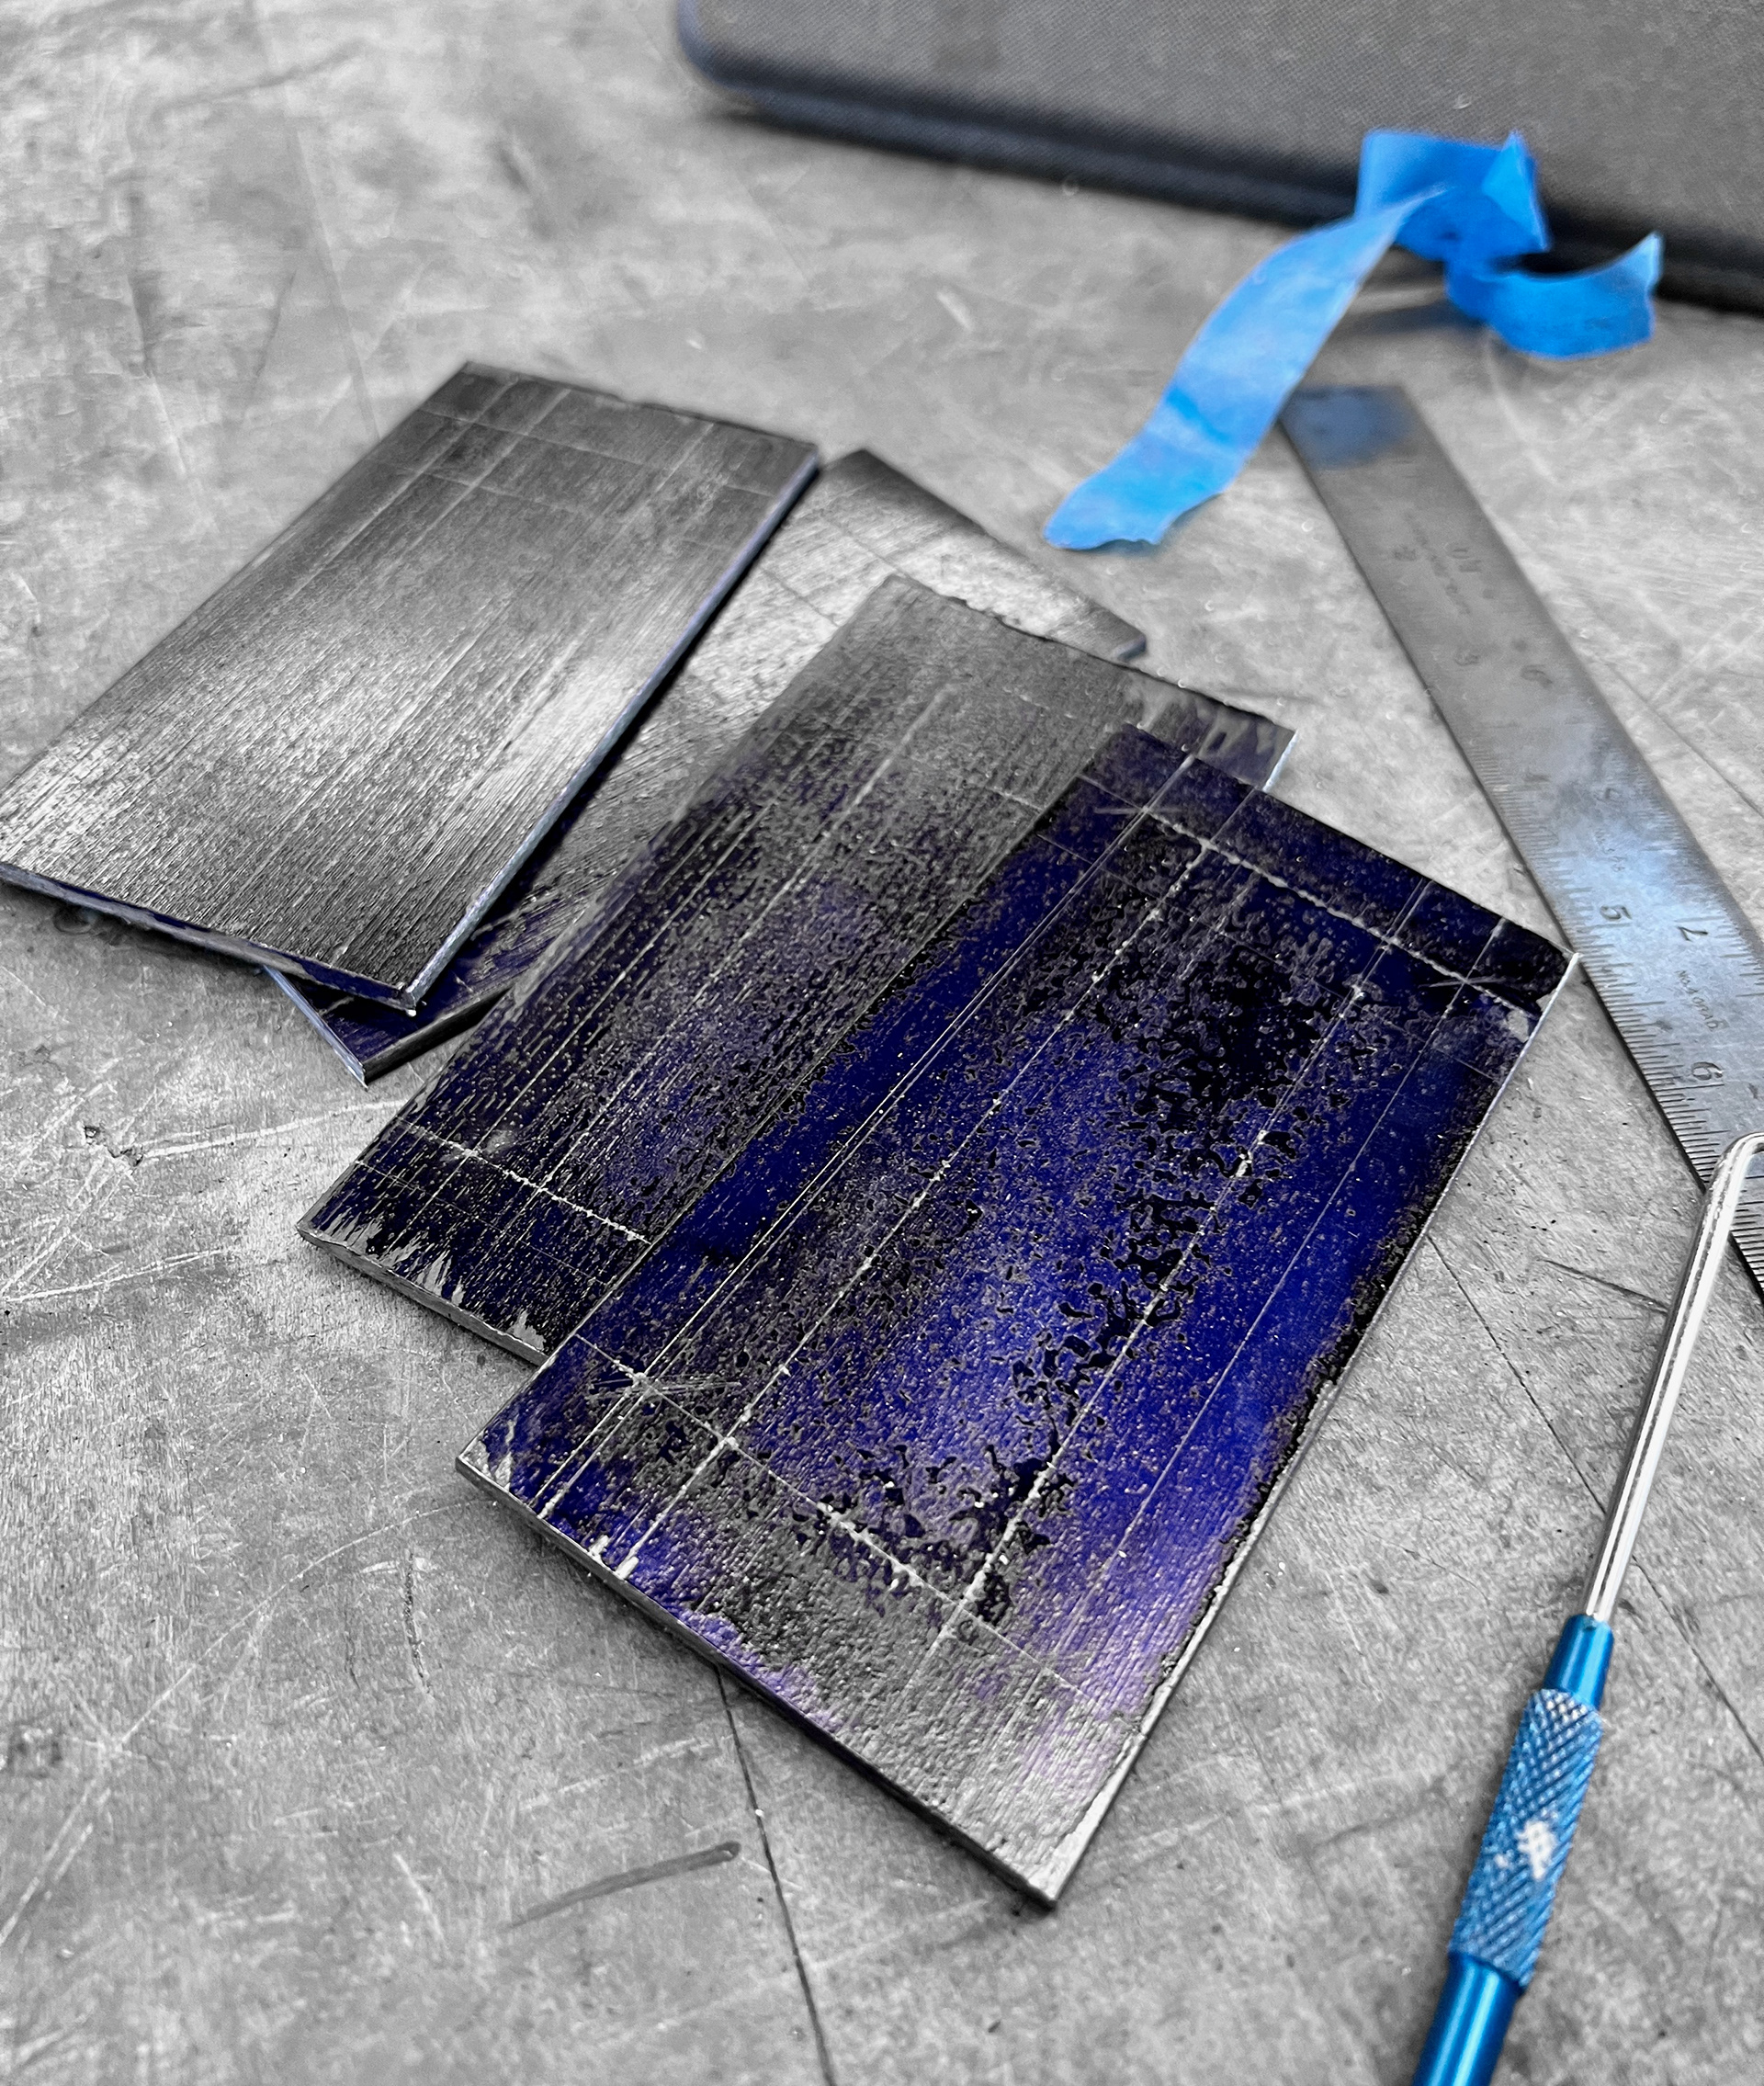
For the mounting plates, I started with some bar stock and marked them up for drilling.
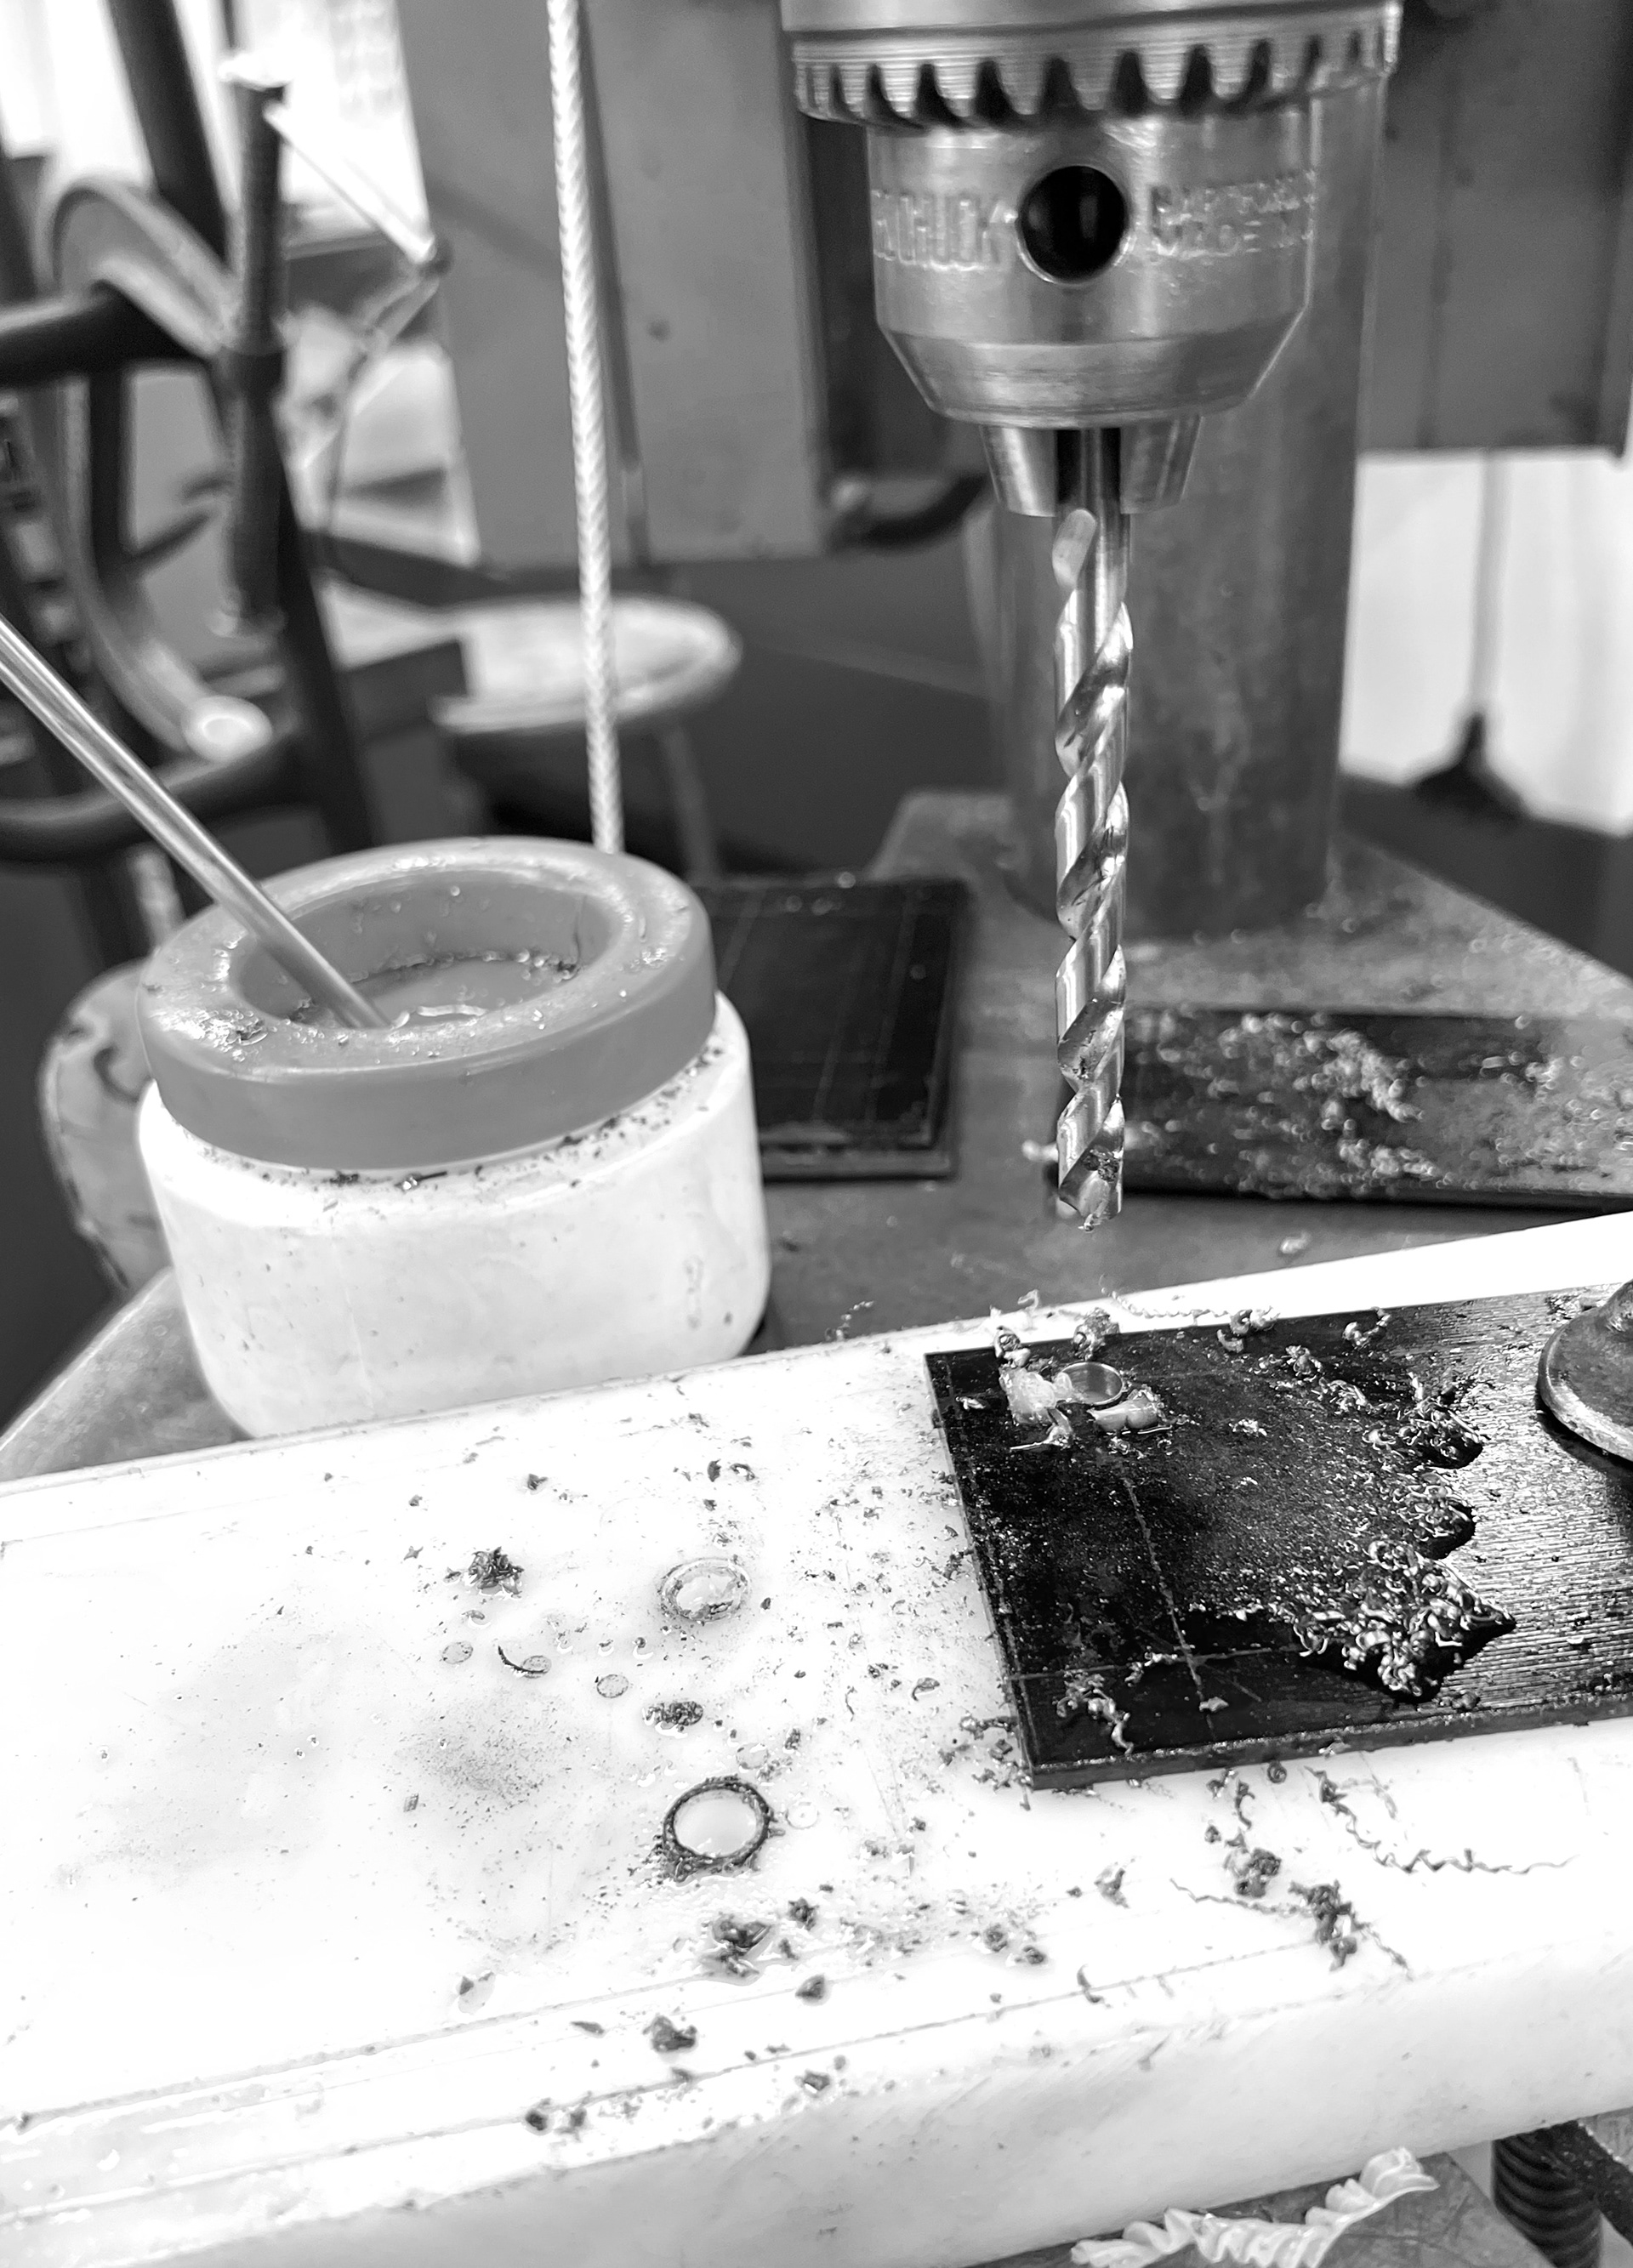
The drilling was laborious as the steel is quite resistive. It took a lot of cooling time.
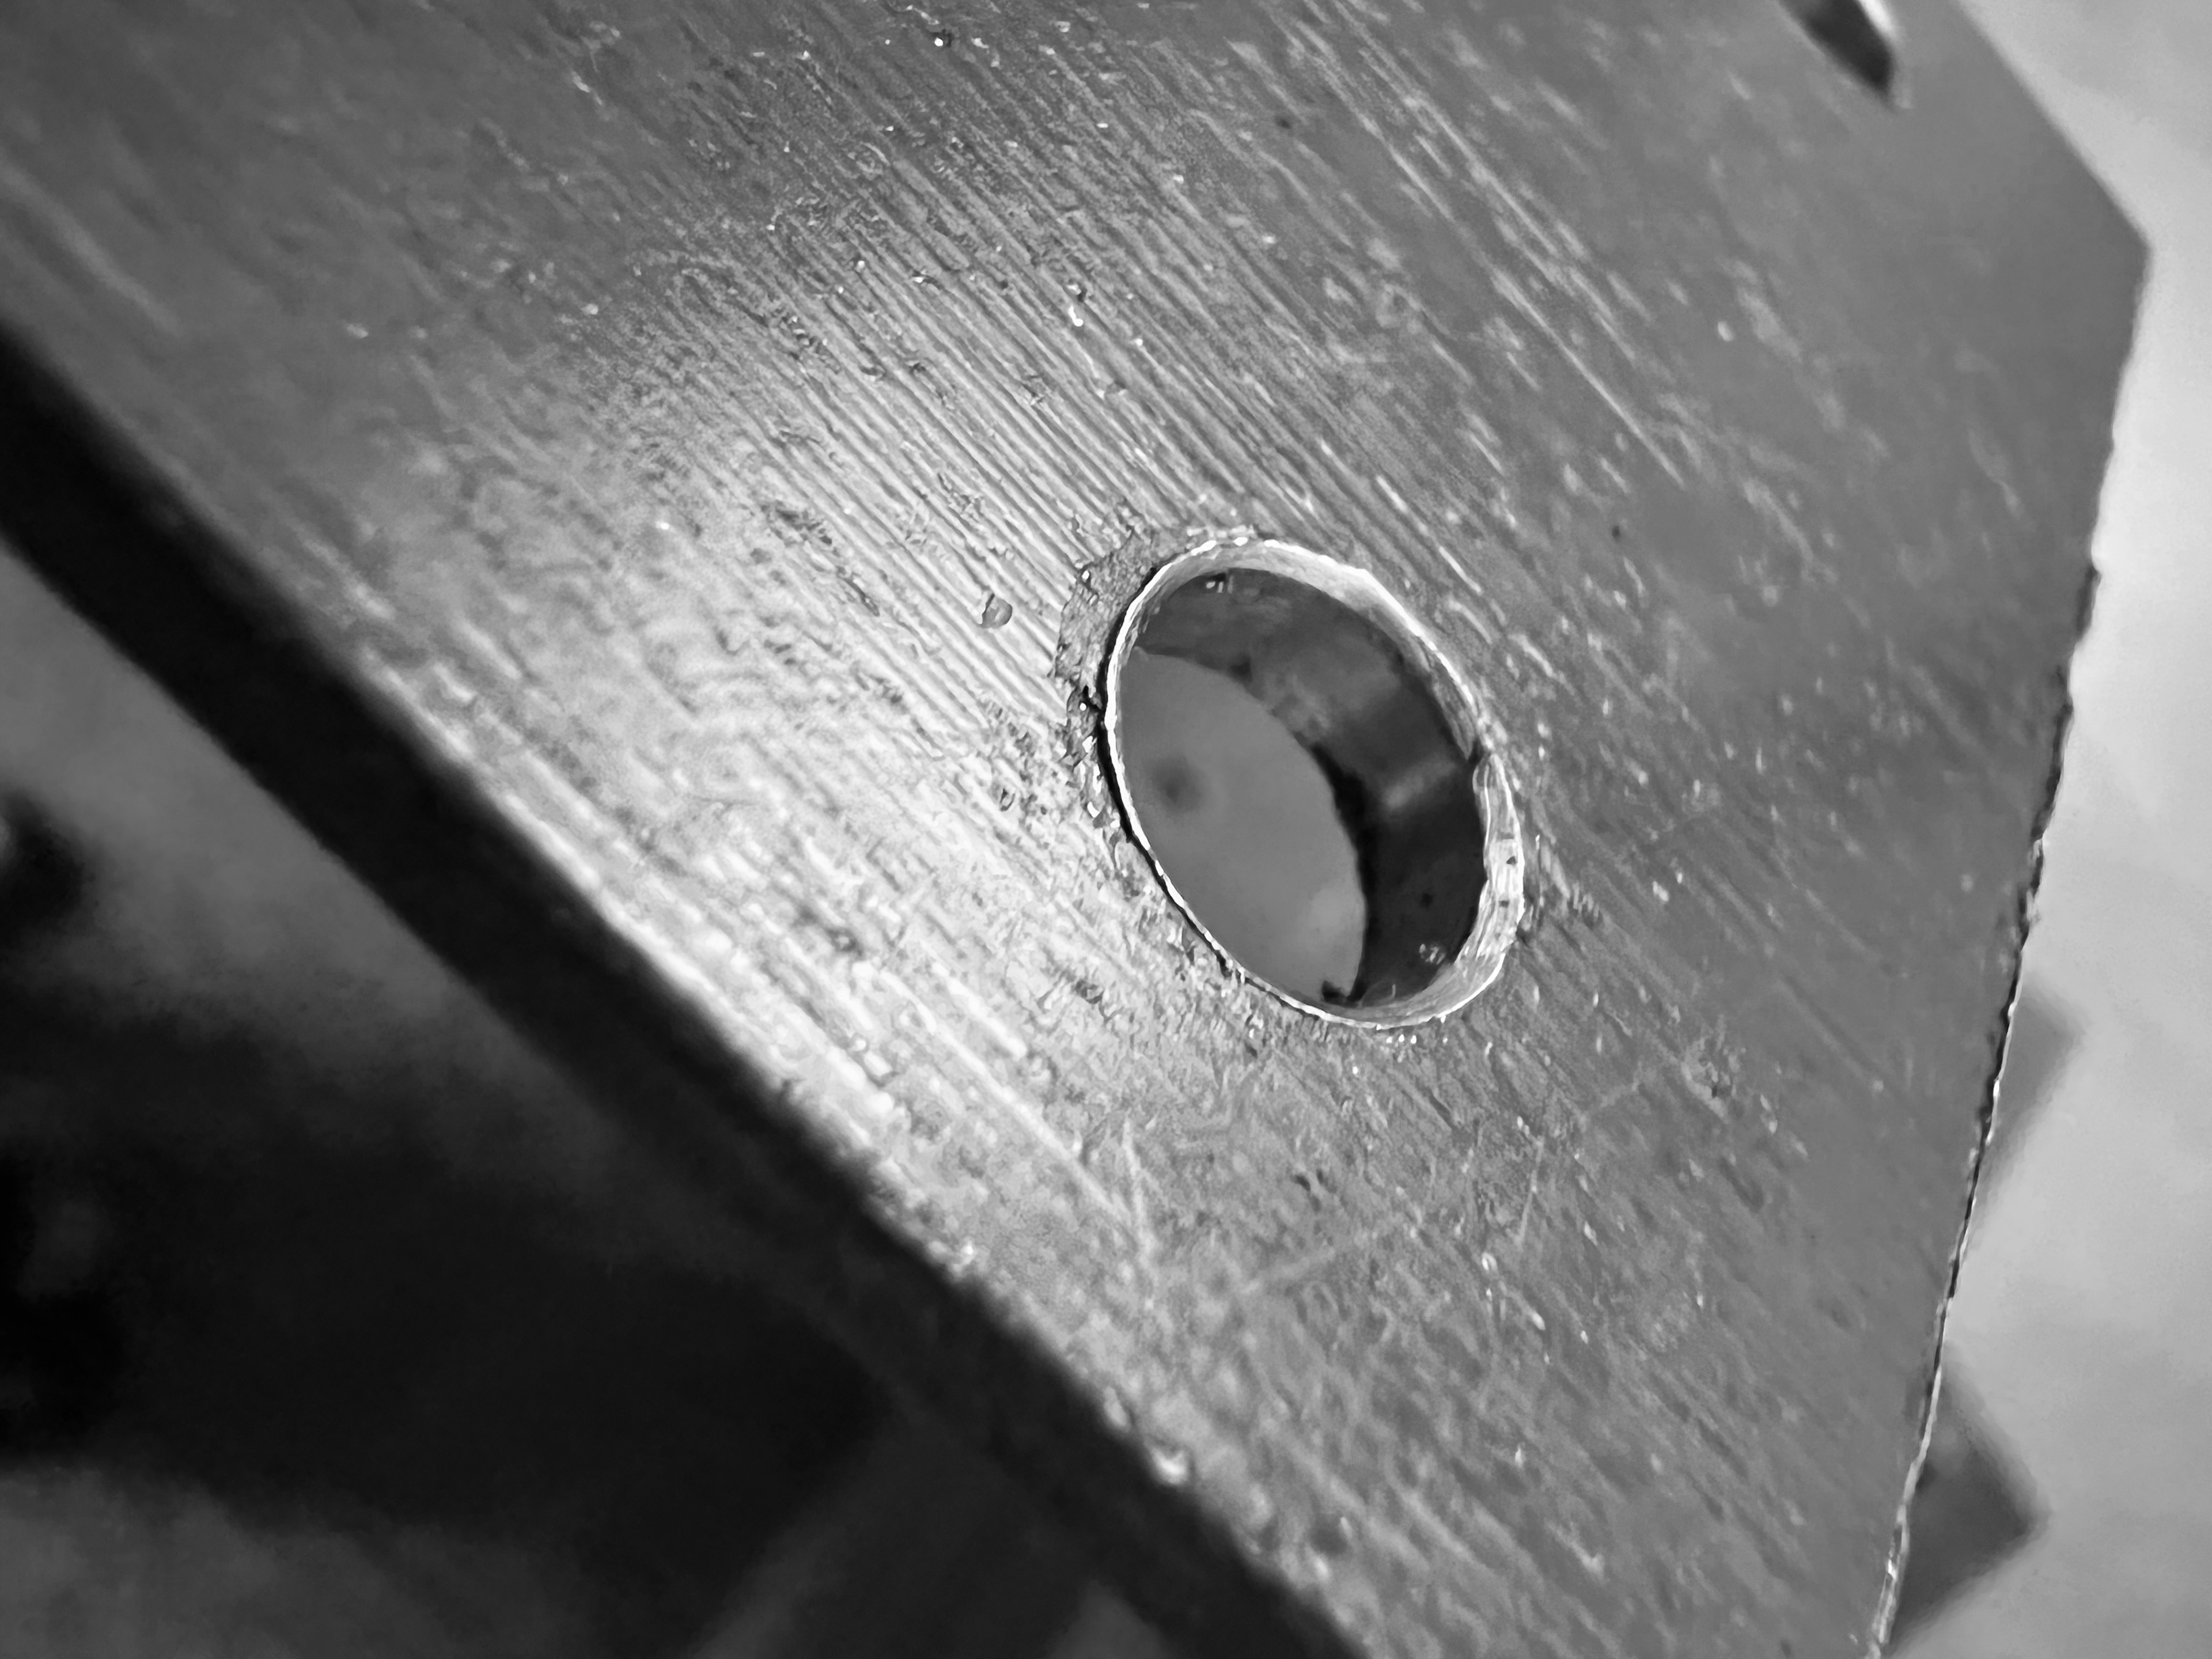
After drilling, I deburred the holes to make sure they weren't sharp and had a nicer appearance (even though they'd be under screws.
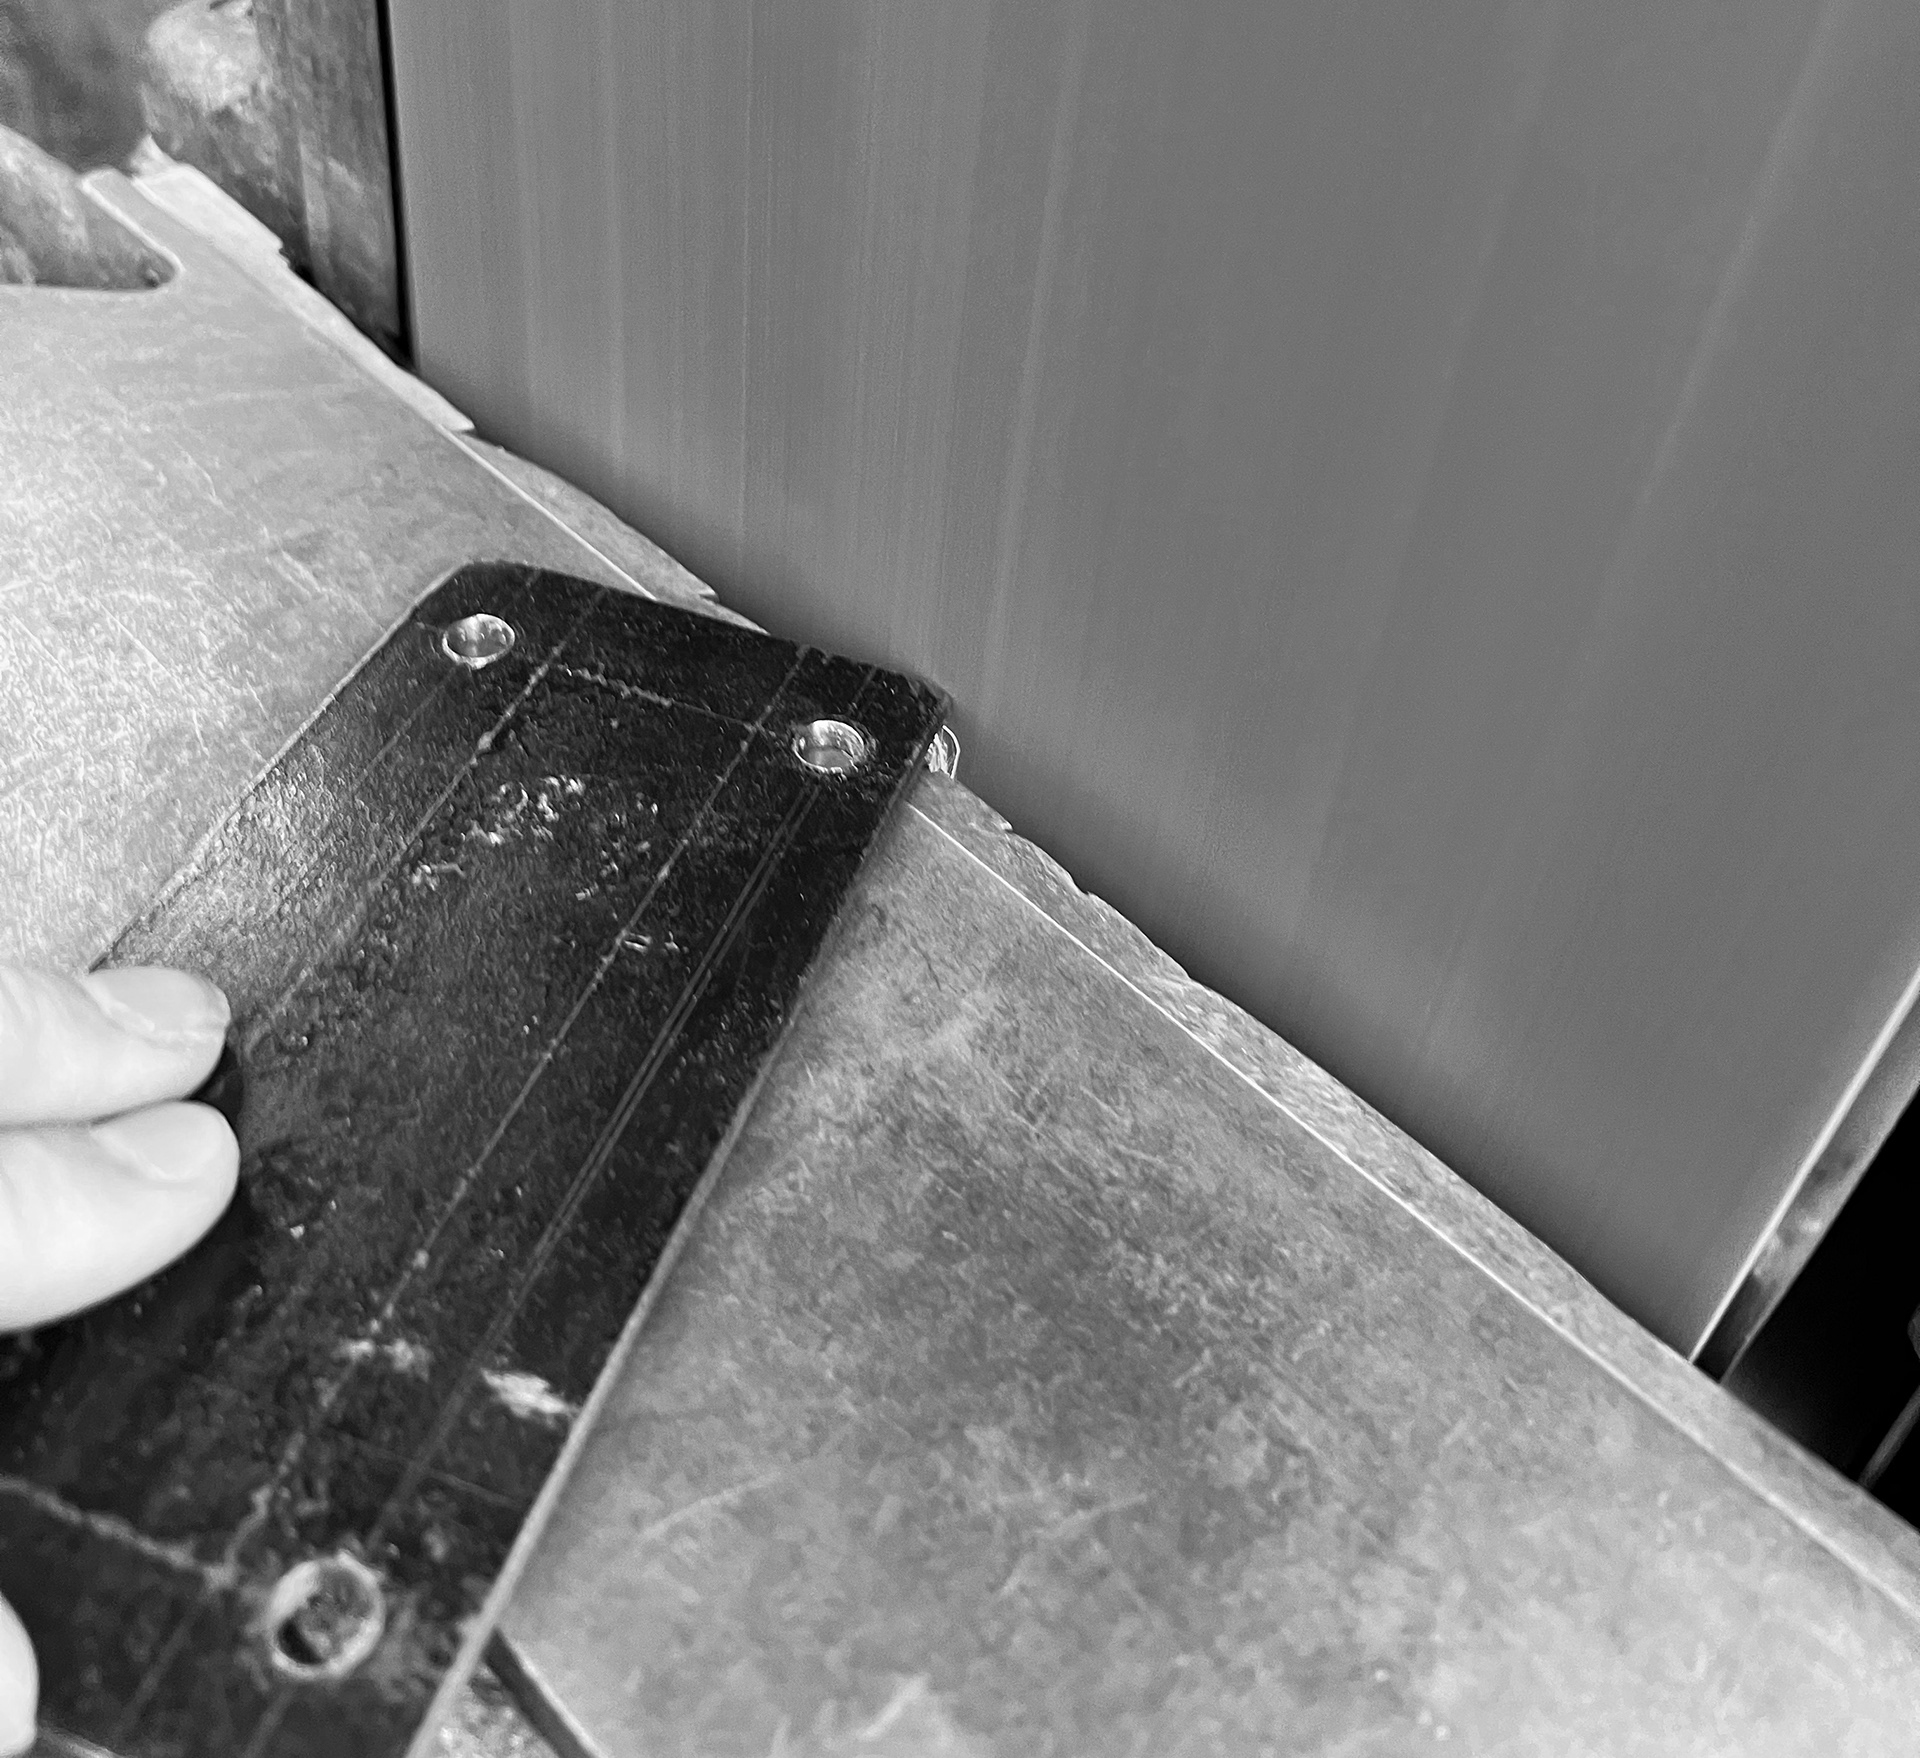
I beveled the plate corners to give them a softer look that would fit more with the wood bevels.
Following all of the work on the plates, I was still frustrated that they didn't feel nice to the touch or look quite sleek. So I spent an entire three hour session filing down the edges to get a nice chamfered appearance.
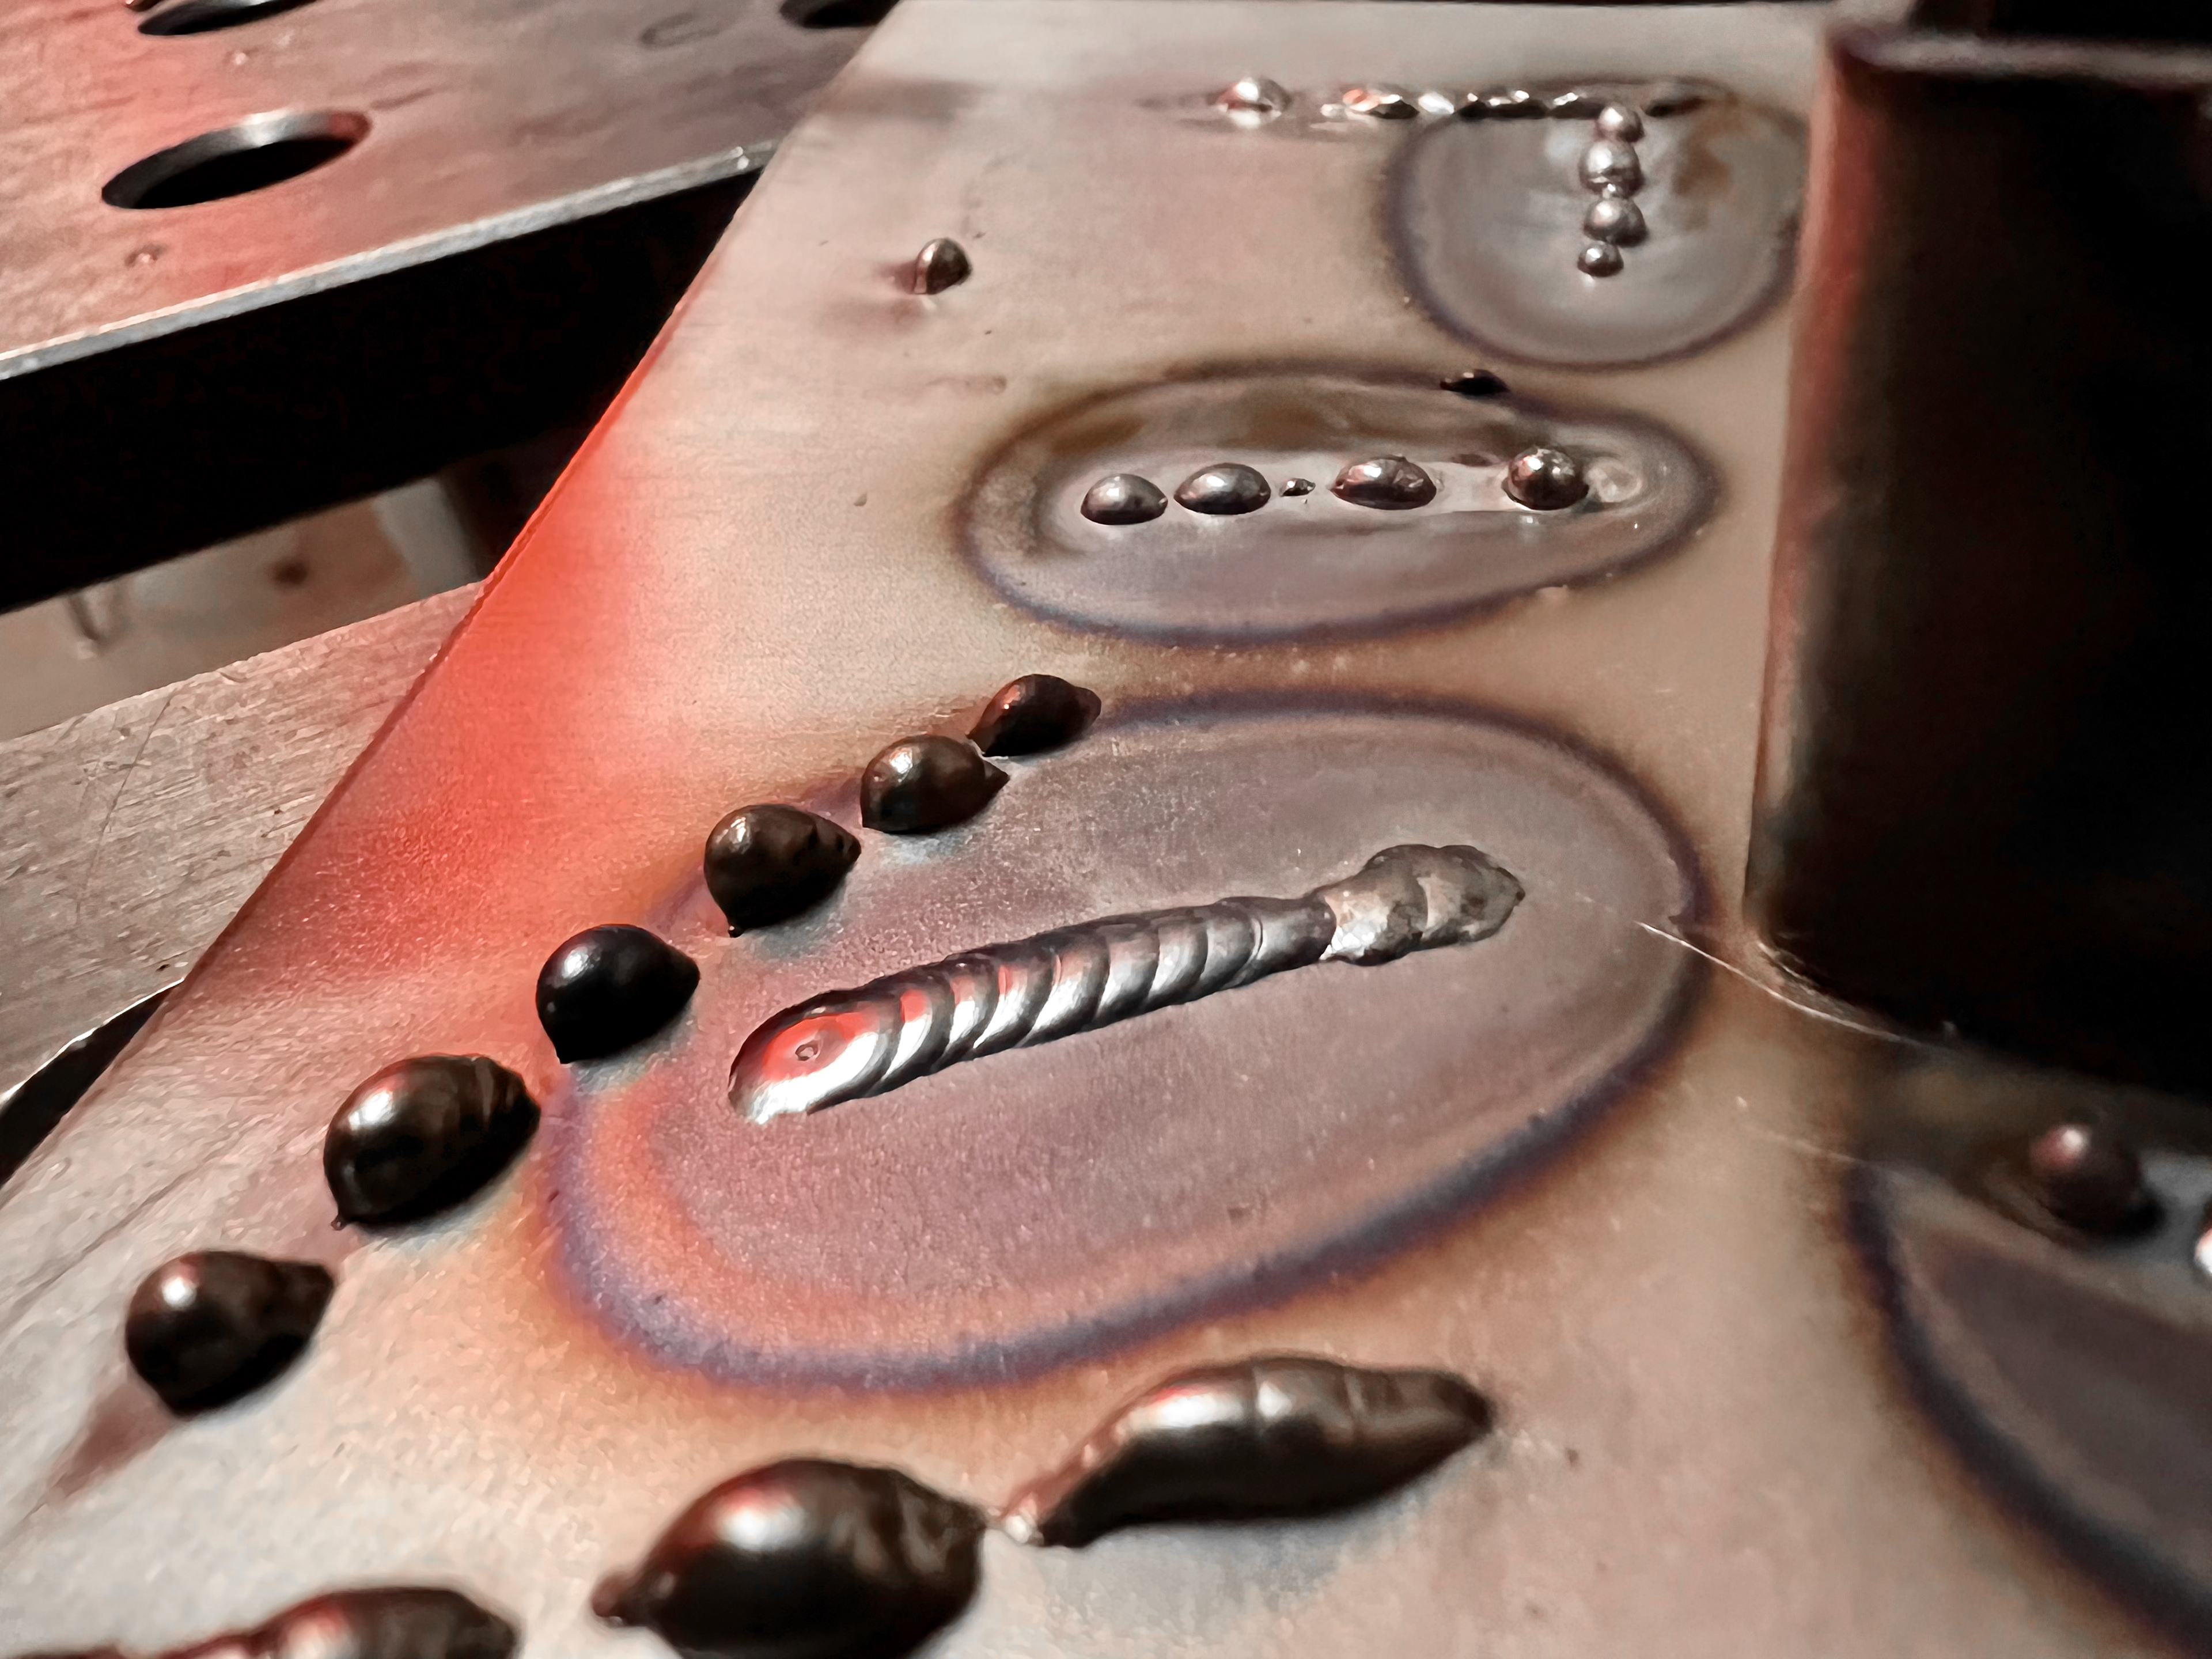
Originally, I wanted to TIG weld this project as it would look cleaner. But I also knew I was not up to snuff. So I came in for five 4-hour practice sessions where I would just practice, practice, and practice.
But try as I might, I just did not get to a good enough level to have confidence in the structural integrity of my table. So, it was time to pivot...
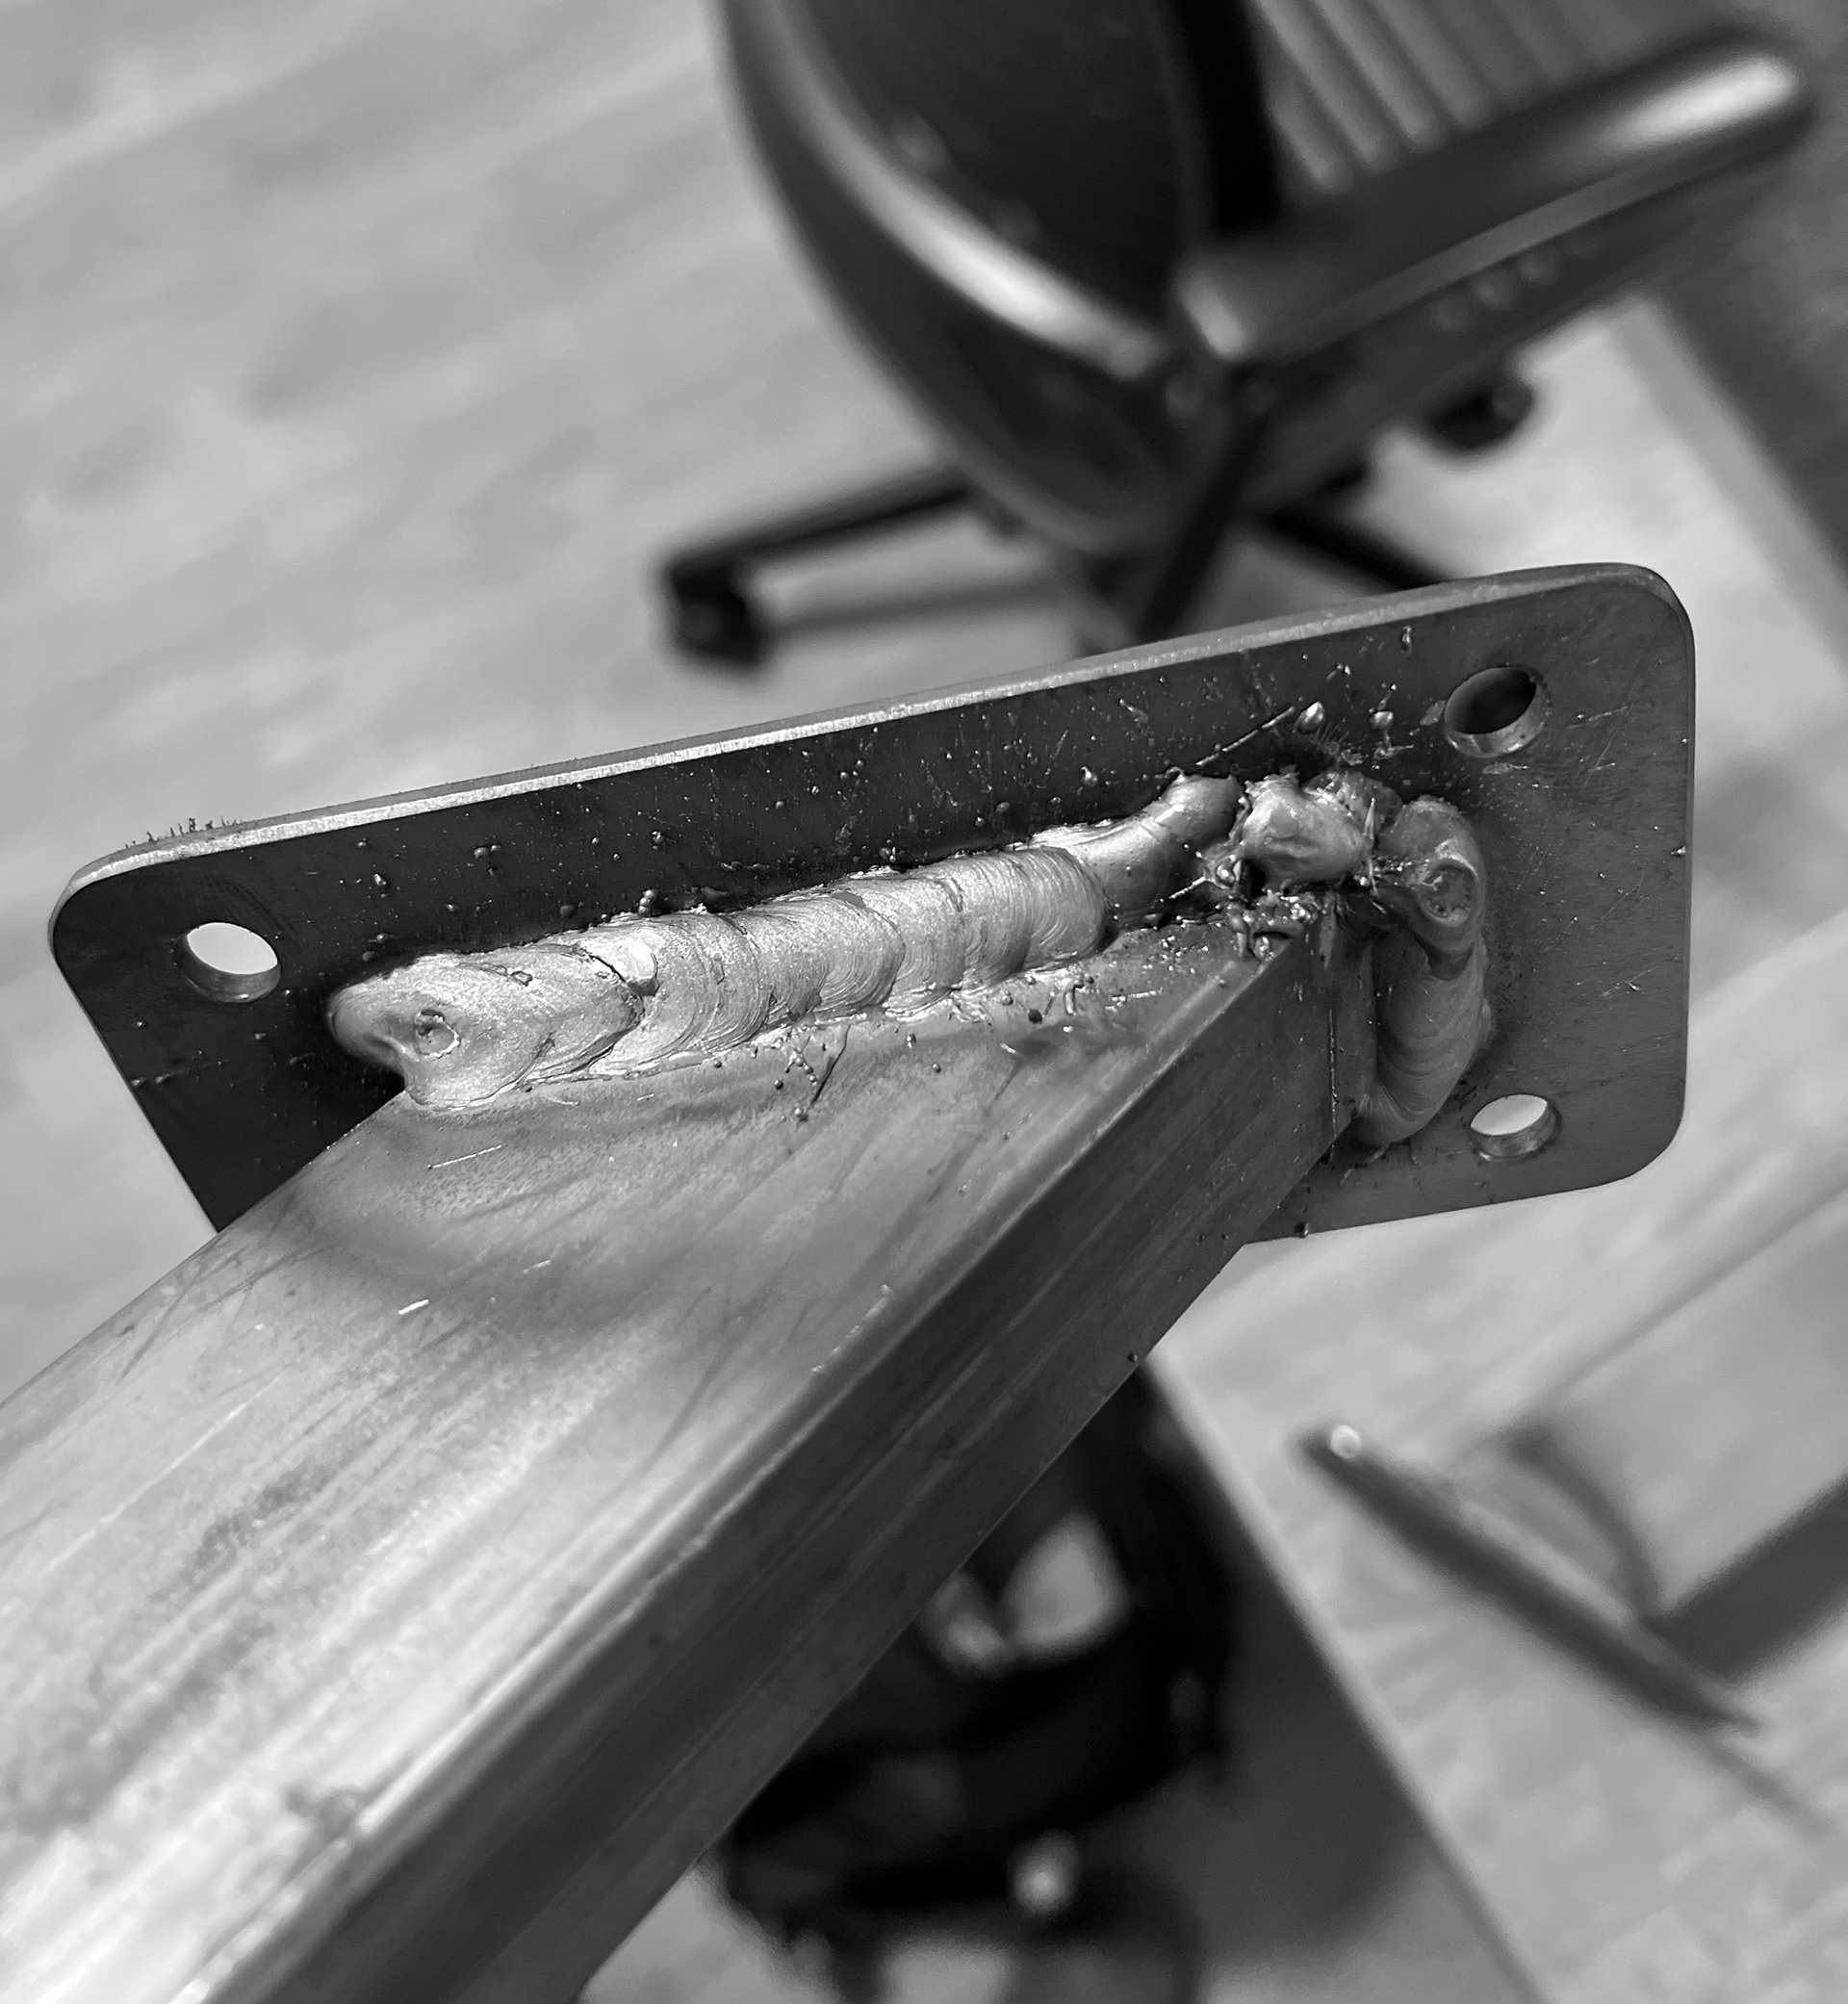
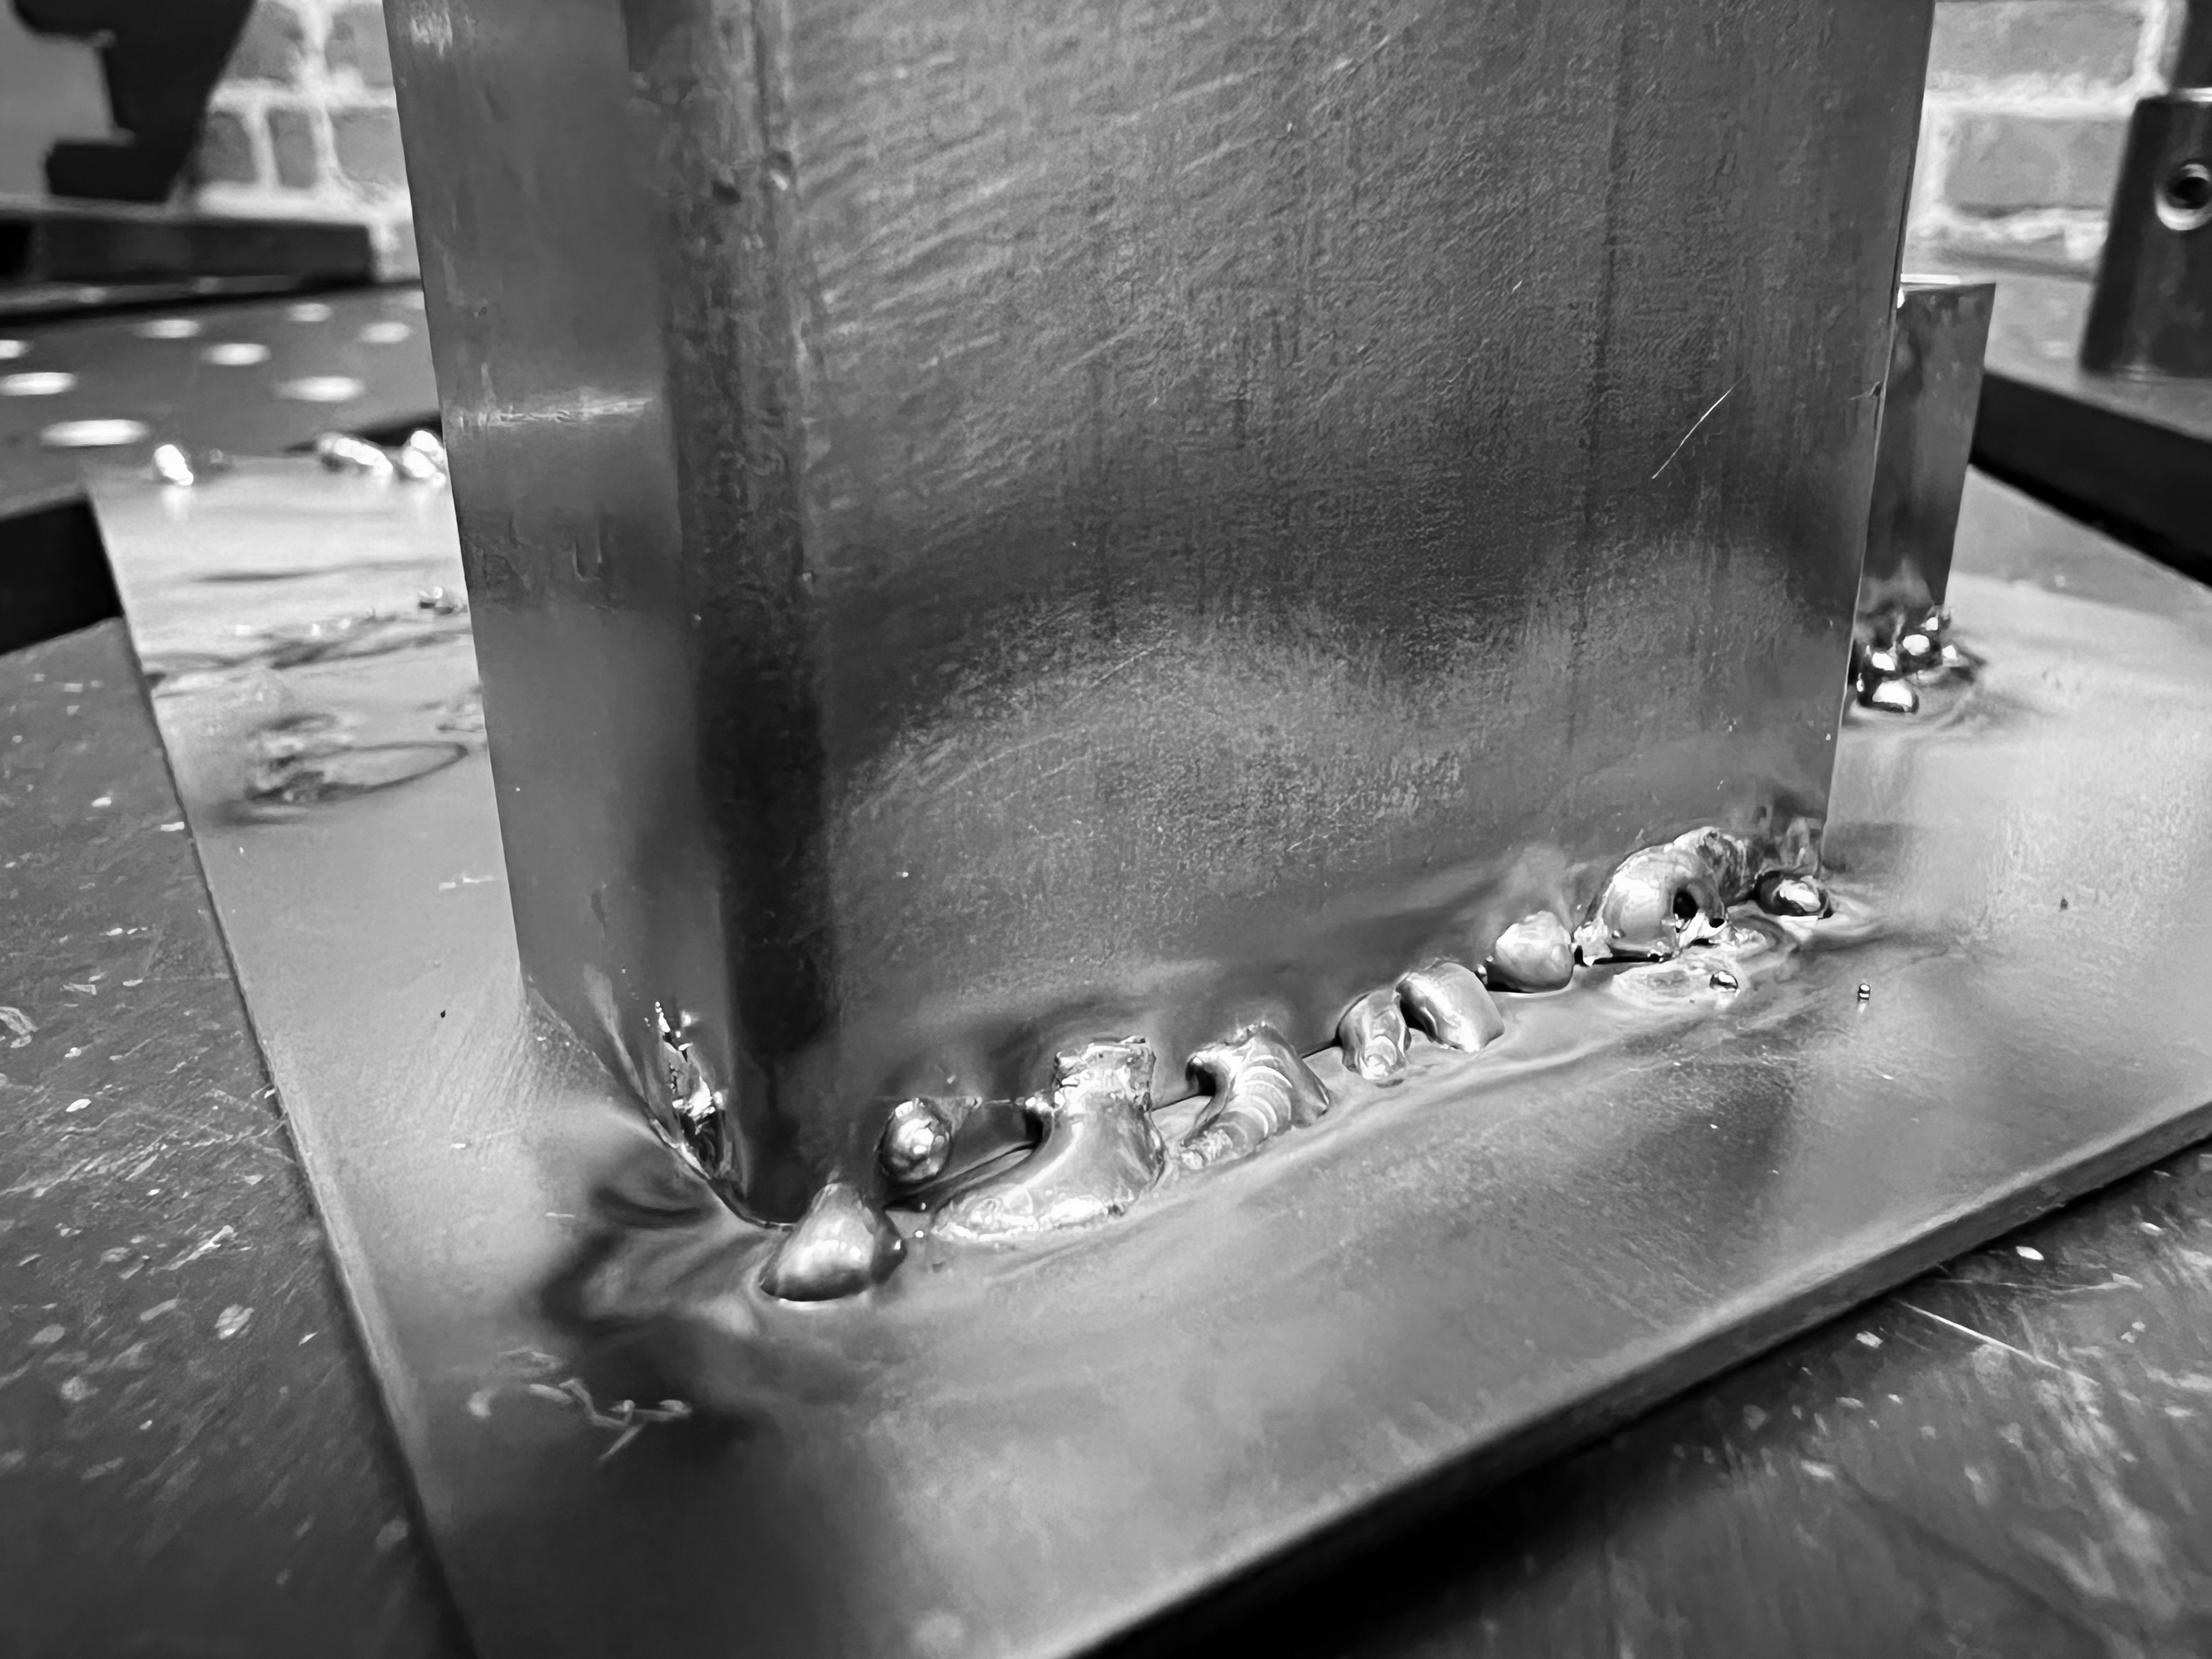
...to MIG welding! It was a blast to learn, and I had a much easier time using it. My welds were still quite messy, but they were definitely structurally sound.

I sanded and filed the welds down (with the plates getting in the crossfire, unfortunately).
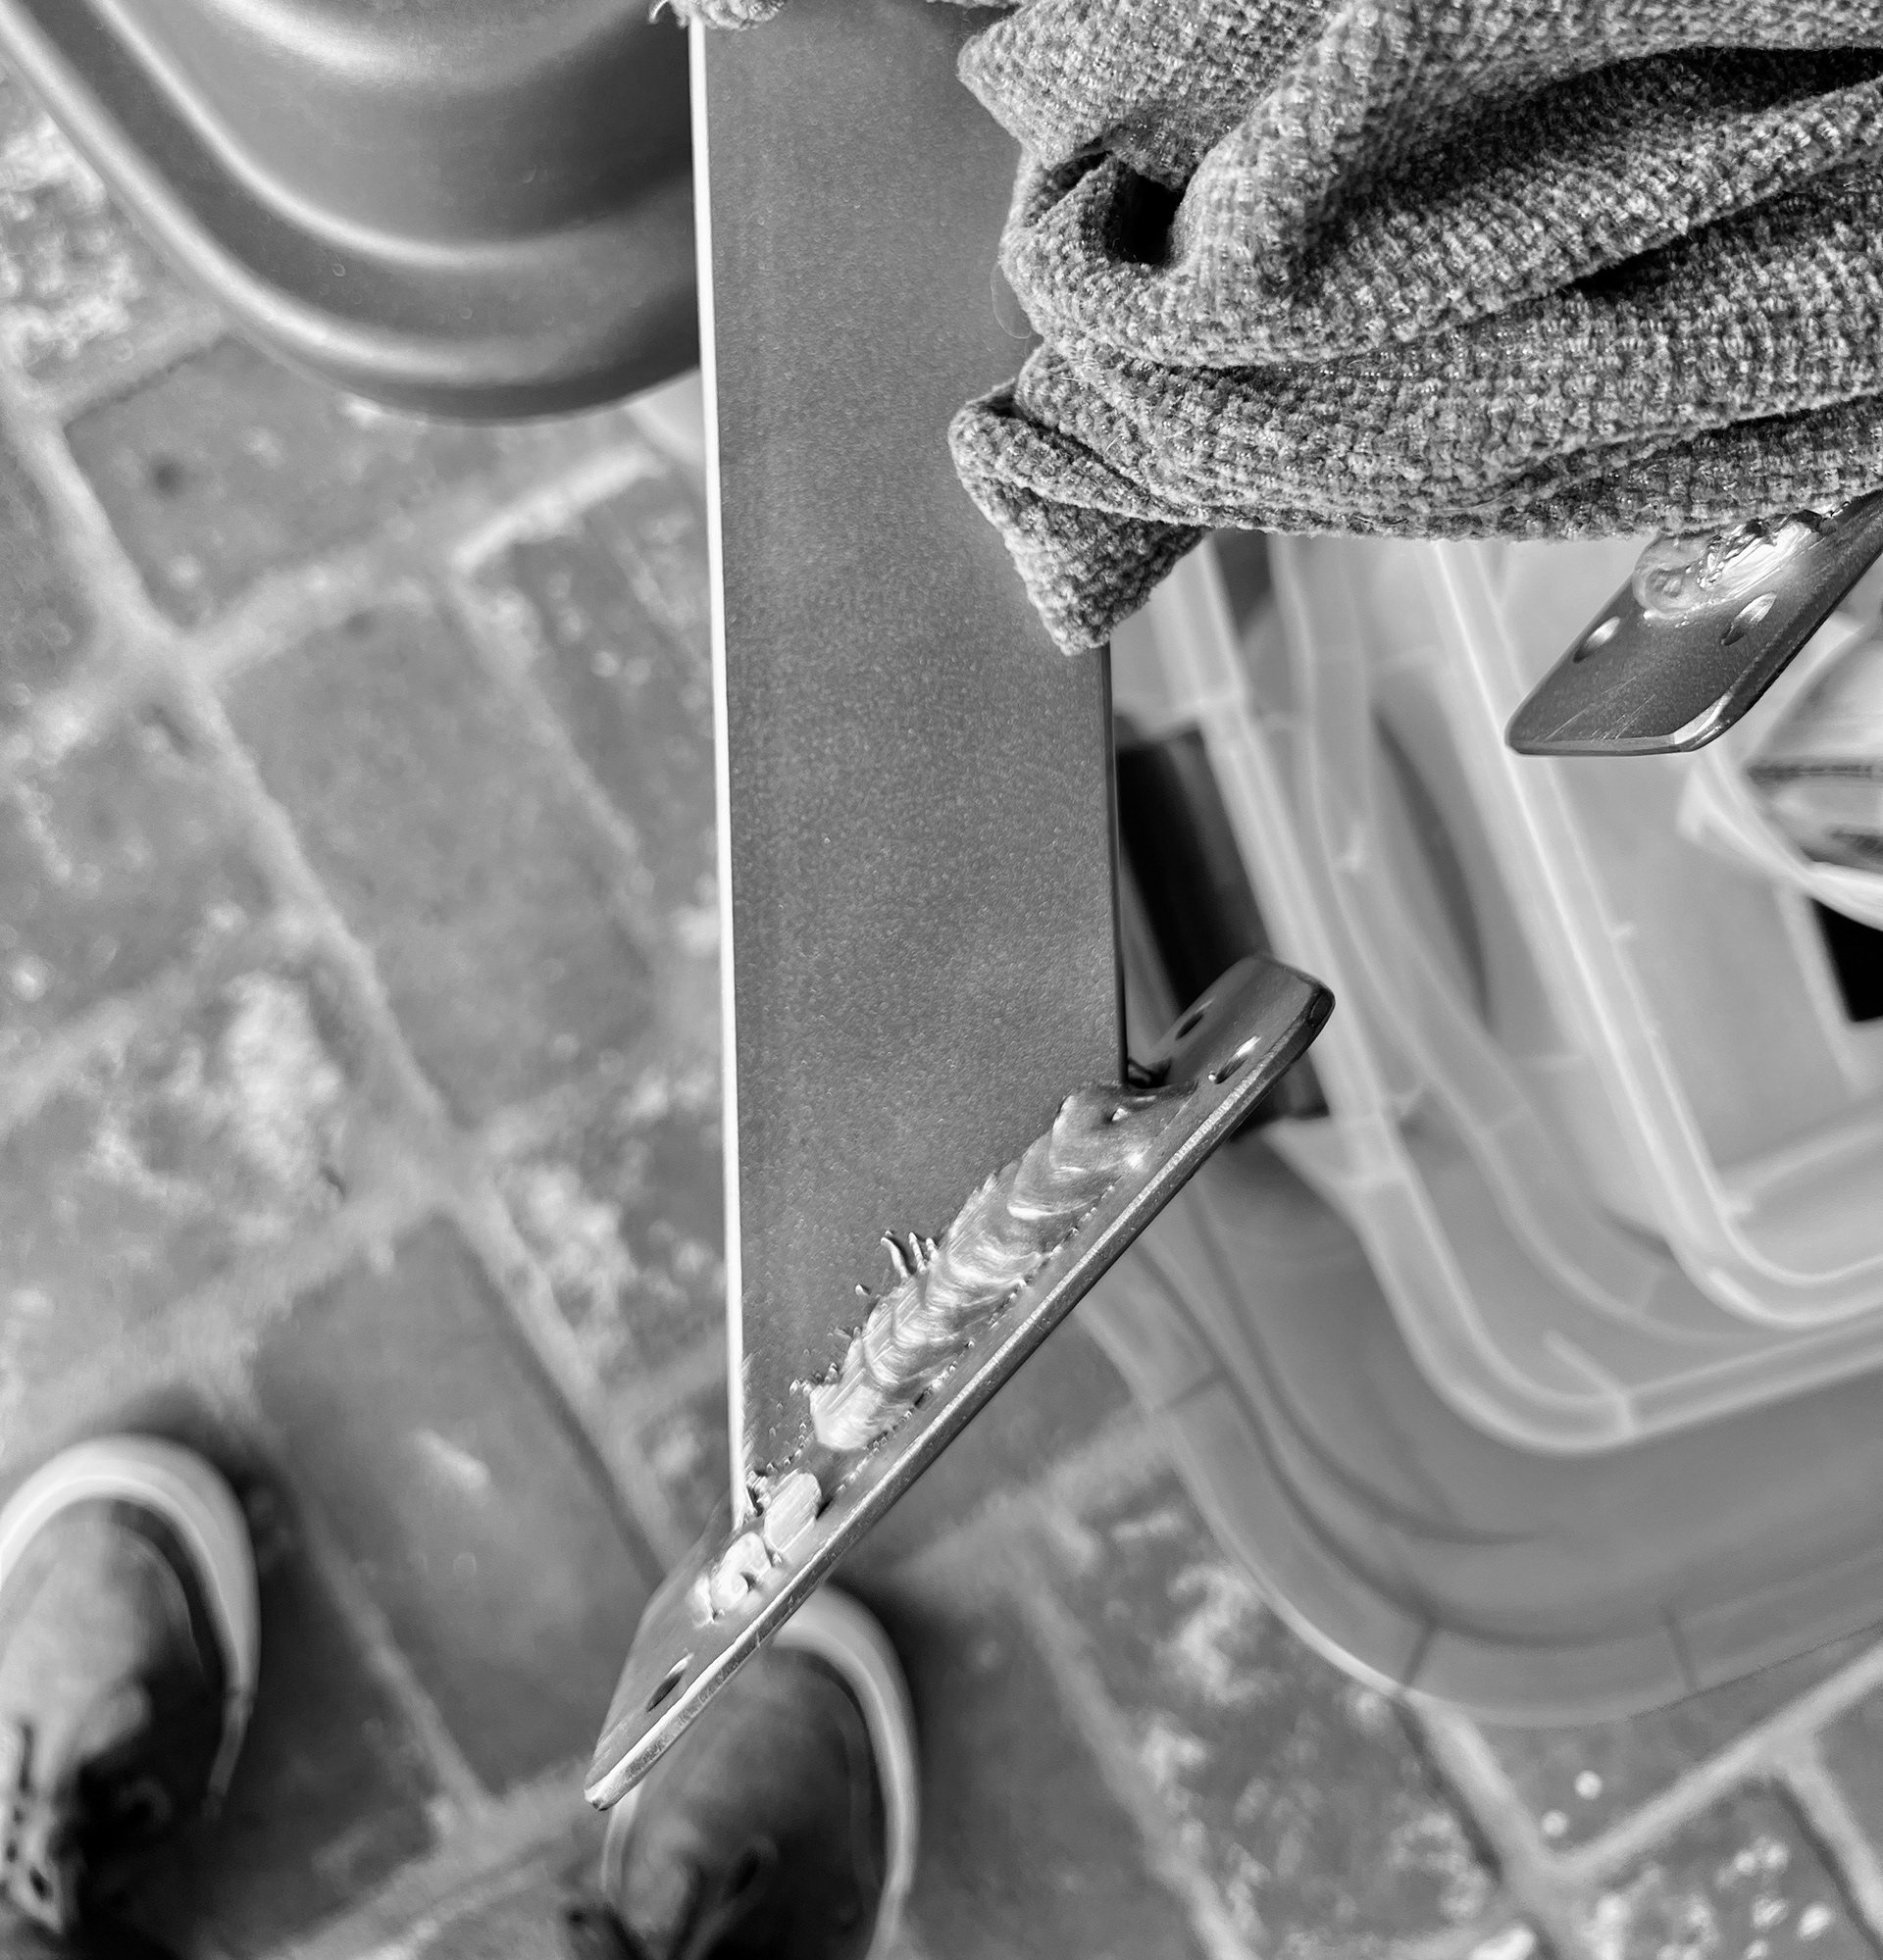
And to finish the legs, I sandblasted them, which gave the steel a wonderfully light appearance akin to brushed aluminum.
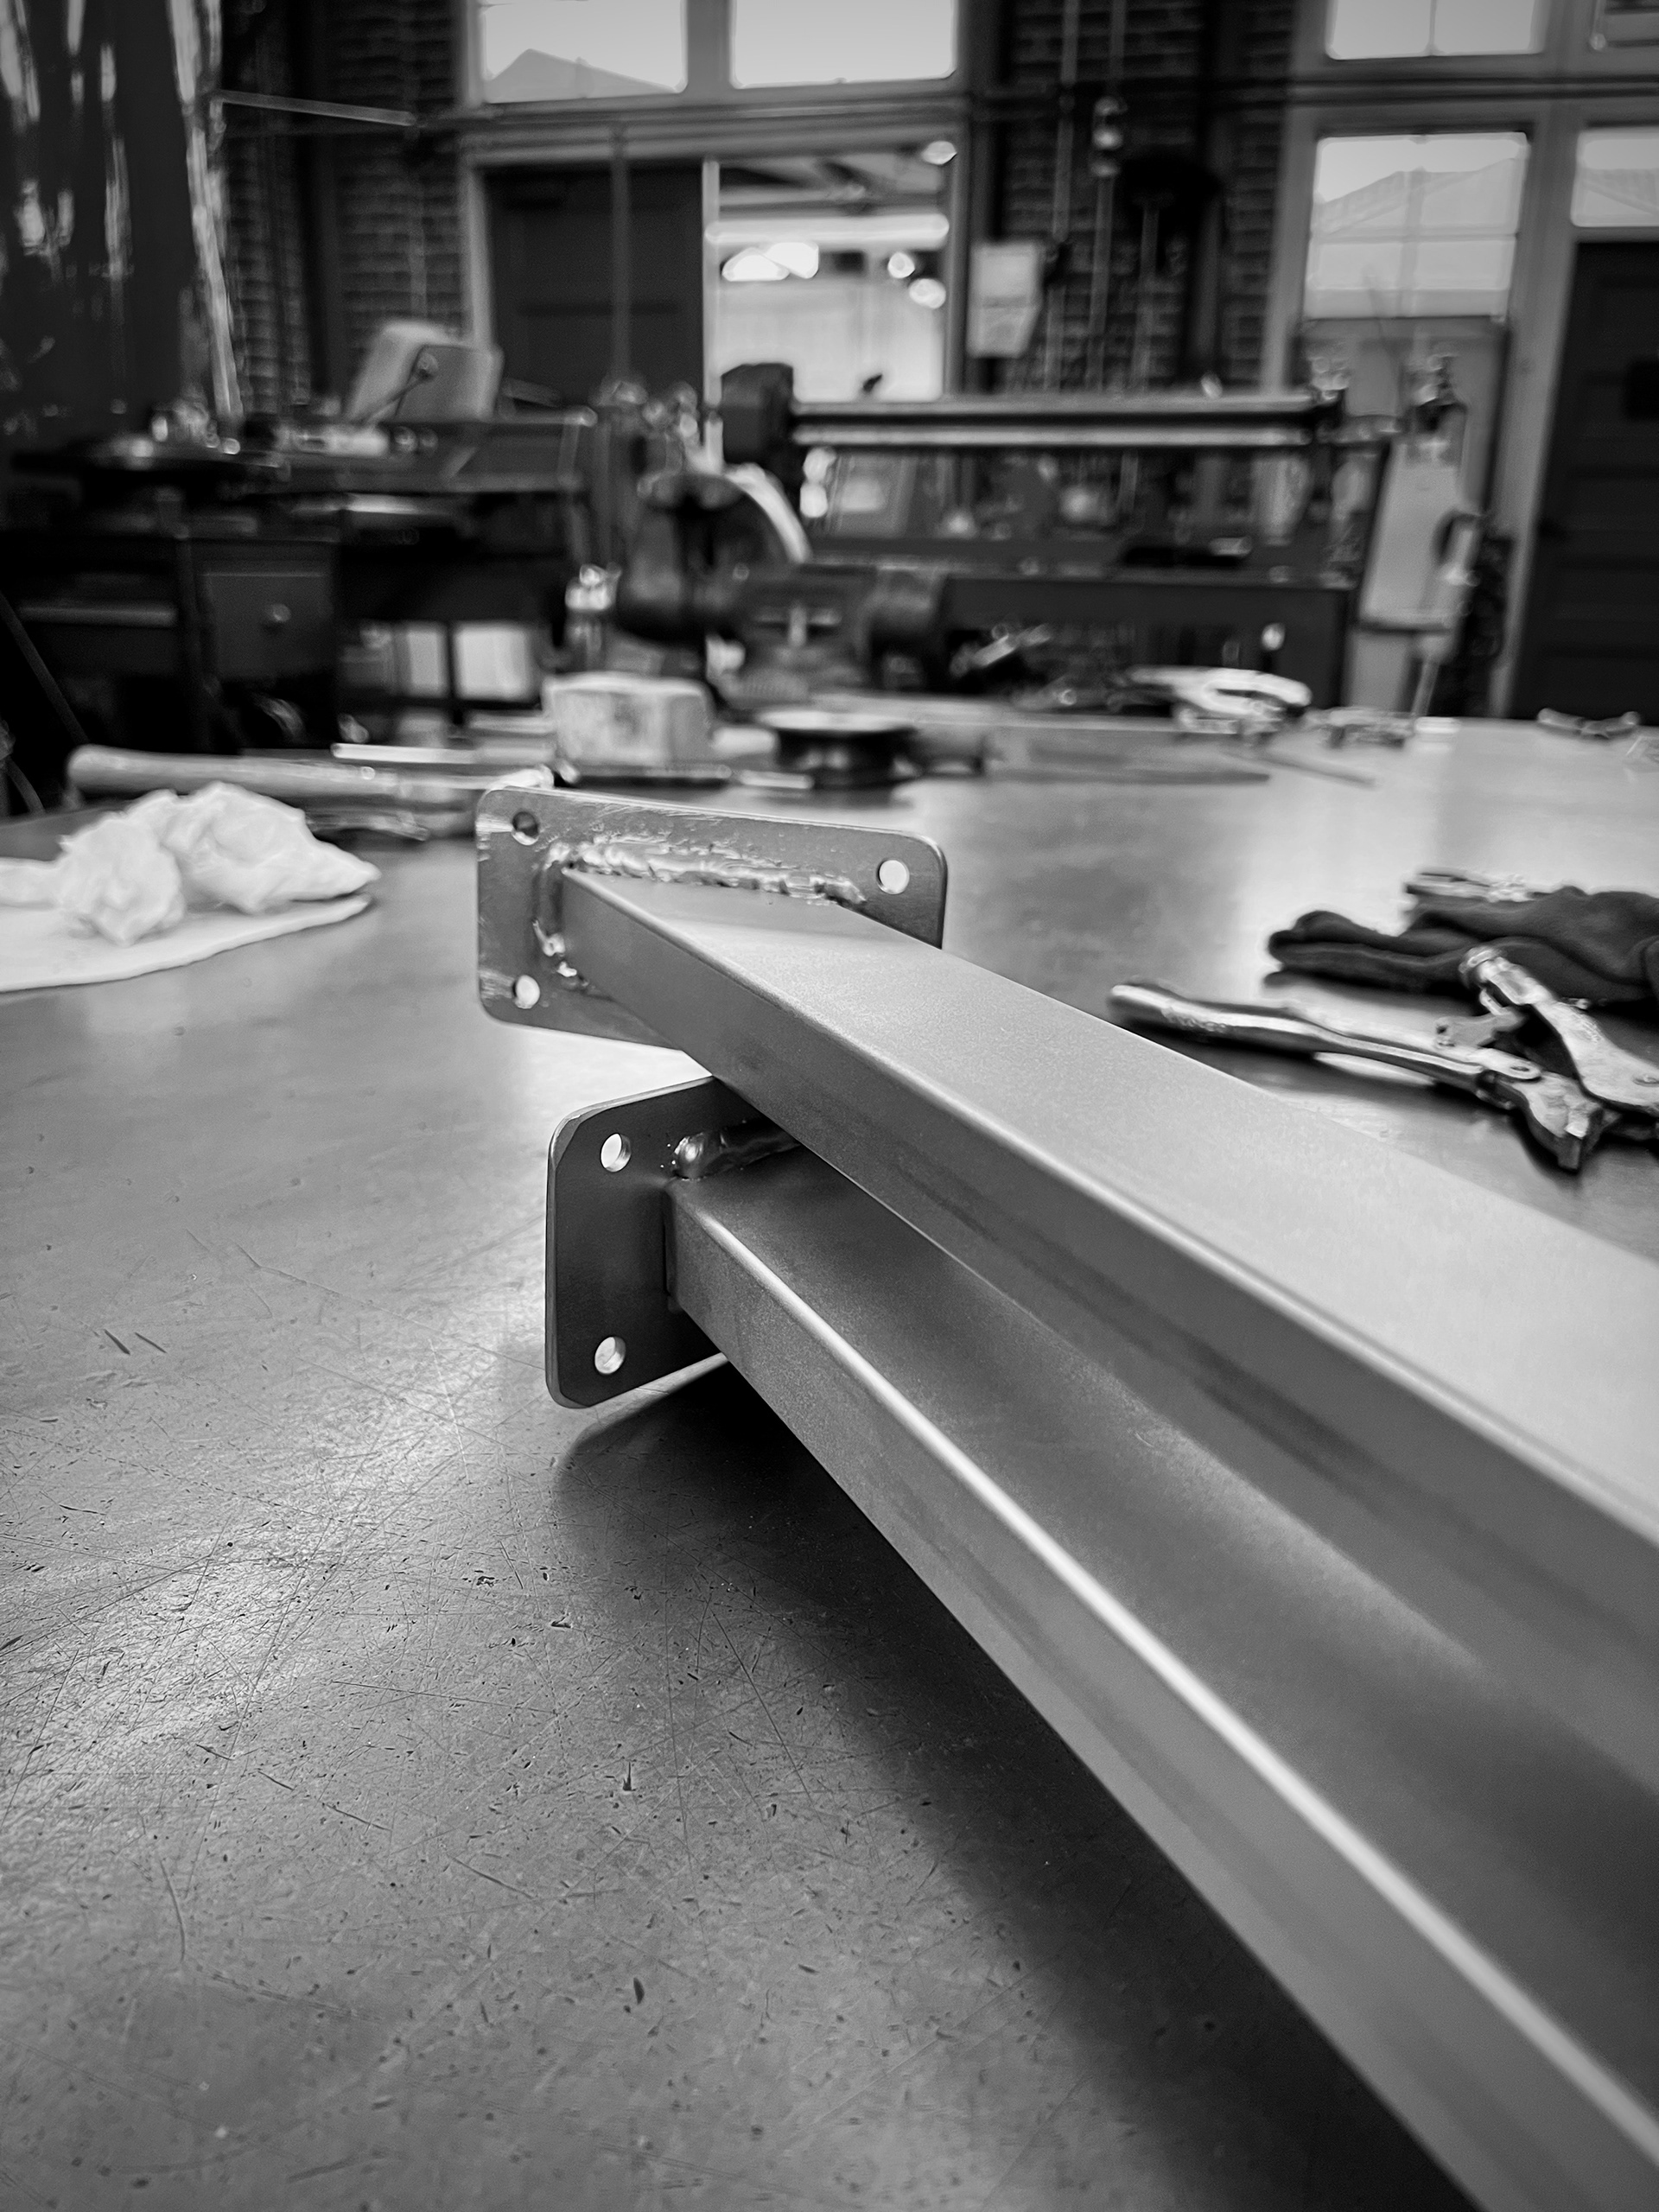
The legs were complete, and the whole thing was ready to assemble with nuts, bolds, and wood screws!
...and trust me, my battle with welding is far from over.
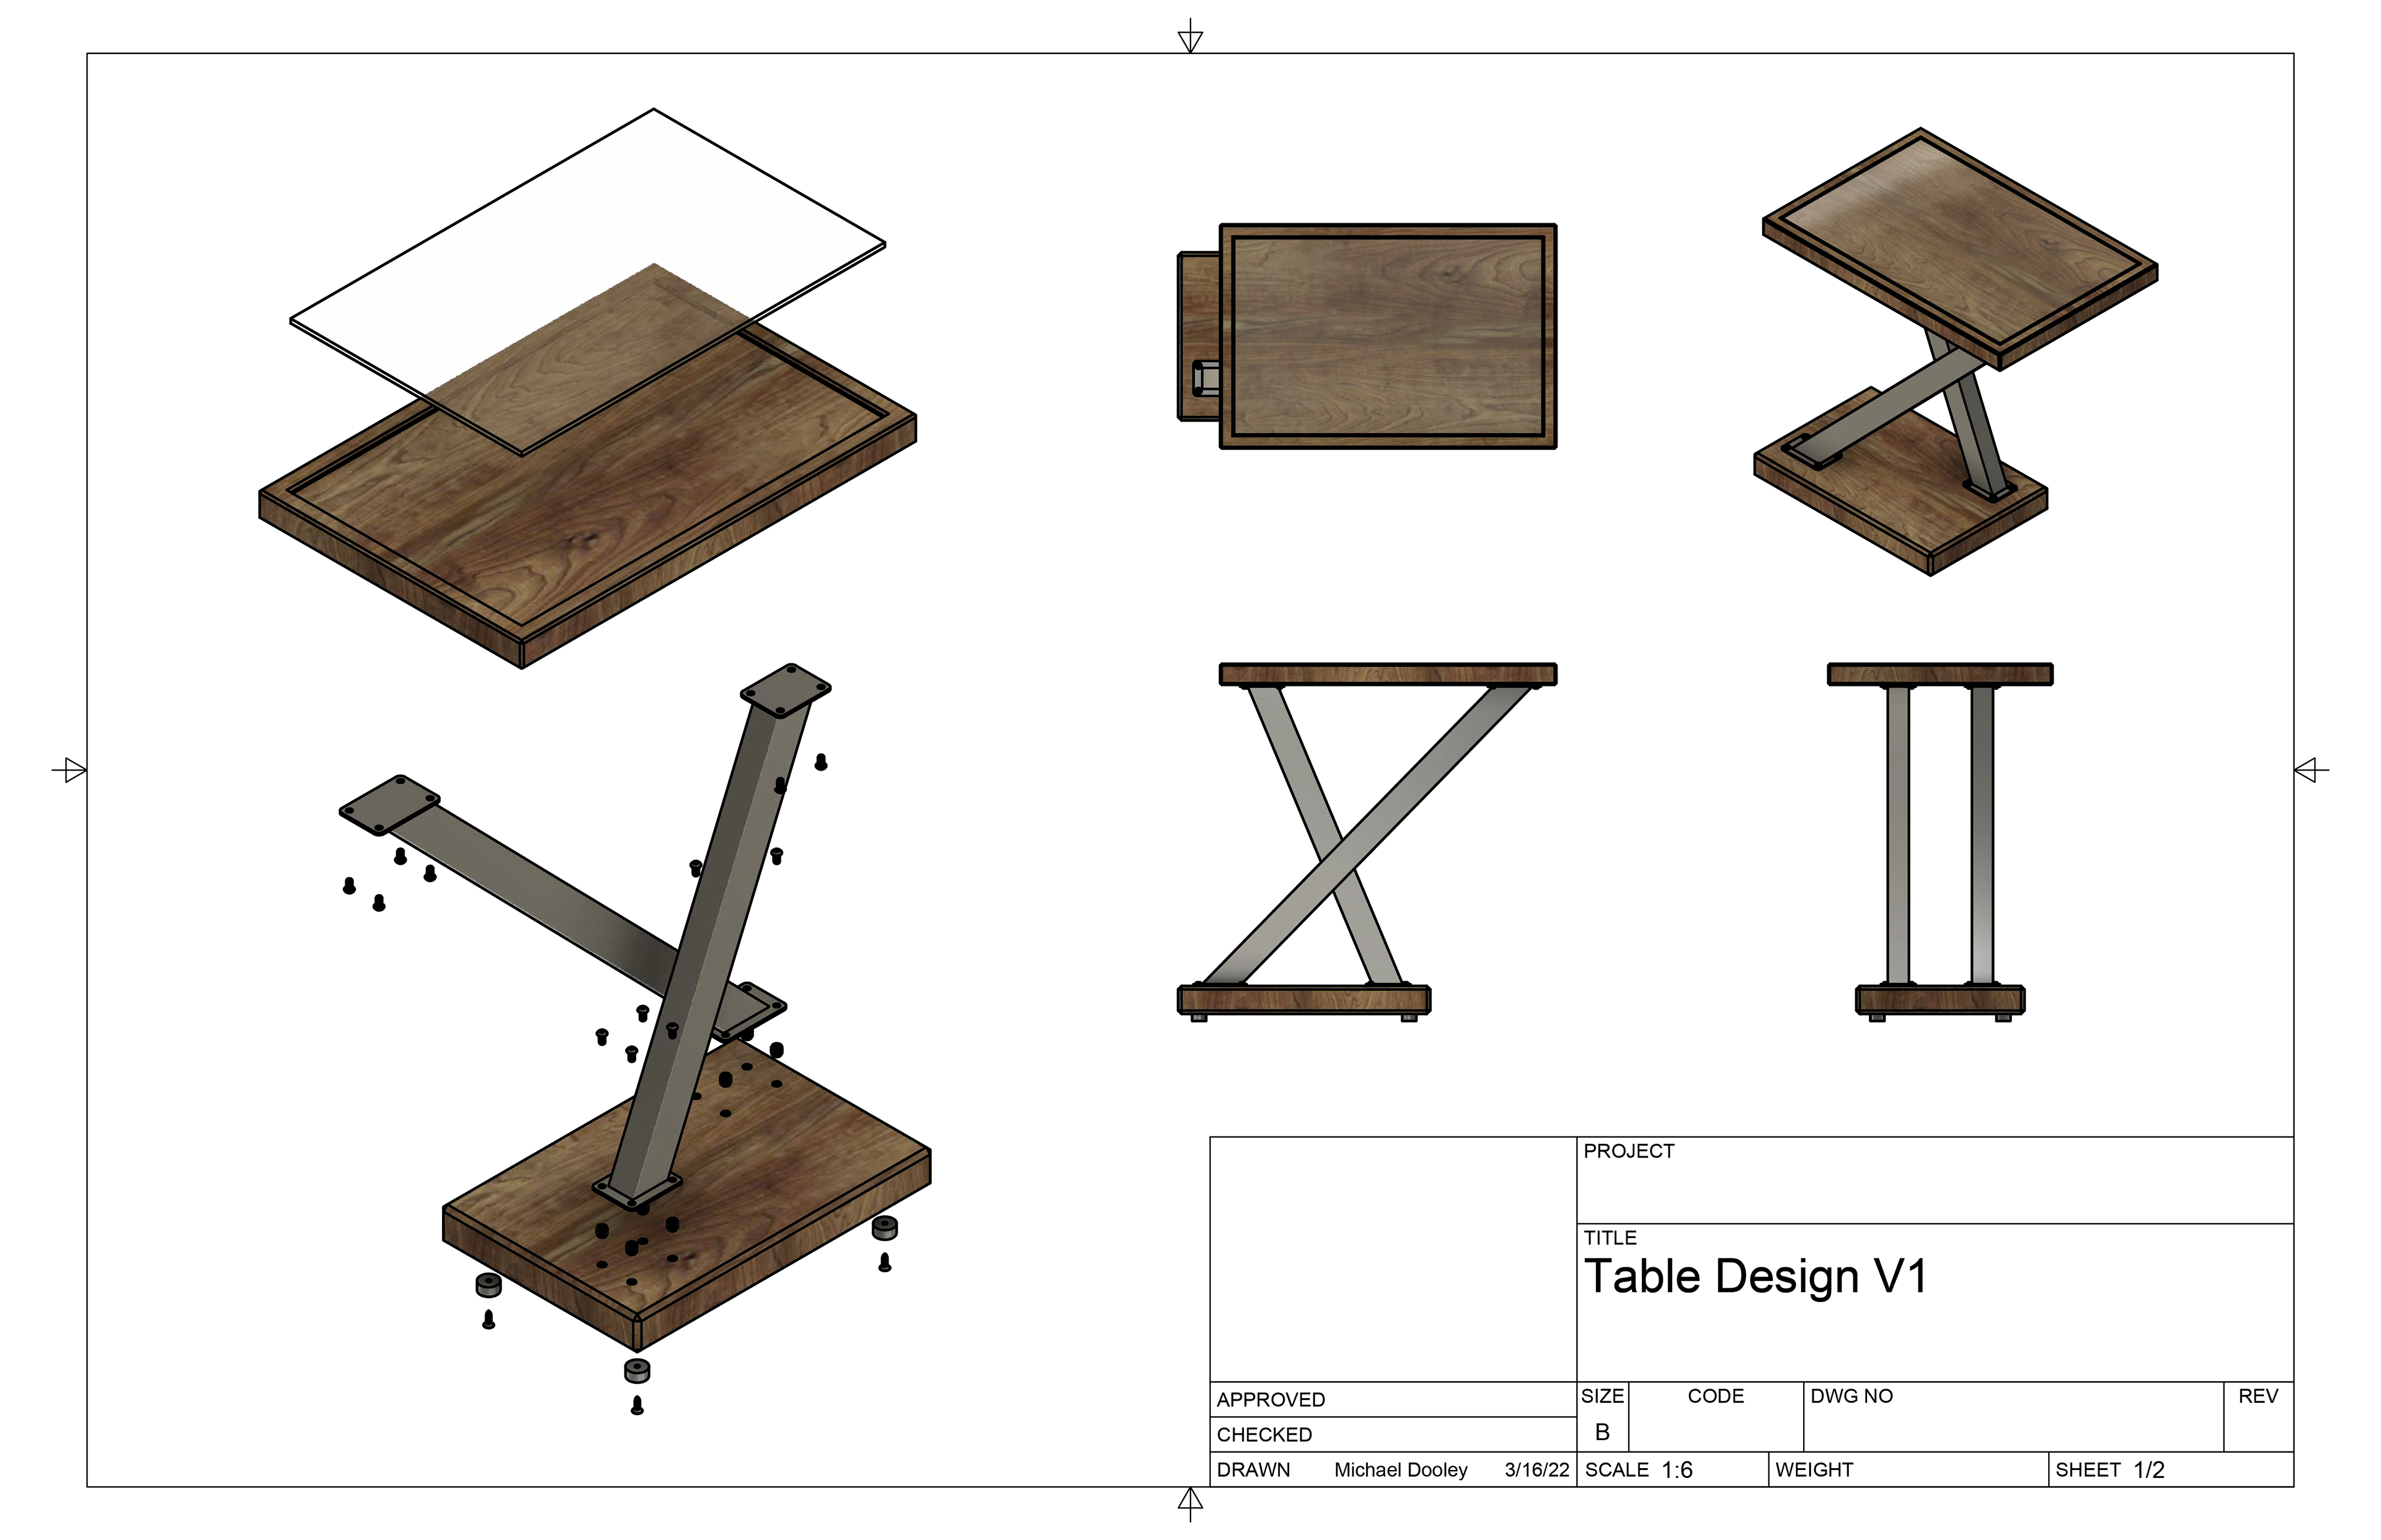
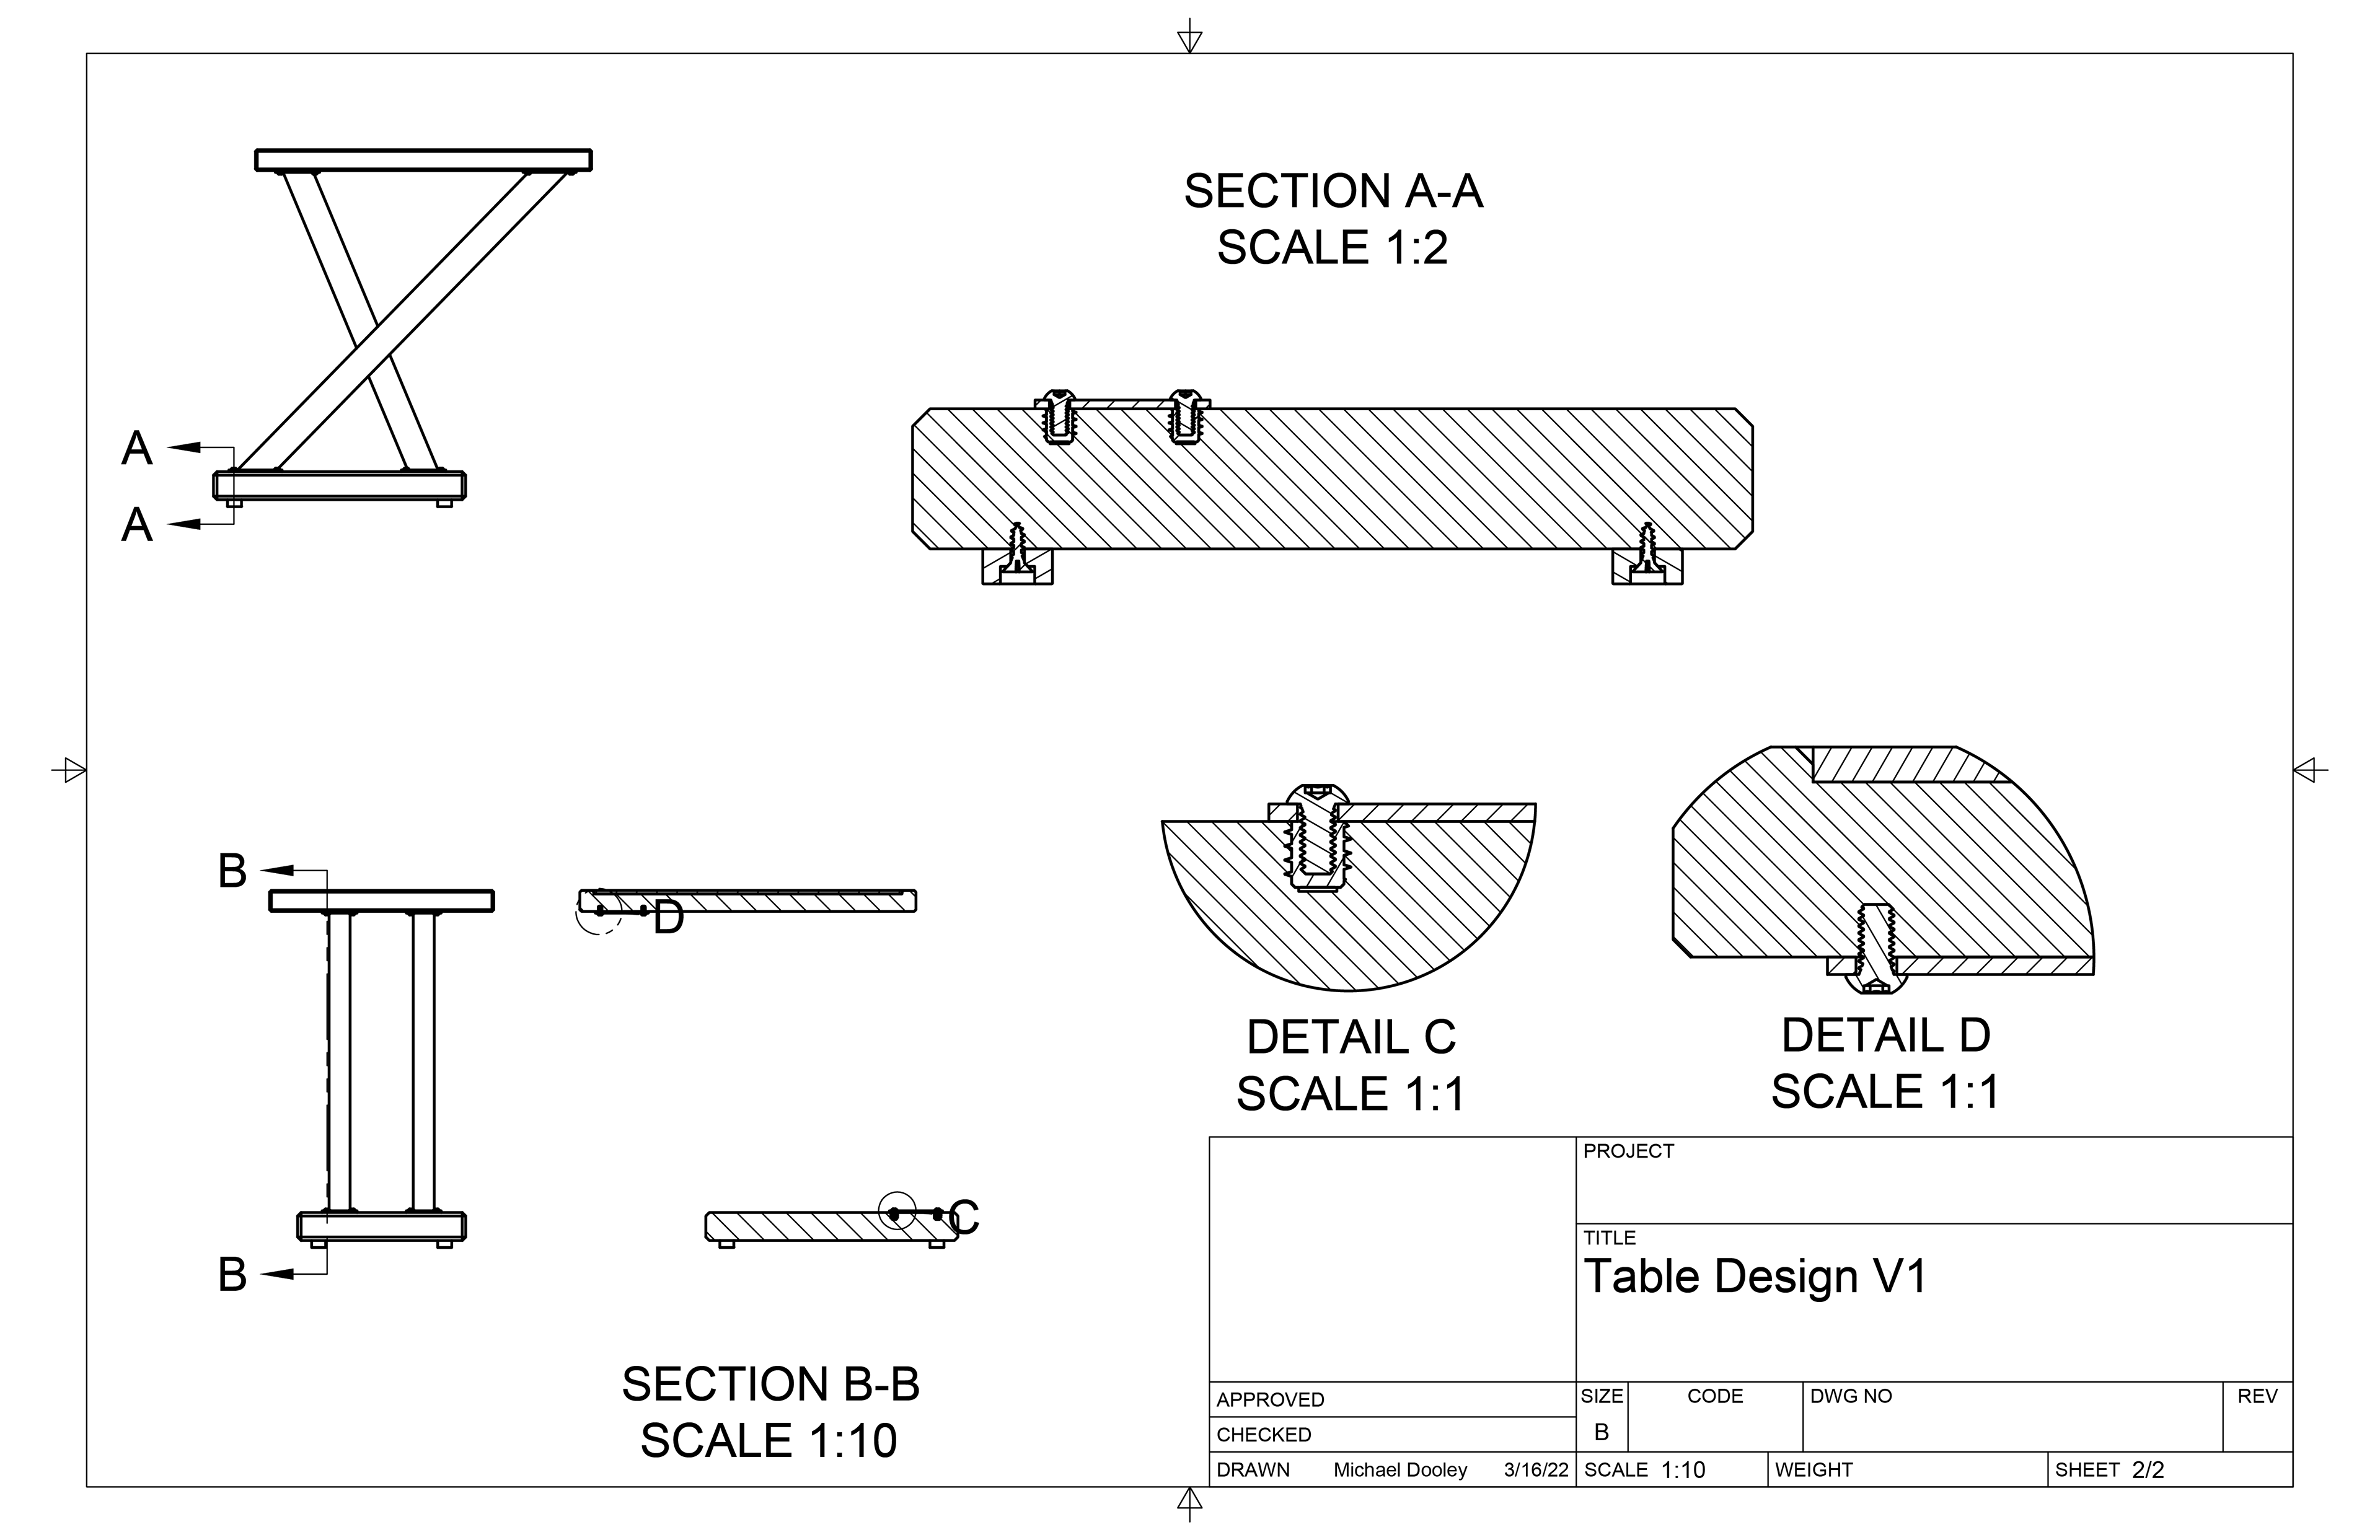
Technical Drawings & Assembly
In our digital age, CAD is taken for granted. But I have to express my appreciation: there's no way I could've had a sub-three-week-turnaround without my Fusion model.